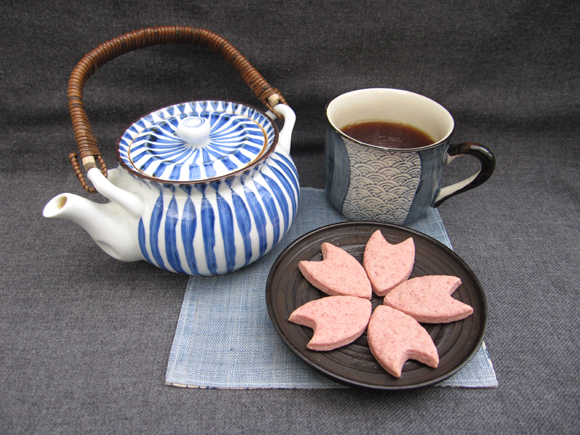
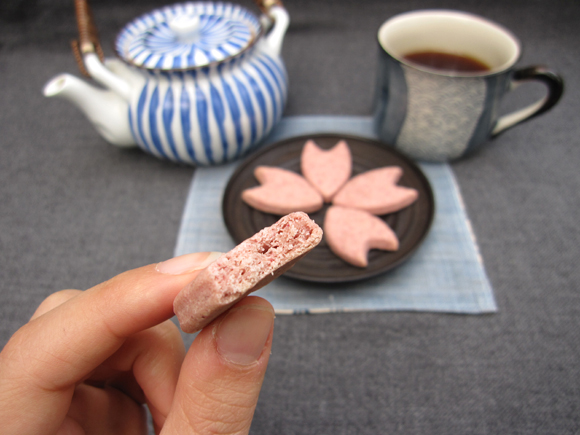
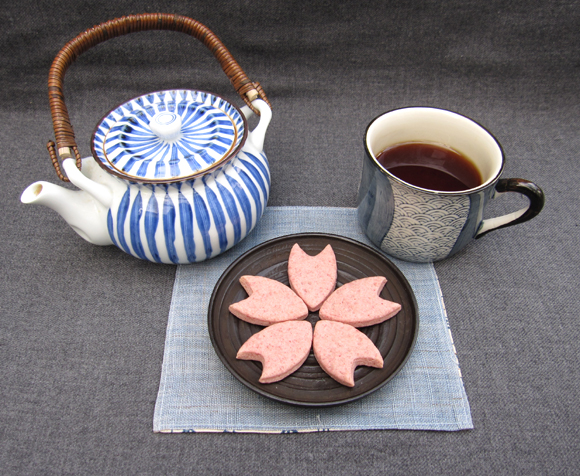
By now we have certainly reached the point where we have to bid farewell to the cherry blossom season. But even though we can’t gawk at the pretty trees blooming in pink anymore, we can still bake cherry blossom cookies! You won’t even need to buy a new cookie cutter. A regular circle one works just as fine after a little tampering.
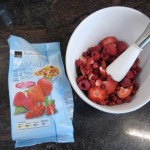
These cookies owe their bright pink colour and intense strawberry aroma to a special natural ingredient: freeze-dried red berries! You might remember my instructions for making delicious pink berry chocolate with this ingredient from this post. Your local supermarket may sell freeze-dried berries (such as Coop in Switzerland), otherwise try looking for them in specialty stores or simply buy a box of cereals that contain freeze-dried berries and pick them out by hand :-D
I suggest serving the cherry blossom cookies with a cup of hot vanilla-scented black tea, for example Twinings’ Vanilla Black Tea. Enjoy!
Recipe for Pink Cherry Blossom Cookies with Strawberry Yoghurt Flavour
(makes 2 baking trays full of cookies)
Based on this recipe for Coffe Glazed Yoghurt Cookies
- 125g butter, room temperature
- 100g sugar
- 1 egg
- 4 Tbs strawberry yoghurt
- about 30g whole freeze-dried berries or 20g freeze-dried berry powder (I used a mixture of strawberry, raspberry and red currant sold at Coop)
- 300g all-purpose flour
- 25g cornstarch
- 1/4 tsp baking powder
- 1/2 tsp salt
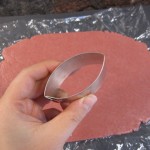
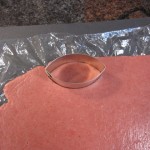
- a round cookie cutter squished to an almond shape
- Preheat oven to 150°C.
- First, beat butter and sugar. Then add the egg and yoghurt and beat well.
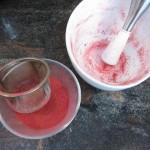
- If you are using whole freeze-dried berries, grind them and sieve the powder to remove the seeds.
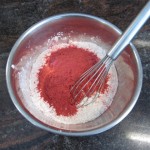
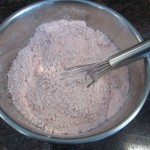
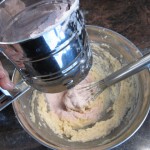
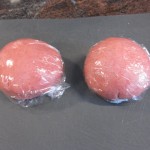
- Combine freeze-dried berry powder, flour, cornstarch, baking powder and salt and sift everything into the butter mixture. Knead well. At this point you’re supposed to notice a fruity fragrance. Divide the dough in tw0 and refrigerate for about an hour.
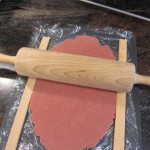
- Roll the dough to a thickness of 0.5cm.
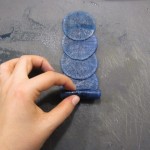
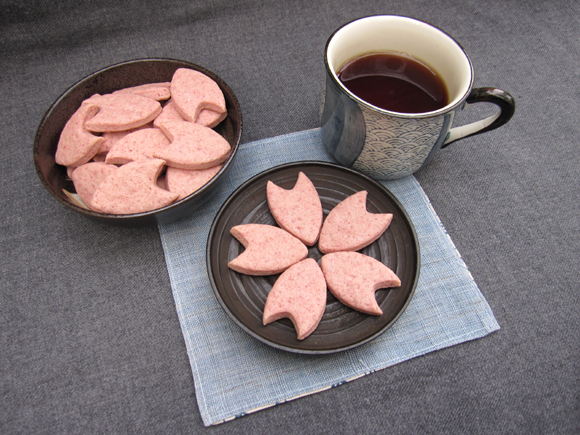
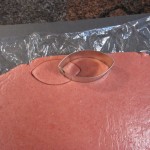
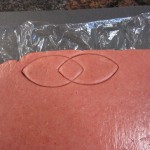
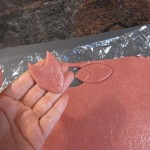
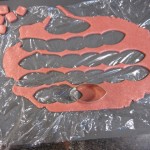
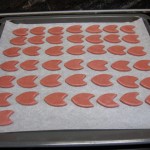
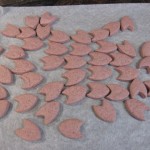
- Cut out cherry blossom petals with your cookie cutter by overlapping the pattern like shown in the pictures.
- Bake for 20-25 minutes.
- Voilà, pink cherry blossom cookies! Let them cool down before serving.
Have a nice tea party.
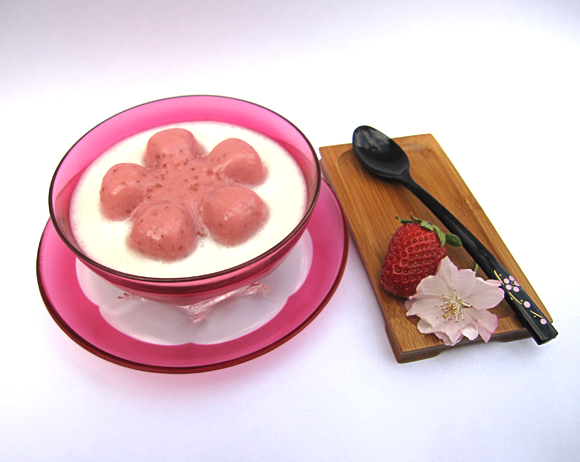
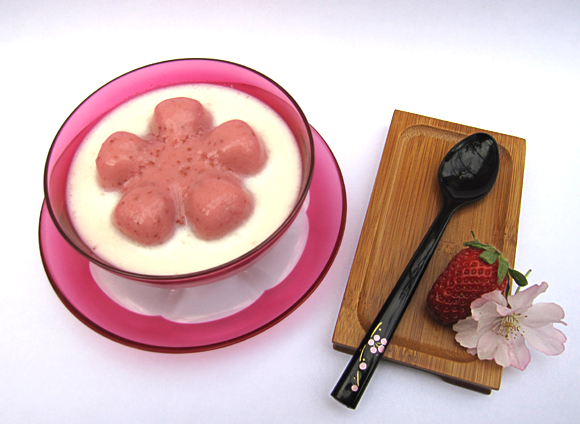
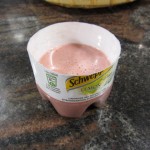
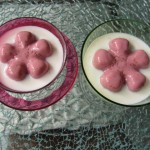
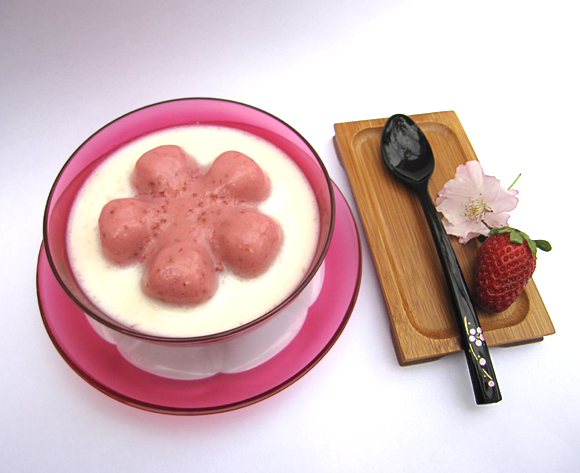
Do you have empty PET bottles at home? Don’t discard them! Instead, use their bottom parts as a mold for pretty gelatin or agar agar based desserts: the shape looks like a flower!
Since spring is blossoming at the moment, I suggest trying this easy recipe for delicious d strawberry panna cotta. Panna cotta is a popular Northern Italian sweet that literally translates to “cooked cream”. mycentraljersey.com It’s served chilled and is therefore a perfect dessert for warmer seasons. The classic flavouring is cream and vanilla, but in this rendition I opted for coconut milk and strawberry instead.
Recipe for Strawberry Coconut Panna Cotta in a PET Bottle Mold (serves 6)
- 6 empty 500ml PET bottles with a flower shaped bottom, for example Schweppes
- 250ml coconut milk (Not to be confused with coconut water! Can be substituted with cream and vanilla essence to get a more classic panna cotta.)
- 4 Tbs sugar
- 9g sheet gelatin = 5 sheets
- 1 cup finely pureed strawberries, sieved
- optional: milk
- First, prepare the molds. Cut away the bottom part of the bottles and wash them thoroughly.
- Heat coconut milk and sugar in a pan and stir.
- Meanwhile, soak the gelatin sheets in a bowl with cold water for 3-5 minutes.
- When the sugar has dissolved, turn off the stove and add the drained gelatin. Stir until it melts down.
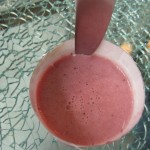
- Add the mixture to the pureed strawberries and whisk together until it’s well incorporated.
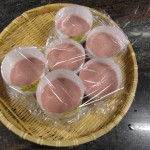
- Pour the liquid into the prepared PET bottle molds. Cover the molds and let the panna cotta set in the refrigerator overnight.
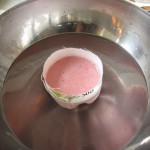
- To unmold, loosen the edges with a knife and then dip the mold in a bowl with warm water for a few seconds. Be careful not to dip in for too long, the panna cotta melts easily.
- Turn the mold over and place it on the serving plate. Shake gently until the panna cotta releases.
- Panna cotta is commonly served with fruit coulis, but since this version is already quite sweet in itself I decided to add plain cold milk. It complements the flavour and acts as a nice colour contrast.
Buon appetito!
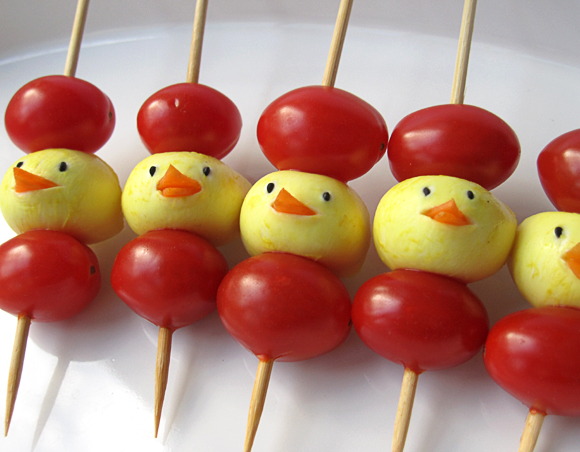
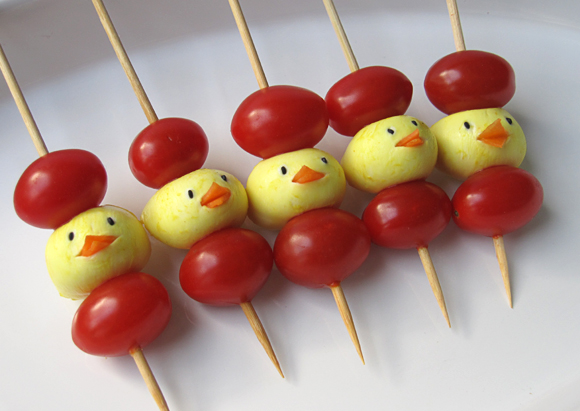
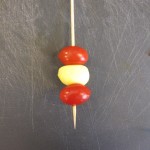
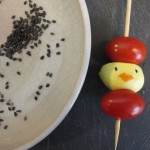
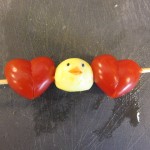
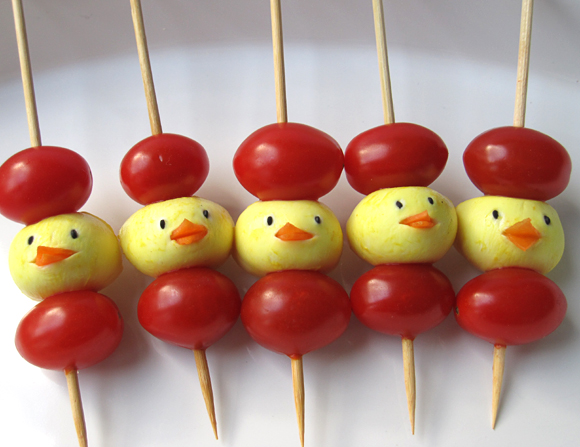
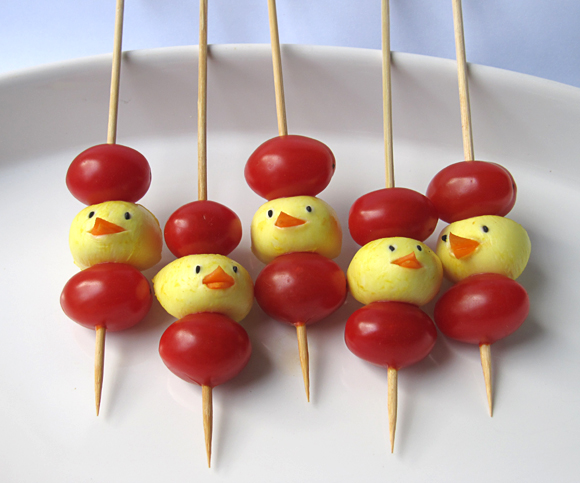
A neat snack for your spring theme party or Easter celebration: mozzarella chicks marinated in curry and cherry tomatoes on a stick. Easy to make and it will sure impress kids or grown-up lovers of cute food. You can serve these skewers as a party snack, garnish salads with it, take them to a picnic or put them in a lunchbox.
I prepared these skewers before Easter but didn’t find time to post it until now, sorry :-P
There’s this gorgeous food blog called L’exquisit where I’ve seen these neat Italian lollies made with mini-mozzarella and cherry tomatoes. I really like the presentation and wanted to make something similar. In the end, it turned out to look quite different but oh well, the ingredients are still alike.
How to make Mozzarella Chicks & Cherry Tomato Skewers
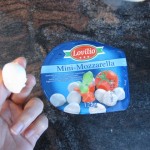
- mini-mozzarella (if you can’t get your hands on this, you can probably replace it by scooping out balls from other cheeses like gouda, etc. Cube-shaped pieces might be nice as well. Or smash and mix feta with cream cheese to form little balls.)
- curry powder
- carrot
- black sesame
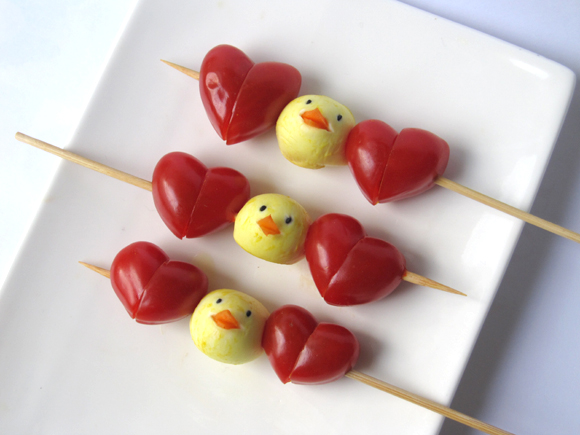
- cherry tomatoes (must be oval-shaped if you want to make hearts)
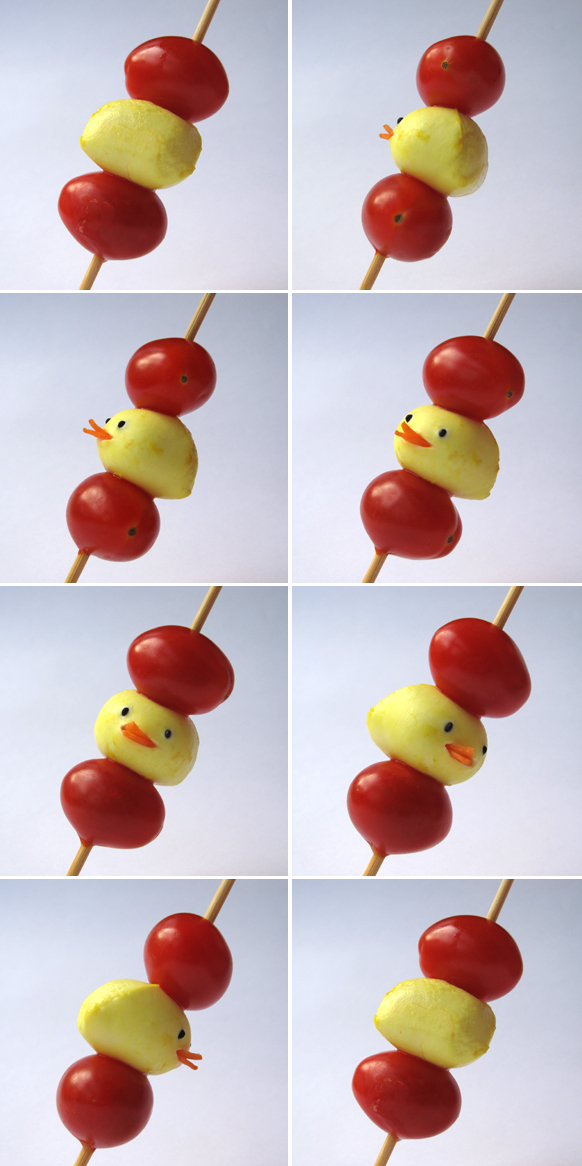
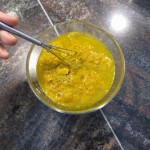
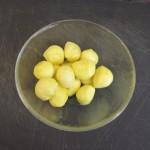
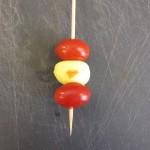
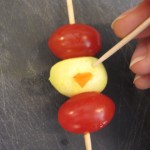
- Marinate the mozzarella in a 1:3 curry-water mixture for about an hour, then rinse gently with cold water. Pierce mozzarella and cherry tomatoes with a skewer.
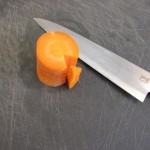
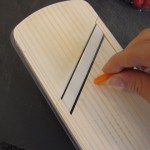
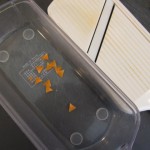
- Cut out a triangle from a carrot like shown in the picture and then slice it thinly with a knife or mandolin slicer.
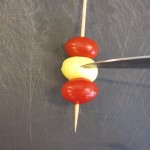
- Slit the mozzarella a little and place 2 carrot triangles inside.
- Pierce 2 holes with a toothpick and stick in 2 black sesame seed.
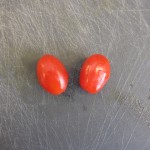
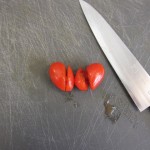
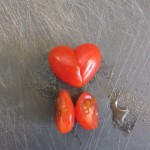
- For making heart-shaped cherry tomatoes, refer to this post: http://eyecandy.nanakaze.net/?p=128
I suggest serving the skewers with an olive oil-based dip. Any suggestions?
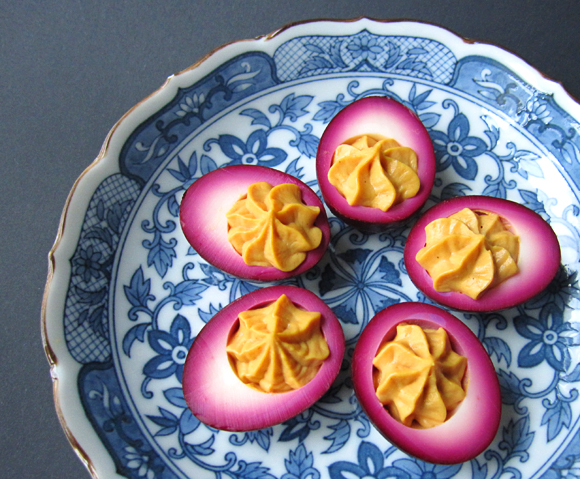
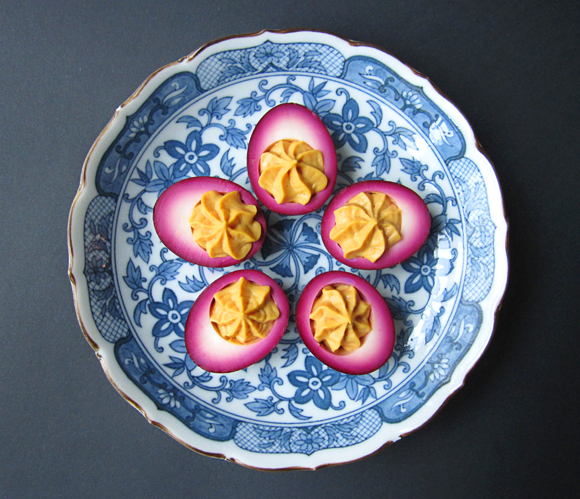
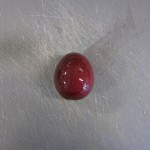
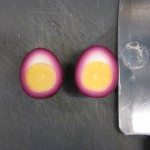
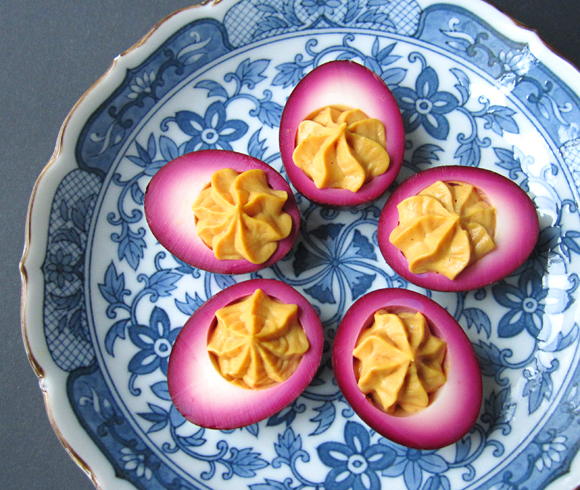
These hard-boiled eggs were pickled in a beet and white vinegar solution, then sliced in half and filled with an egg yolk-mayonnaise-mustard cream. They gain their colour from the redness of the beet and have a pungent sweet and sour aroma that goes well with the spicy cream filling.
While I’ve seen and eaten many deviled egg dishes in my life, beet-pickled eggs are new to me. Like my friend Wikipedia told me, they seem to be a classic dish popular in Pennsylvania. Dear American readers: I am sorry that for you, this post probably only evokes yawning. For me as a person from the other side of the Atlantic, where beet-pickled eggs are unheard of, the fascination still lingers :-D
Pickled & deviled beet eggs are easy to make and could be served as a pretty and delicious appetizer. Why not include them in your Easter menu?
Pickled & Deviled Beet Eggs (makes 12 pieces)
I looked at different recipes and came up with this. It’s probably not really authentic, but it tasted alright I thought. Feel free to tweak it with the addition of seasonings and such.
- 6 small eggs
- about 3 cups finely shredded red beet or its juice
- 1 cup apple cider vinegar (can be replaced with white vinegar)
- 1/2 cup sugar
- 1 onion
- 4 Tbs. mayonnaise
- 4 tsp. mustard
- Make hard-boiled eggs and peel them. The perfect egg boiling method from e-how for example works good for me.
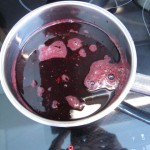
- Combine beet (juice), vinegar and sugar. Bring to a boil and stir until the sugar dissolves. Let it cool down for a bit.
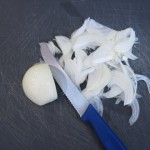
- Slice the onion thinly and add to the beet vinegar mixture.
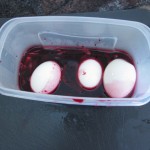
- While the liquid is still a bit warm, fill a container that’s large enough with the eggs and the liquid alternatively.
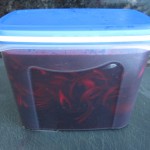
- Seal and store in the refrigerator.
- After about 2 days, the eggs will be ready. Take them out and rinse them shortly with cold water.
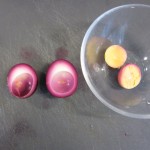
- Slice the eggs lengthwise and carefully remove the egg yolks.
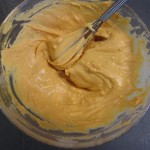
- Mash the egg yolks with a fork and mix them with mayonnaise and mustard.
- Fill the egg yolks into the egg halves with a piping bag. Done!
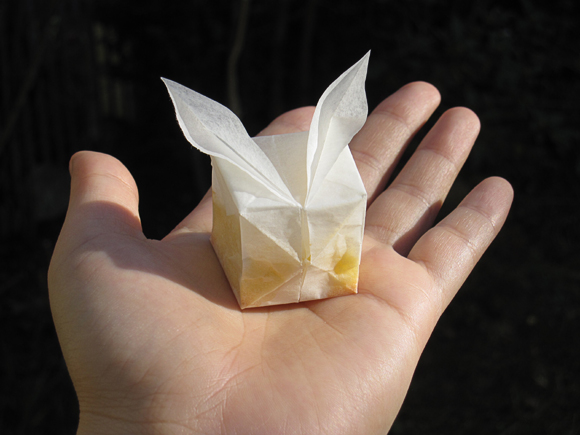
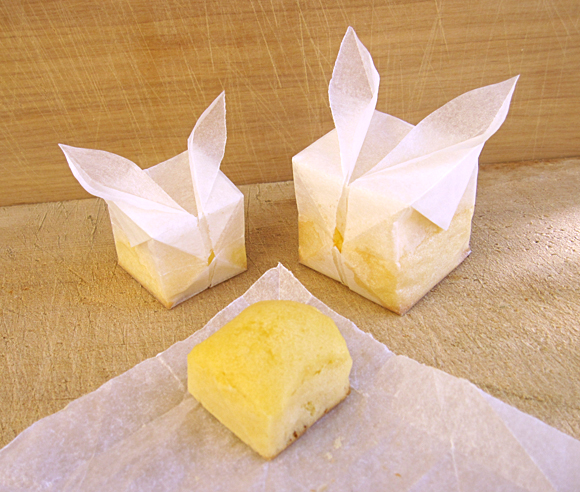
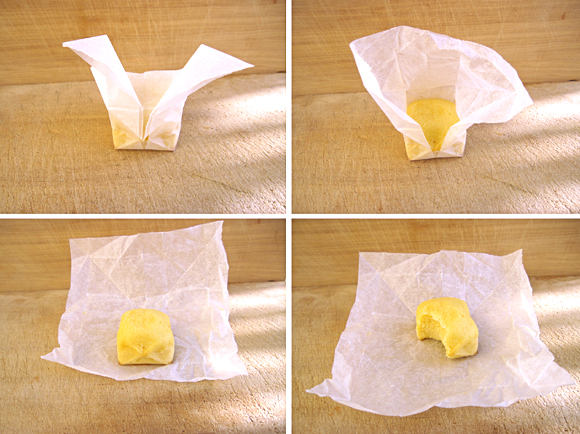
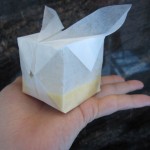
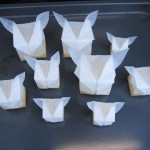
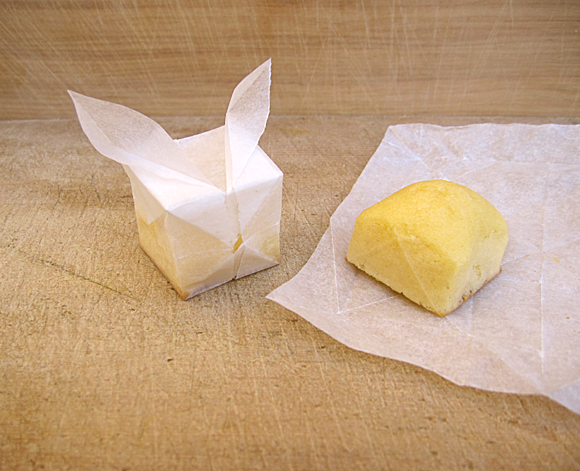
How about baking your muffins, mini cakes or other dessert creations in these parchment bunny cubes? Not only are they substituting the plain old muffin paper cup, but they also serve as a cute and convenient wrapping. You can give them away as a gift, include them in a packed lunch or hide them outside in the garden at Easter for children to find. The bunny cubes are easy to fold and inexpensive. Why not make one right now? I’m sure you have parchment paper and basic muffin ingredients at hand.
You can try the recipe for the fluffy and moist cream cheese muffins provided in this post to fill the bunnies, but I guess other muffin or cake mixtures should work fine as well, as long as they don’t expand too much. Since the parchment paper is kind of acting like a seal, you might want to lessen the amount of liquid ingredients.
Let me give you some insight on how the idea of the bunny muffin was born. Not long ago, I wanted to Coinstar fees make a square cake. I didn’t have a square cake pan and buying one was not an option after looking at some price tags. Then it came to my mind that I could simply fold a parchment paper box. It’s simple, inexpensive, and I can even adjust the size. I skimmed through my origami books (origami: traditional Japanese folk art of paper folding) in search for box folding instructions, and that was when I stumbled upon the bunny cube balloon. The idea to bake muffins in these bunny balloons hit me immediately. Since Easter is approaching, it was perfect.
Oh and by the way, I did bake a square cake in a suitable parchment paper origami box (that even included handles!) but that’s another story.
How to make the Paper Bunny Cube
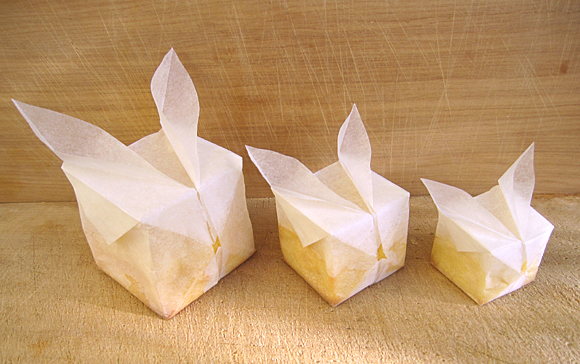
You need square pieces of parchment paper. For the large bunnies, I used 21×21 cm, for medium 16×16 cm and for the small ones 12×12 cm.
I’ve found the instructions for folding the bunny in the book 親子で遊ぶかんたんおりがみ (oyako de asobu kantan origami) which is aimed at children, so don’t nag about it being too difficult :-D
I’m rather bad at explaining origami steps, but luckily I’ve found this comprehensible diagram at origami-club.com. Check out their other tutorials if you’re interested in origami, they’re very easy to understand and even accompanied by animations.
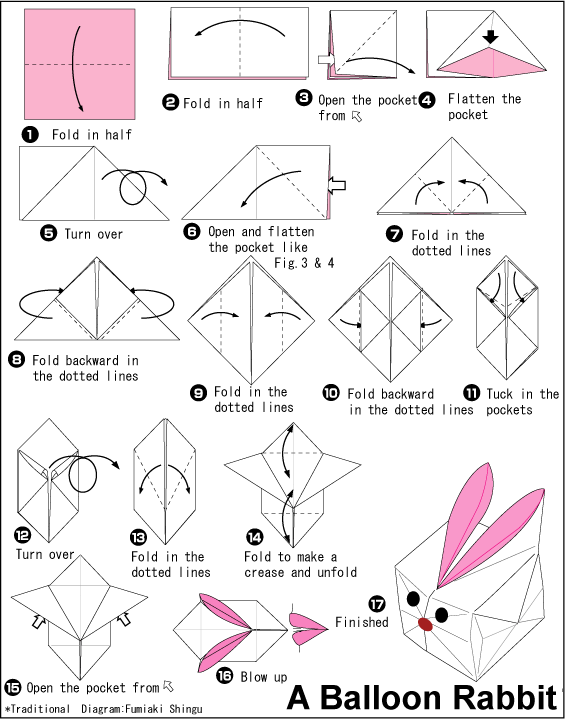
Here’s the link to the animation of the bunny balloon folding on origami-club.com. Have a look at it if the diagram alone leaves you puzzled.
Thinking that you later use the bunny to serve food in, I must admit that the part where you have to blow up the balloon by mouth might appear a bit unhygienic. Maybe you can find other measures to inflate it. Or just try to firmly believe that the oven temperature will kill off the bacteria.
How to make Cream Cheese Muffins baked in Bunny Cubes
The recipe for the cream cheese muffins is from Harumi Kurihara’s book Harumi’s Japanese Cooking. Originally, the muffins are meant to be heated in the microwave. Since I didn’t have access to a microwave, I had to adapt the recipe.
Makes 3 L, 3 M and 3 S size bunnies
- 40g cream cheese
- 1/2 Tbs white wine
- 1 Tbs cream
- 1 Tbs vegetable oil
- vanilla essence
- 2 medium sized eggs
- 50g sugar
- 50g flour
- 1/2 tsp baking powder
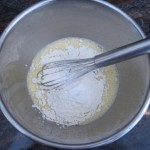
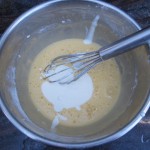
- Whisk cream cheese and white wine together until creamy in a bowl that you placed into another bowl filled with hot tap water.
- Mix in cream, oil and vanilla essence.
- Beat the eggs in a separate bowl and whisk together with the sugar until the mixture thickens.
- Mix in flour and baking powder, then add the cream cheese white wine mixture.
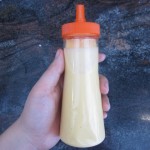
- I then filled the mixture into an empty condiment container. You can also use a piping bag or an empty plastic ketchup bottle – anything that’s squeezable and has a tip should work.
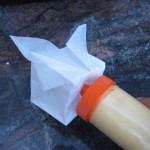
- Squeeze the mixture into the bunny cubes until they’re a bit less than half full. It’s like bottle-feeding the bunny :-). Be careful not to make a mess. Stains on the parchment paper will later become dark and clearly visible.
- Bake in the preheated oven at 160°C. Approximately, the small bunnies will take 15, the medium bunnies 20 and the large bunnies 25 minutes.
The cream cheese muffins were fluffy, moist and delicious. Mmmh.
Click here for more Easter food ideas.
Do you know of any other (origami) parchment paper folding techniques that can be used for baking?
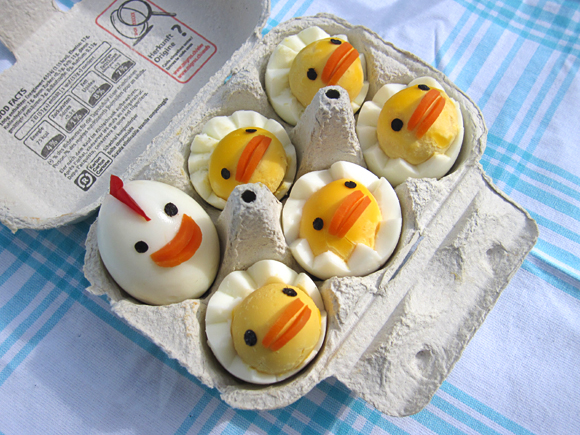
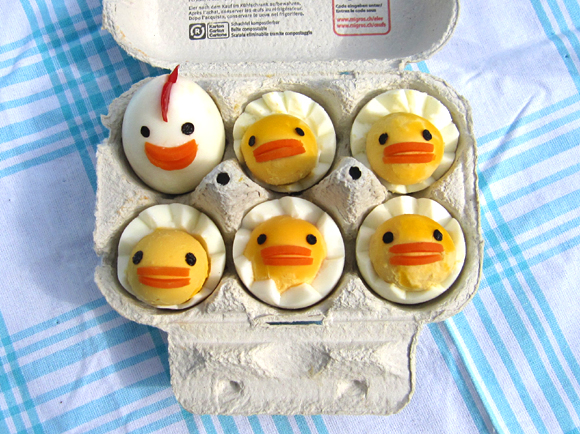
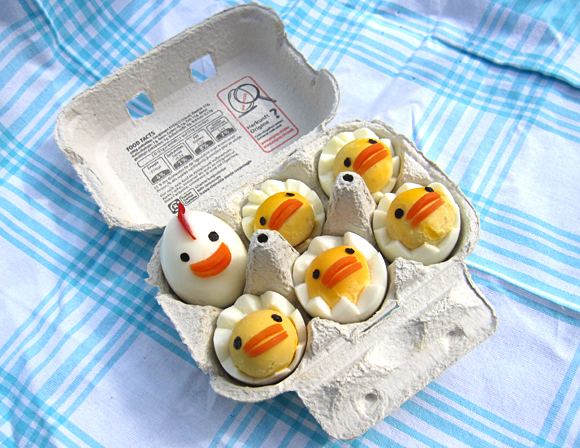
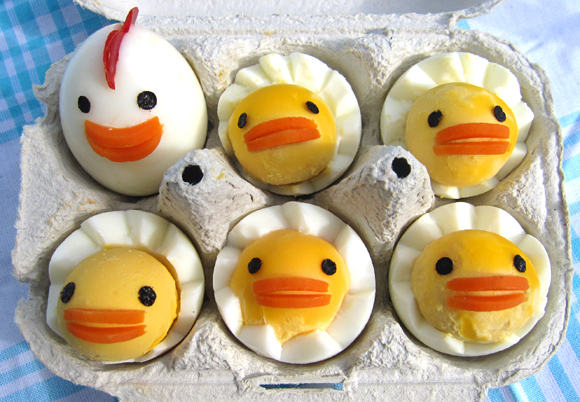
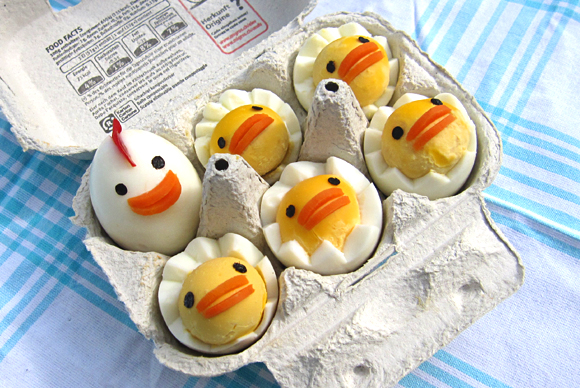
Are you looking for Easter dishes that are easy and fun to make? If yes, then these “newly hatched chicks” made from hard-boiled eggs are perfect for you (along with chicken mommy, of course). You can offer them as a snack or use them to garnish a salad. Or how about an Easter picnic? Simply pack them in the egg carton you bought them in. Safe transportation and a cute way to serve.
Easter is approaching soon so it’s about time to present some Easter recipes. I like this chick egg very much because it’s so simple. And it totally makes sense to reshape boiled eggs so they look like hatched chicks. No wait, that’s actually kind of creepy. Nevermind, they do look cute after all :-)
I’ve encountered the basic idea of this chick egg on lots of bento blogs (or here on Flickr), so its origin remains unclear. Everyone has their own way of styling the faces. I attempted to come up with a personal variation, too. And I tried to find a way to make it that is as quick and easy as possible. Have fun!
How to make a Chicken Family from Hard-Boiled Eggs
- eggs
- carrot slices
- thin red pepper slice
- black olives or nori (like the seaweed sheets you use for sushi)
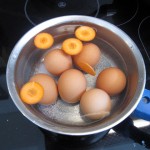
- Boil the eggs. You can use this perfect method here for example. Make sure you don’t overcook the eggs. You don’t want ugly green chicks, do you? Well maybe when it’s time for Halloween. In the last 3 minutes of boiling, add the carrot slices to the water.
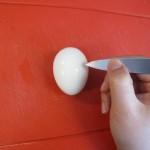
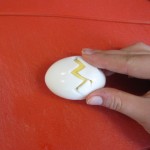
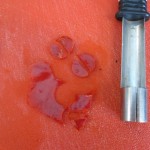
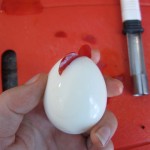
- The egg yolk is near the flat end of the egg, so the cut should be nearer to that side. The pointy end of the egg will be the bottom. You can use a regular small knife. It worked best for me when I held it near the tip, the sharp edge facing upwards. Cut a zig-zag line. You don’t have to be overly cautious not to cut the yolk. A bit cutting is okay, just don’t ram the knife through it.
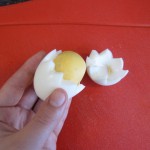
- Gently pull and stroke the small part of the egg white. If doesn’t come off easily, re-cut the zig-zag line. Maybe it’s a good idea to brush the egg yolk at this step with oil. I noticed that they turn dry and cracky after a while!
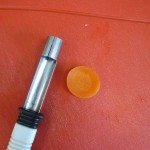
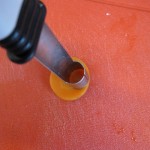
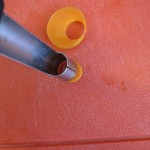
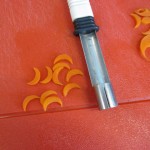
- I used an apple corer to make the chicken beaks, but you can use small round cookie cutters as well. Cut the carrot slices so they look like crescents.Or like orange clipped nails.
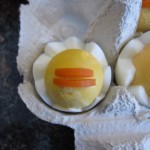
- Press the carrot beaks (2 crescents) into the egg yolk. For the chicken mommy, you may have to you use a little mayonnaise as an adhesive.
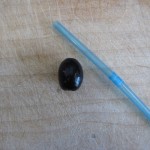
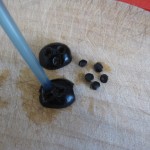
- If you use olives for the eyes, use the end of a plastic drinking straw to cut circles.
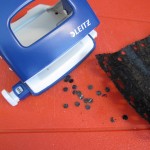
- If you use nori, go get your hole puncher at your workstation and cut out nori circles.
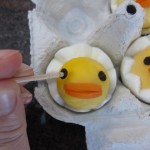
- Nori eyes can be placed easily with the flat end of a toothpick that has been damped.
- For the mommy chicken’s comb, cut out a red pepper circle and divide it in half. Make a small cut into the egg so you can place the comb inside.
- Arrange the chicken family in an egg carton. Done!
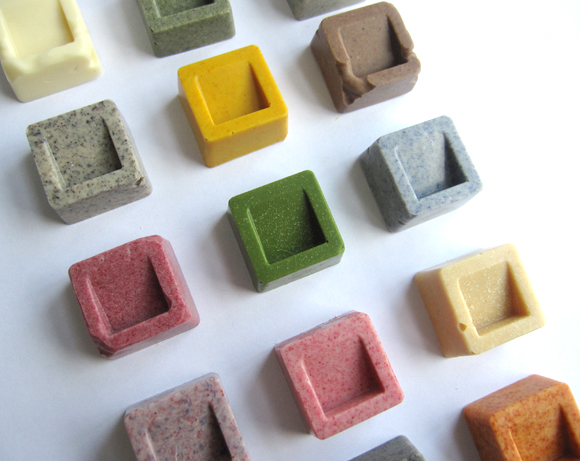
Creating desserts with dark and white chocolate is great, but sometimes you may get bored with the restricted choice of colours. Since my recent post about the simple chocolate painting technique I’ve felt the urge to find methods to dye chocolate so I could paint more elaborate pictures.
The difficulty is that chocolate doesn’t mix well with regular liquid food colouring, so I decided to go with powder alternatives instead, some of them homemade. I refrained from using artificial food colouring. It’s not that I condemn it because of fear of health risks – It’s rather because I like being challenged. The fact that I, erm, don’t have access to artificial colouring powder might count as a reason as well. Colouring with natural ingredients is more fun anyway because it enhances appearance as well as flavour!
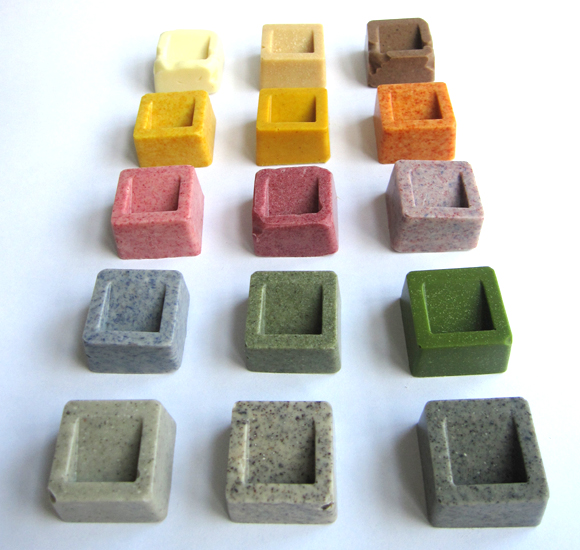
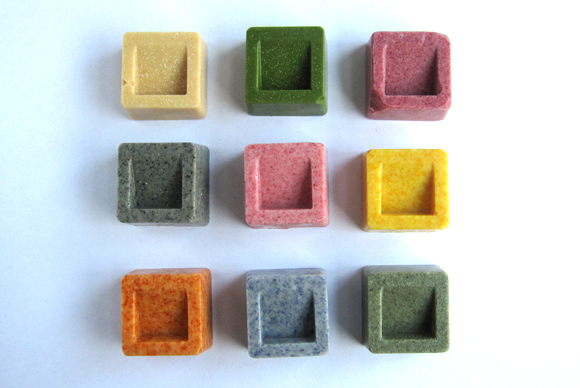
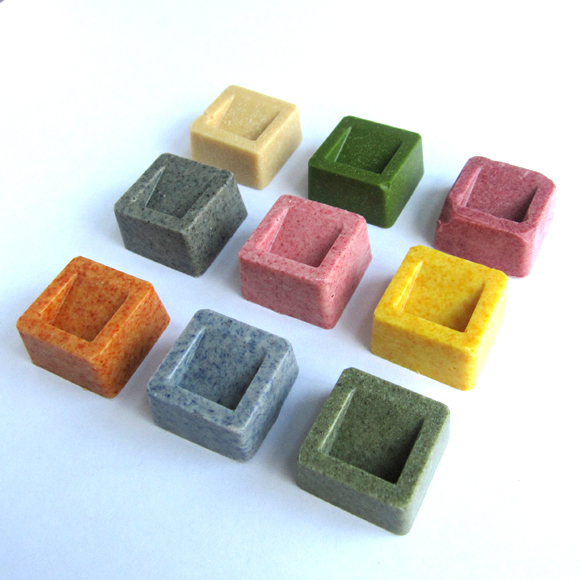
I’ve had a lot of fun experimenting and came up with 15 ways to colour and flavour white chocolate naturally. But I’m sure there are a lot more ways to do it! I would be glad if you shared your own ideas in the comment section.
In all the examples here, I melted regular white chocolate in block form, mixed it with the corresponding powder and let it harden in a silicone mold. (If you like it, you can buy it here). Per piece, I mixed 8 grams of chocolate with 1-4 measured pinches of powder (1 pinch = 0.5ml). And I sieved the powder whenever I could.
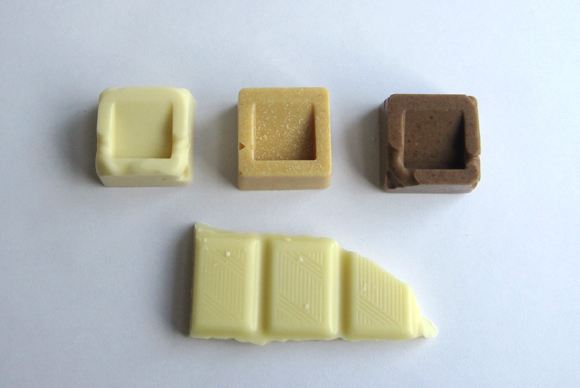
How to make White Chocolate with Coconut
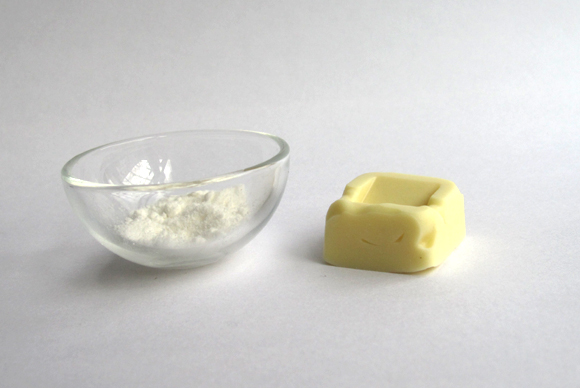
Simply mix in instant coconut milk powder. I used 3 pinches for one piece.
- Colour: Maybe it’s just my imagination, but I think the coconut chocolate is whiter than the original white chocolate.
- Flavour: Didn’t really taste like coconut! I blame it on the poor quality of the instant powder.
How to make Beige Chocolate with Kinako
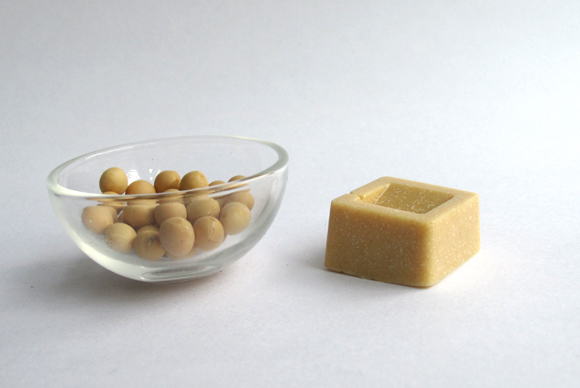
Kinako (toasted soybean flour) is available at Japanese grocery stores, but you could also prepare it yourself by following this recipe here. I added 3 pinches.
- Colour: Very nice and even colour that can be used if you’re aiming for sand or skin tones.
- Flavour: Kinako on its own is a disgrace but mixed with sweet stuff it’s delicious (try kinako ice cream!). The taste will remind you of peanut butter.
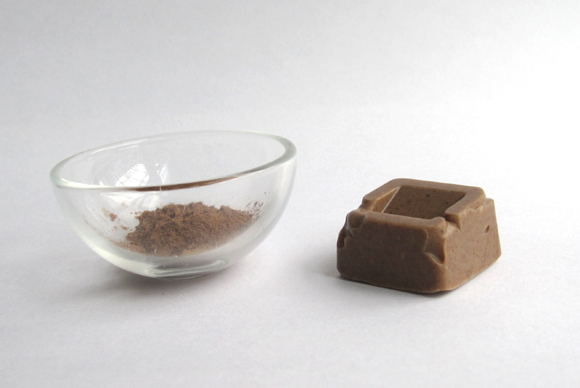
How to make Brown Chocolate with Cinnamon
2 pinches of ground cinnamon, that’s all there is to it.
- Colour: Well, it’s brown. Not too exciting…
- Flavour: Fabulicious! Looks like regular chocolate but tastes different.
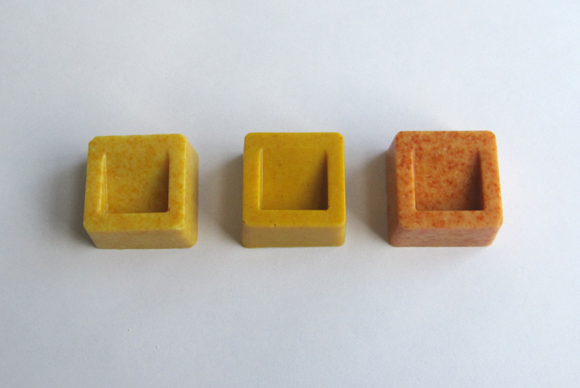
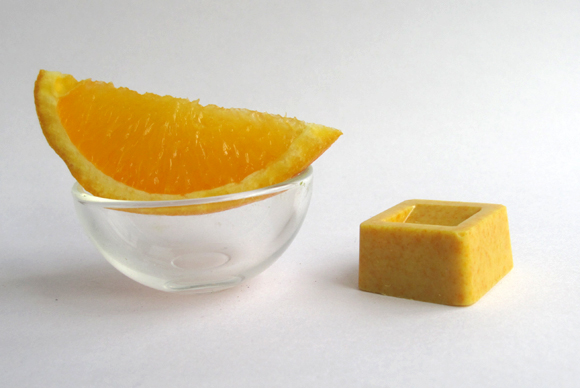
How to make Yellow Chocolate with Orange Zest
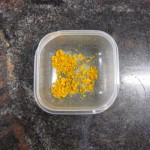
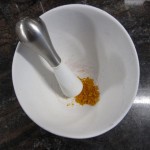
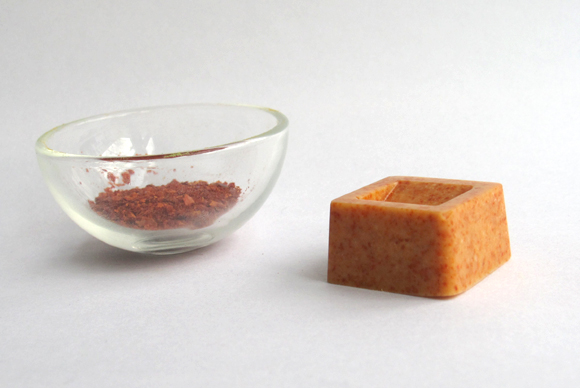
You need an organic, thoroughly washed orange and zest it. Heat the zest in the microwave for about 5 minutes until it’s dry and grind it in a mortar or with a machine. I used 2 pinches.
- Colour: Nice orange-yellow! Depending on how finely you grind it, texture is more or less visible.
- Flavour: Quite a pronounced orange aroma with a bitter note that fits perfectly with white chocolate.
How to make Yellow Chocolate with Turmeric
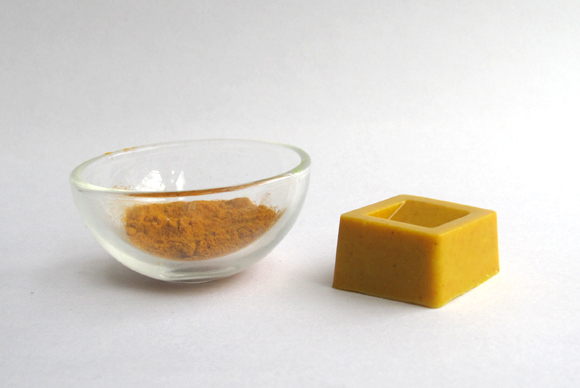
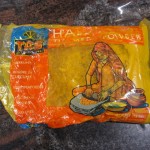
Turmeric powder is easily available at Asian markets. I added only one pinch.
- Colour: What an intense and consistent colour! It has a hint of ochre in it.
- Flavour: Not too good. It tasted a little soapy to be honest. Next time, I’ll definitely add less powder.
How to make Orange Chocolate with Chili
I ground Korean chili for this one and added 2 pinches. Korean chili is superb, seriously.
- Colour: Beautiful grainy orange.
- Flavour: Not bad at all, but very spicy! Probably best in combination with dark chocolate.
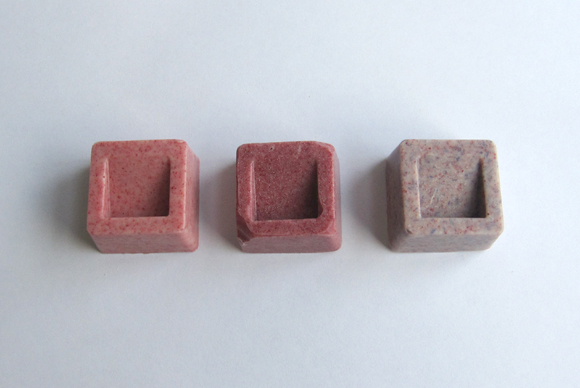
How to make Pink Chocolate with Red Berries
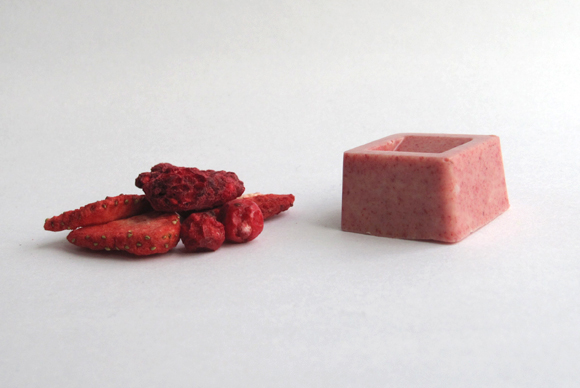
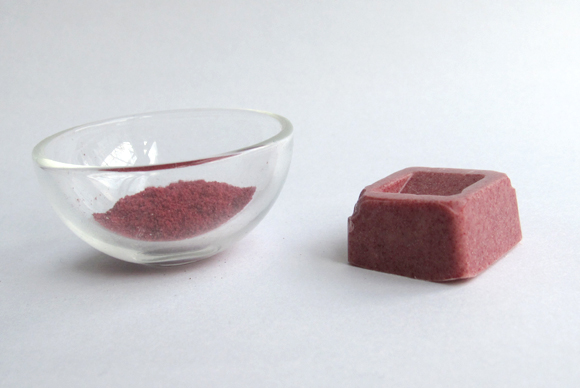
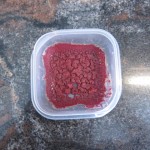
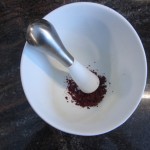
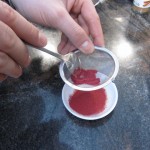
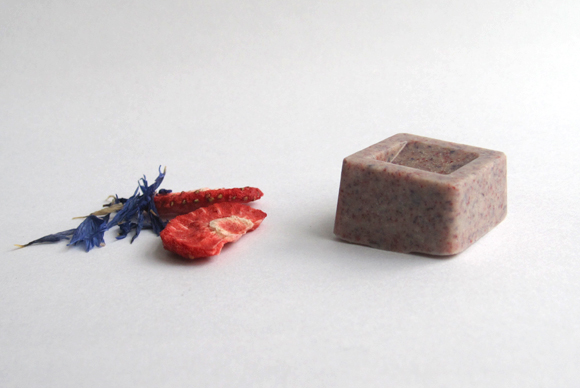
For this one, you need to grind freeze-dried red berries. Regular dried berries won’t do because they’re too chewy. It may be difficult to find this, so here’s a trick: buy Kellogg’s Special K Red Berries cereal and pick out the fruit pieces :-D. I used a freeze-dried berry selection with strawberry, red currant and raspberry. Pinches added: 3.
- Colour: Gorgeous pink with little grains.
- Flavour: Fantastic! An intense fruity aroma with a bit of a sour note. This flavour is certainly a crowd-pleaser. Be sure to make a big batch!
How to make Red(ish) Chocolate with Red Beet & Kinako
I used a little trick for this one: Mix a bit of kinako powder with and equal amount of red beet juice and heat it in the microwave for a few minutes until it’s dry. Grind it and you have sort of an instant red beet powder! I used 3 pinches.
- Colour: It’s not a profound red – it’s more like pinkish red wine colour I guess.
- Flavour: Much to my surprise it didn’t taste like beets at all. It tasted like a mixture of fruits and nuts.
How to make Purple (?) Chocolate with Red Berries & Cornflower
Grind freeze-dried red berries and dried cornflower (see blue and pink chocolate for more information) together. I used 3 pinches.
- Colour: Well, it was supposed to look like purple but actually, the colour is rather unidentifiable…
- Flavour: The berry flavour was dominant.
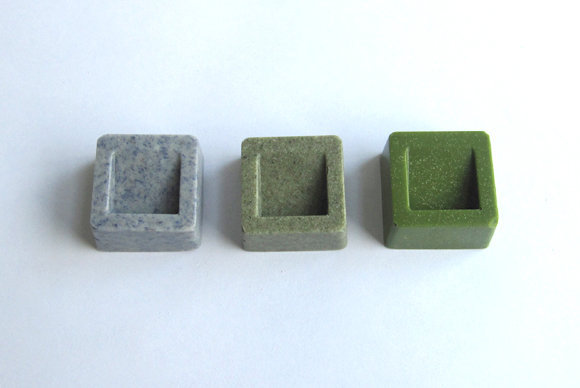
How to make Blue Chocolate with Cornflower
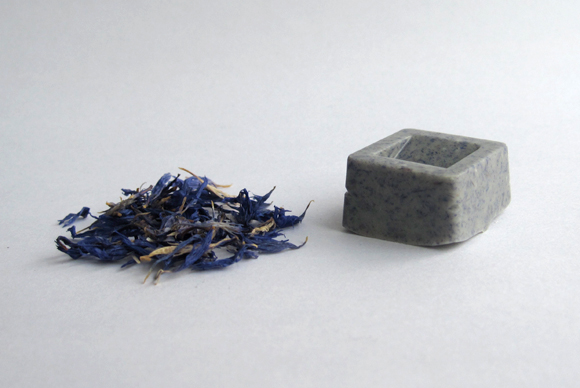
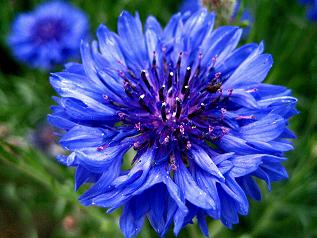
Cornflower (not to be confused with cornflour) is a flower with an intense blue colour. It’s also known under the Latin name Centaurea Cyanus. Getting dried cornflower petals is probably a bit difficult. Try your luck in stores that specialise on condiments or tea. I ground the cornflower with a few grains of salt and used 2 pinches.
- Colour: A pale, greyish blue with texture.
- Flavour: Nice, but not a very distinct aroma. It reminded me a bit of lavender.
How to make Green Chocolate with Seaweed
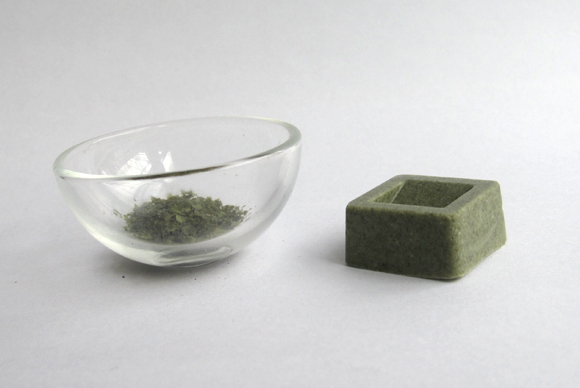
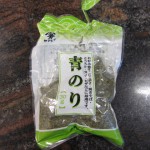
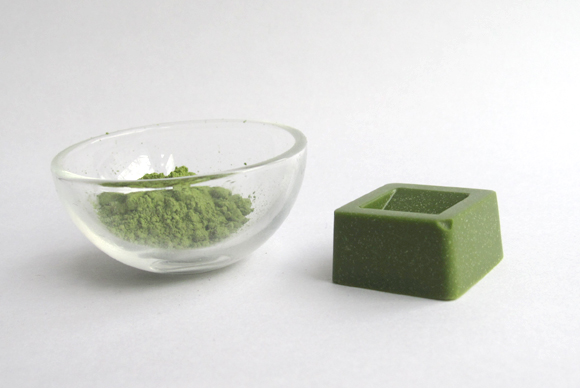
Don’t say I’m crazy! Commercially sold seaweed chocolate does exist after all. I used Aonori, which is a type of Japanese seaweed (often used as an okonomiyaki topping), but other types of thin dried seaweed layers should work fine, too. Roast the seaweed before grinding. I used 2 pinches.
- Colour: Pale olive green with little grains.
- Flavour: It’s chocolate with an intense seaweed flavour! Without a doubt, it does take getting used to. You either hate it or love it.
How to make Green Chocolate with Green Tea Powder
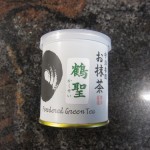
Simply use matcha green tea powder. You should be able to get this in Japanese grocery stores. One pinch was enough.
- Colour: A very strong, dark green and even colour.
- Flavour: Green tea chocolate is rather bitter, but delicious. Don’t miss out on that one.
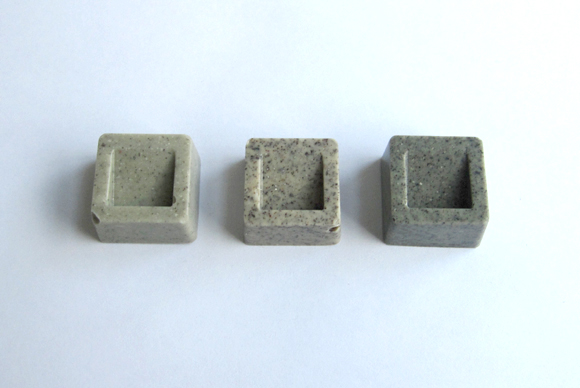
How to make Grey Chocolate with Black Sesame Dessert Powder
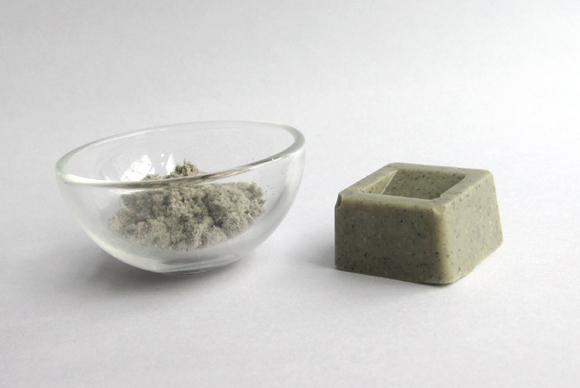
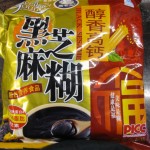
I used black sesame instant dessert powder that I bought at an Asian grocery store. I think you’re supposed to make hot sesame dessert soup with it (?). I added 4 pinches of it.
- Colour: Light grey colour with a few grains.
- Flavour: It’s okay, but not delicious. Doesn’t compare to the real thing at all.
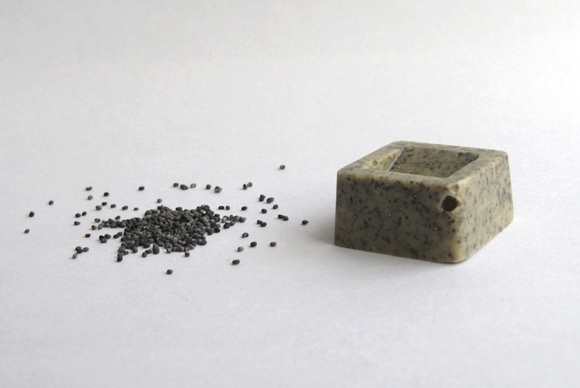
How to make Grey Chocolate with Poppy Seed
Roast the poppy seeds and grind them. You won’t get powder from this but it will blend with the chocolate anyway. I used 2 pinches.
- Colour: A grainy grey with a hint of brown.
- Flavour: I didn’t really like it. It tasted a bit like rubber. What went wrong?
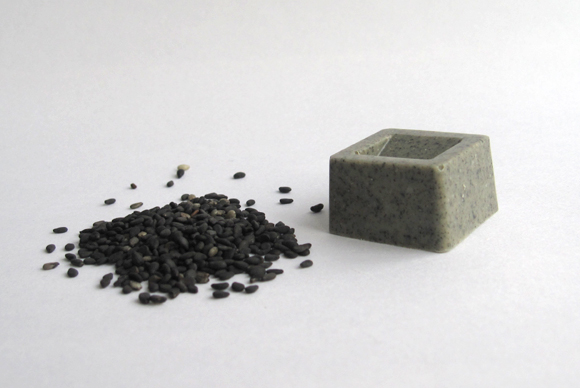
How to make Grey Chocolate with Black Sesame Seeds
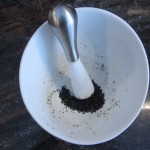
Roast and grind, just like the poppy seeds. I used 3 pinches.
- Colour: Dark grey with black grains.
- Flavour: Yummy! Intense roasted black sesame flavour with a hint of bitterness. One of the most popular flavours of this selection.
Your head is spinning with more ideas? I’d love to hear them.
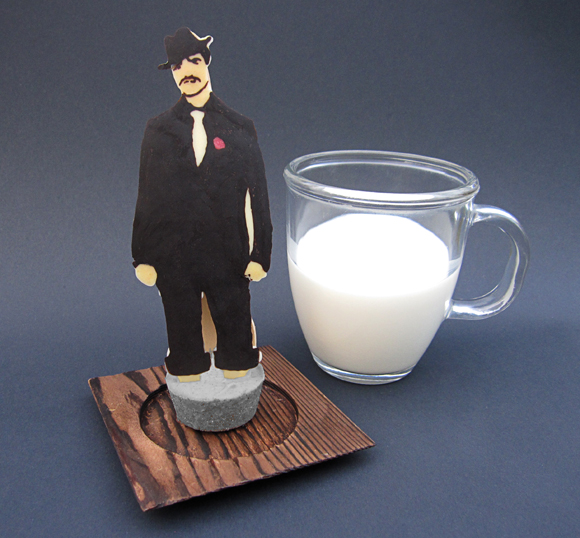
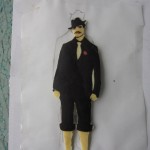
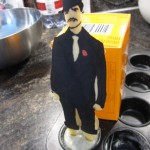
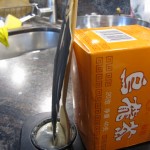
This isn’t your average hot chocolate on a spoon. It’s hot concrete chocolate on a mafia victim. Black sesame chocolate to be precise. The guy is made from chocolate, too. You’re supposed to melt the whole thing down in a cup of hot milk so you get to drink hot chocolate. There’s a wooden spoon behind the guy for stirring. This could be a nice gift for a mafia fan.
Pretty nice concept, eh? The idea originated from a Dutch/German chocolate company. They sell their Hotchocspoons in many varieties. Awesome. I’ve tried apple pie flavour, it was delicious.
The idea made its way into the foodie blogosphere where it was adapted by many. You can find neat versions of hot chocolate on a spoon/ stick for example here with marshmallows, here in heart shape, and here with sprinkles and more sprinkles. That’s what I like about the blogging network: a good basic idea becomes widely known and inspires people to share their own rendition with the public. It’s not a cycle of copying – it’s a never-ending flow of creativity and advancement.
Why did I make mafia style hot chocolate on a spoon? Well, I was thinking about making hot chocolate spoons with different colours. Grey chocolate made from black sesame was one of the things that came to my mind. And since a grey chocolate block looks like concrete… and you have to drown it in milk… it was kind of obvious that this has to be turned into the look of a mafia victim with cement shoes.
I wanted to take more pictures of the final product but at some point during the shooting the chocolate guy fell down and his head broke apart! Isn’t it ironic? It was death by decapitation although he was destined to lose his life through drowning in milk.
How to make Hot Chocolate on a Spoon – Mafia Style
Cooking Soundtrack: The Godfather Theme
- dark chocolate
- white chocolate
- freeze-dried red berries
- kinako powder (toasted soy bean flour)
- black sesame powder (such as instant powder for dessert)
- wooden spoon or stick
- ice cube tray or small muffin mold
- If you want to see a detailed explanation on how to make simple chocolate paintings, click here to see my previous post about it.
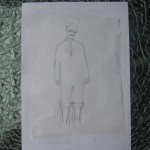
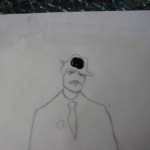
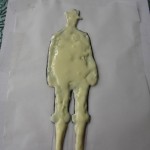
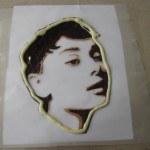
- Here’s the picture of my mafia victim, directly traced on parchment paper, ready to be painted.
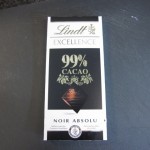
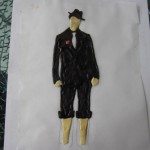
- For the dark parts, I used chocolate with 99% cocoa content. Really dark shade. And really bitter taste. That suits the theme, doesn’t it?
- Ready to be moved to the refrigerator.
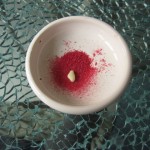
- For the rose, I powdered the freeze-dried berries and mixed them with white chocolate.
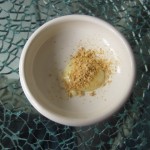
- I mixed kinako and white chocolate for the skin parts.
- After those parts have hardened up in the refrigerator as well, cover everything with white chocolate and refrigerate again.
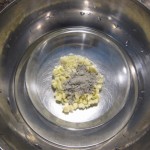
- Mix black sesame powder with white chocolate for the “concrete” and pour it into the mold. Place chocolate victim and wooden spoon inside and stabilise with box or something alike.
- Drown the guy in a cup of hot milk and let him melt down. Black sesame and dark chocolate are a great combo, believe me.
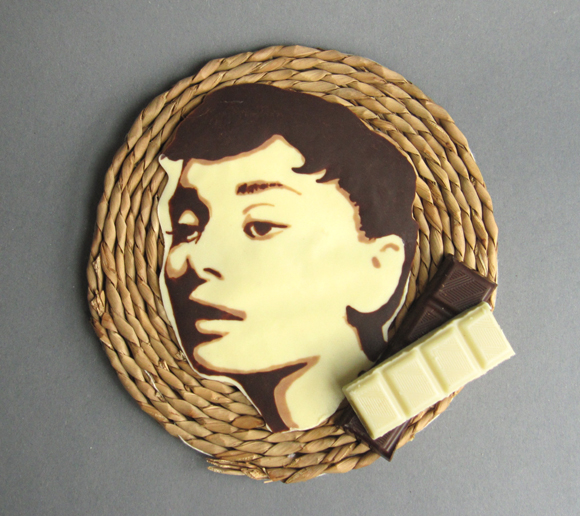
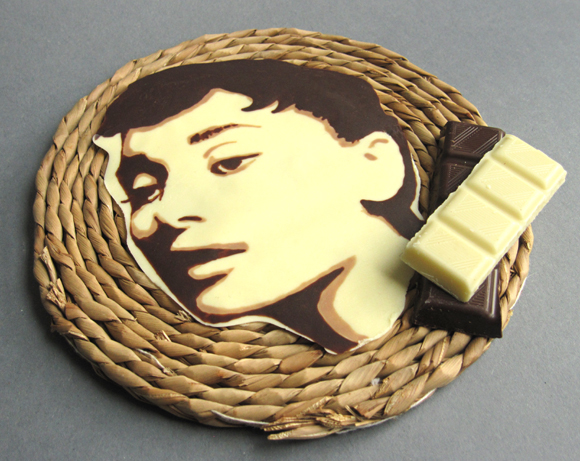
Today’s post will introduce you to a simple chocolate painting technique that yields amazing results. Don’t worry, it doesn’t require special equipment or outstanding drawing skills. You can choose any motif you want, be it pictures of friends and family, handwriting, your kid’s favourite cartoon character, an elegant pattern, a company logo or the movie star you have a crush on – almost anything can be turned into an accurate chocolate picture with this easy method. You can use it as a neat cake decoration, or serve it on a plate together with dessert.
I was thrilled when I discovered this technique on Yurin’s Obentou Blog (*3兄妹ママのお弁当ブログ*). It’s a Japanese blog that centers around kyaraben. Go have a look at it! It doesn’t matter if you can’t understand Japanese, because looking at the pictures is satisfying enough.
Basically, I will be explaining Yurin’s method here, but since I’m not using the the same material and I’ve chosen a different kind of motif I adjusted the method plus I added some personal tips.
How to make a Chocolate Painting
You will need:
- a picture subject.
- dark and white chocolate. I used regular block chocolate, the dark one had 72% cocoa content. Note that Yurin is using so called sign choco. Apparently, that’s chocolate sold in Japan for decoration purposes. It has quick drying properties, comes in a pen-shaped tube and there are different colours available. But really, regular chocolate works fine too.
- optional: food colouring. I tried regular liquid food colouring once and it resulted in a rather bad chocolate texture. I guess it’s better if you work with liposoluble food colouring or powder alternatives. I mixed white chocolate with matcha green tea powder once and it turned out well. Please tell me if you know of any other methods to colour white chocolate naturally.
- a piece or cardboard or a tray
- parchment paper
- small plastic bags
- a bamboo skewer or a toothpick
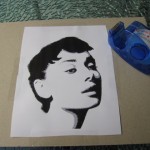
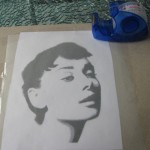
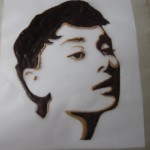
- First, think about which motif you would like to use. It’s easiest to use stylized images. Here are a few suggestions for suitable art styles: cartoon/comic, line art, stencil art, print art, art nouveau, pop art, pictograms, silhouettes and so on. You can look for stylized images through a search engine by using the named keywords, or you could trace a picture from a book or magazine directly on the parchment paper. Or even draw your original artwork on the parchment paper. Or stylize a photograph by yourself with photoshop, like I did. I took an Audrey Hepburn picture (original source) and turned it into a 3-layer stencil art following this easy youtube tutorial.
As you can see, I mirrored the image. This step wasn’t really necessary in my case, but it is especially important if you have writing on your picture. I also did some corrections with the pencil tool, like eliminating the highlight in the hair.
- If you use a picture printout, tape it to the cardboard. Then cover with a piece of parchment paper and tape that onto the cardboard as well. If you drew directly on the parchment paper, make sure the surface with your pencil marks is facing the cardboard.
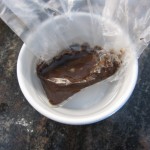
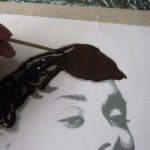
- It’s best to start painting with the darkest shade, especially when you have an image with outlines. Chop the dark chocolate finely and fill it into the corner of a small plastic bag. Fill a bowl with hot tap water, dip in the plastic bag corner and melt the chocolate, kneading it from time to time to make sure there aren’t any clumps. The temperature of the water shouldn’t exceed 50°C.
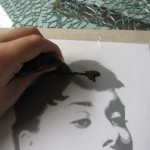
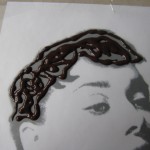
- When the chocolate is melted, cut away the tip of the bag corner and you can start drawing the dark layer. On large surfaces, you can apply the chocolate directly from the bag. For fine details, use the bamboo skewer. You can also pipe a bit of chocolate on a plate, dip the skewer in it and draw. The bag keeps the chocolate from cooling too quickly so only pipe out a little a time. When your done, let the painting cool down in the refrigerator.
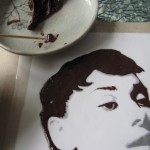
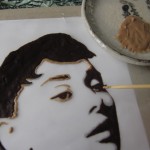
- Now it’s time to apply the midtones. I mixed Moneygram fees dark and white chocolate together to get the colour I wanted. When drawing, it’s okay to overlap the dark chocolate areas since it won’t shine through later. Refrigerate again when you’re done.
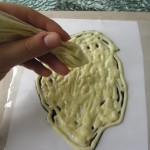
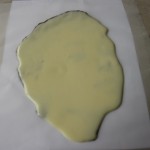
- At last, apply the white chocolate background. This is the easiest drawing step because you can just splash and disperse it. Make this layer thick enough to give the chocolate stability. Be careful not to use overheated chocolate or your previous work will melt away! Shake the picture a bit so prevent air bubbles. Refrigerate for one last time.
- Carefully turn the chocolate over when it’s firm. Don’t touch it with your bare hands – use gloves or a napkin. You’re done!
A few last words: The chocolate has a rather soft texture when at room temperature and melts as soon as you touch it. That can be a desirable state if you’re using the chocolate picture as a cake frosting for example. If you’re aiming for a chocolate picture with a very shiny surface that snaps, you have to put in some extra effort when heating the chocolate. Research chocolate tempering if you’re interested.
Have fun with this cool technique! And please let me know if you have additional tips! :-D
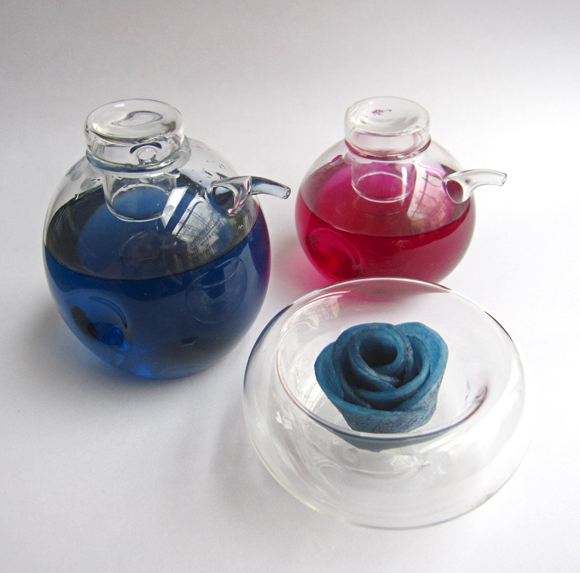
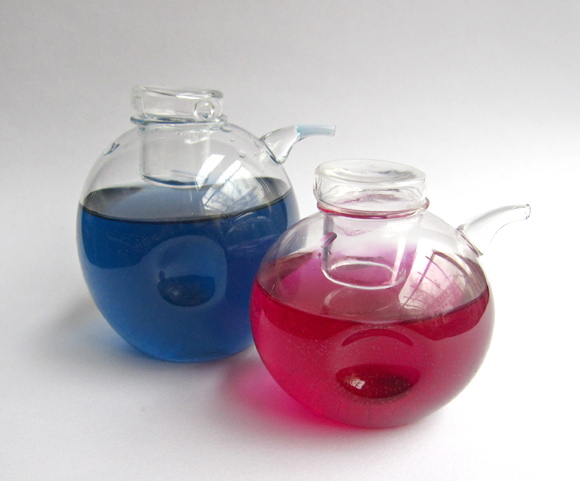
In this tutorial, you can learn how to make natural blue and purple food colouring that can be used to dye savoury dishes. It’s quite simple – all the ingredients you need are red cabbage, vinegar and baking soda. Red cabbage is a vegetable with an interesting property: it serves as an ph indicator. Wikipedia quote: “Red Cabbage juice is pink in acidic solutions, purple in solutions of ~pH7, and turns blue in basic solutions, and green in very basic solutions.” Amazing, isn’t it? We can obviously use that to our advantage.
Oh and you can learn how to make use of the homemade colouring. There are instructions for making a blue radish rose at the bottom.
Homemade Blue & Purple Food Colouring
Cooking Soundtrack: Elvis Presley – Blue Suede Shoes
- red cabbage
- acidic ingredient, for example regular vinegar
- alkaline ingredient, for example baking soda
- Wash the cabbage and cut out the stem.
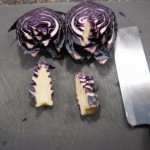
- Chop into small pieces.
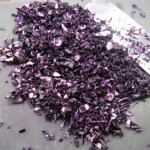
- Put it into a cooking pot and add water until the cabbage is covered.
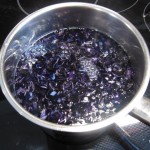
- Simmer for 10 minutes, then drain.
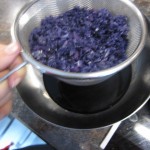
- You now have a purple solution that still has cabbage aroma to it. Add vinegar for a more pinkish purple and baking soda for blue. Start with small amounts and gradually increase until you reach the desired colour. Keep in mind that vinegar and baking soda affect the taste of the food colouring, so don’t overdose it. Plus I guess eating too much baking soda may bear a health risk.
- You can substitute vinegar with other acidic solutions, for example white wine or lemon juice. Baking soda can be substituted with spinach juice, green tea and other alkaline food.
- You can dye a variety of food with this colouring. White food items are most prone to absorb the colour. Examples: cauliflower, couscous, pasta, egg whites, mashed potatoes, steamed bread, white radish etc.
- Be aware of pH values when mixing your food colouring with other ingredients. It’s impossible to dye a vinegar based salad dressing blue for example. Making blue yogurt probably requires an extra pinch of baking soda, and so on.
- The colour of red cabbage juice in itself isn’t susceptible to heating but telling from my experience that isn’t the case when you add baking soda. Heating the food colouring AFTER you’ve added baking soda turns the mixture greenish. So I suggest you either add the baking soda after the cooking process of the dish has finished, or, if that’s not possible, like in the case of steamed bread, you simply reduce the amount added and experiment a bit.
How to make a Blue Radish Rose
- white radish
- salt
- blue food colouring
- sugar
- Peel and slice the radish with a mandoline. I made 1mm slices.
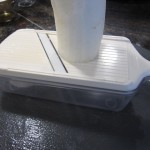
- Sprinkle a bit of salt on the bottom of a container, then place the slices inside and sprinkle with salt again. Let it stand for 15 minutes.
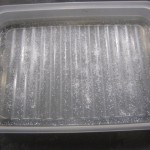
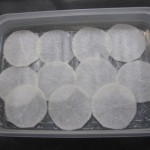
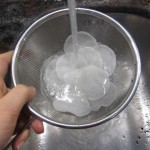
- Wash the salt away and add food colouring mixed with a tsp of sugar to the container so the slices are covered well. Let the radish absorb the colour for a few hours.
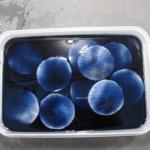
- When the desired nuance is obtained, layer 6 slices like shown in the picture.
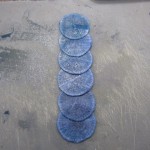
- Roll them. Cut the roll in the middle and pull the “petals” of the roses apart. If that’s hard to do, cut a bit of the bottom part away.






 Get updates via twitter
