Archive for the ‘Starter’ Category
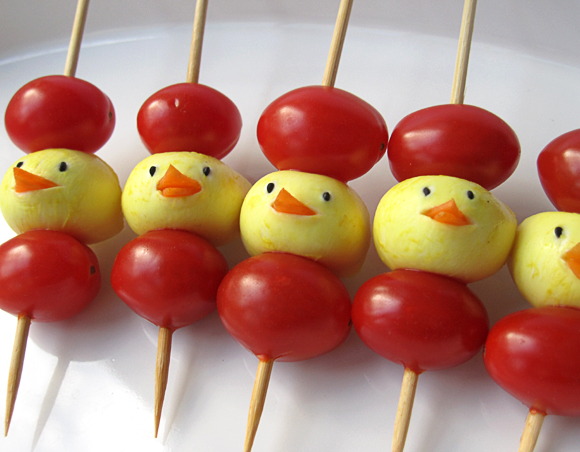
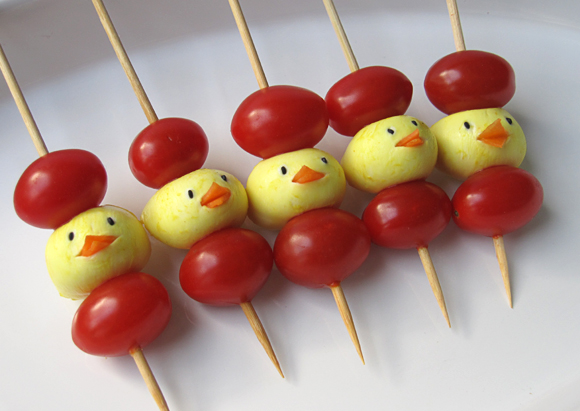
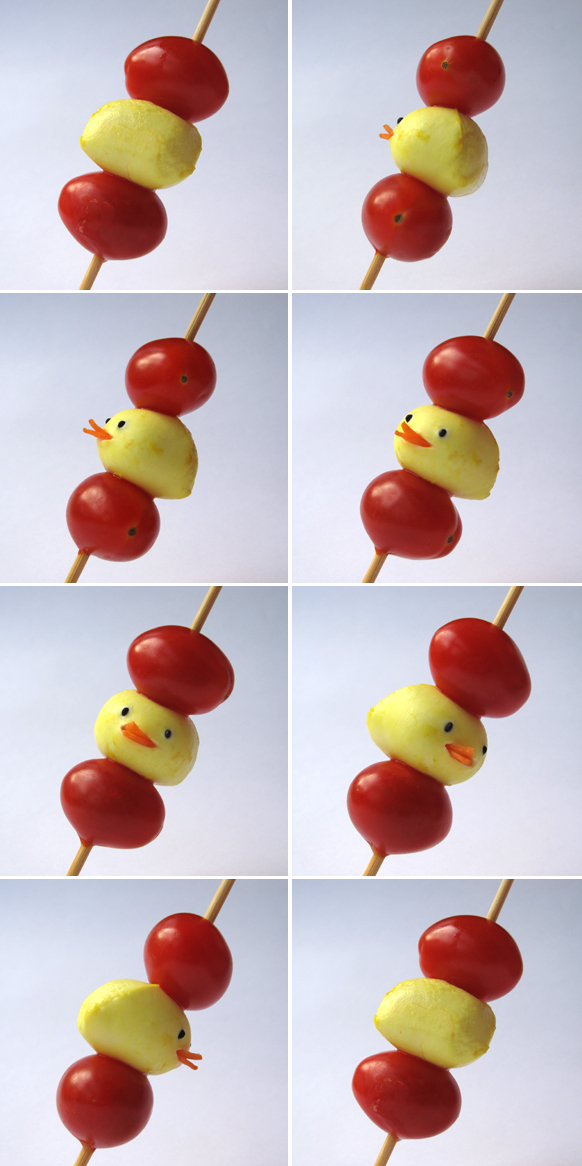
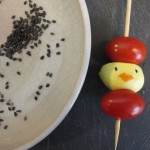
A neat snack for your spring theme party or Easter celebration: mozzarella chicks marinated in curry and cherry tomatoes on a stick. Easy to make and it will sure impress kids or grown-up lovers of cute food. You can serve these skewers as a party snack, garnish salads with it, take them to a picnic or put them in a lunchbox.
I prepared these skewers before Easter but didn’t find time to post it until now, sorry :-P
There’s this gorgeous food blog called L’exquisit where I’ve seen these neat Italian lollies made with mini-mozzarella and cherry tomatoes. I really like the presentation and wanted to make something similar. In the end, it turned out to look quite different but oh well, the ingredients are still alike.
How to make Mozzarella Chicks & Cherry Tomato Skewers
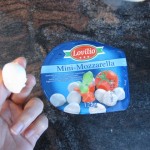
- mini-mozzarella (if you can’t get your hands on this, you can probably replace it by scooping out balls from other cheeses like gouda, etc. Cube-shaped pieces might be nice as well. Or smash and mix feta with cream cheese to form little balls.)
- curry powder
- carrot
- black sesame
- cherry tomatoes (must be oval-shaped if you want to make hearts)
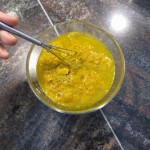
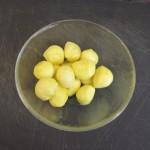
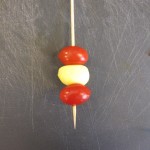
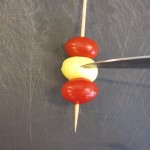
- Marinate the mozzarella in a 1:3 curry-water mixture for about an hour, then rinse gently with cold water. Pierce mozzarella and cherry tomatoes with a skewer.
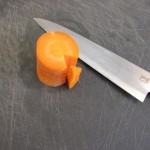
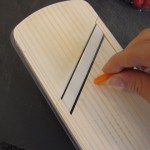
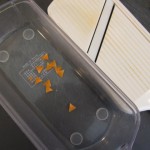
- Cut out a triangle from a carrot like shown in the picture and then slice it thinly with a knife or mandolin slicer.
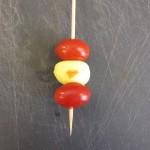
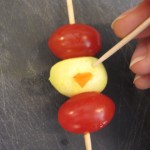
- Slit the mozzarella a little and place 2 carrot triangles inside.
- Pierce 2 holes with a toothpick and stick in 2 black sesame seed.
- For making heart-shaped cherry tomatoes, refer to this post: http://eyecandy.nanakaze.net/?p=128
I suggest serving the skewers with an olive oil-based dip. Any suggestions?
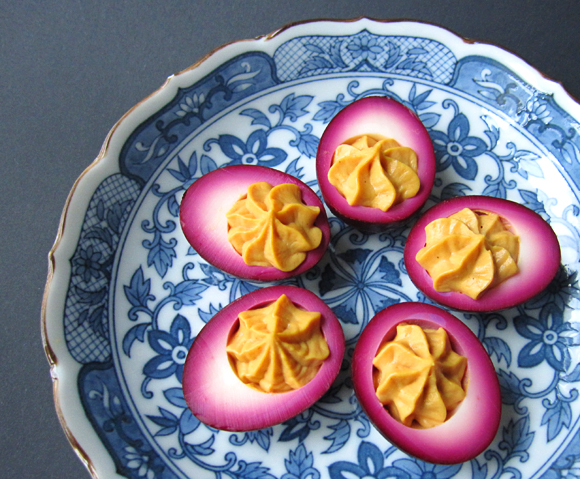
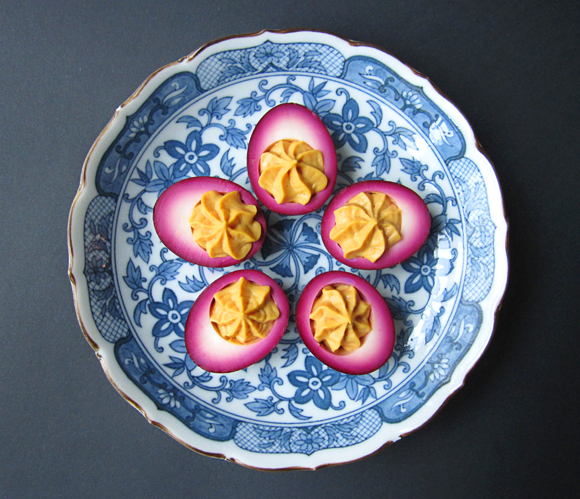
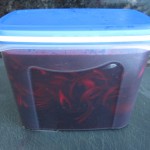
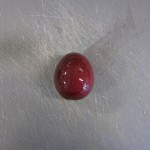
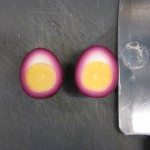
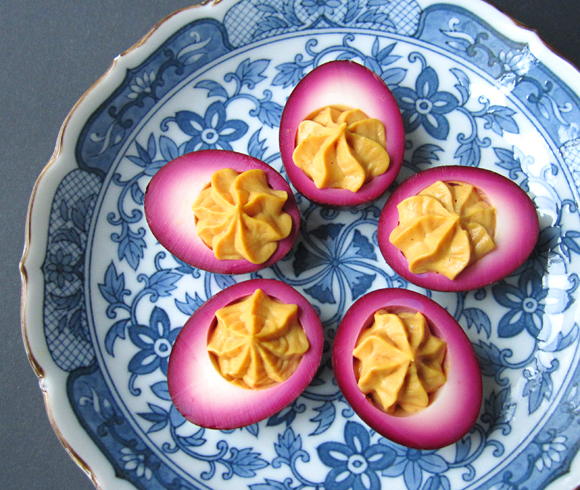
These hard-boiled eggs were pickled in a beet and white vinegar solution, then sliced in half and filled with an egg yolk-mayonnaise-mustard cream. They gain their colour from the redness of the beet and have a pungent sweet and sour aroma that goes well with the spicy cream filling.
While I’ve seen and eaten many deviled egg dishes in my life, beet-pickled eggs are new to me. Like my friend Wikipedia told me, they seem to be a classic dish popular in Pennsylvania. Dear American readers: I am sorry that for you, this post probably only evokes yawning. For me as a person from the other side of the Atlantic, where beet-pickled eggs are unheard of, the fascination still lingers :-D
Pickled & deviled beet eggs are easy to make and could be served as a pretty and delicious appetizer. Why not include them in your Easter menu?
Pickled & Deviled Beet Eggs (makes 12 pieces)
I looked at different recipes and came up with this. It’s probably not really authentic, but it tasted alright I thought. Feel free to tweak it with the addition of seasonings and such.
- 6 small eggs
- about 3 cups finely shredded red beet or its juice
- 1 cup apple cider vinegar (can be replaced with white vinegar)
- 1/2 cup sugar
- 1 onion
- 4 Tbs. mayonnaise
- 4 tsp. mustard
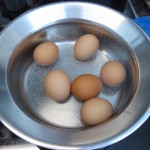
- Make hard-boiled eggs and peel them. The perfect egg boiling method from e-how for example works good for me.
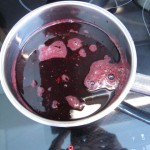
- Combine beet (juice), vinegar and sugar. Bring to a boil and stir until the sugar dissolves. Let it cool down for a bit.
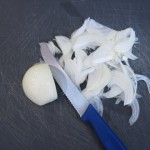
- Slice the onion thinly and add to the beet vinegar mixture.
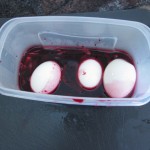
- While the liquid is still a bit warm, fill a container that’s large enough with the eggs and the liquid alternatively.
- Seal and store in the refrigerator.
- After about 2 days, the eggs will be ready. Take them out and rinse them shortly with cold water.
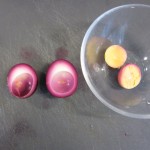
- Slice the eggs lengthwise and carefully remove the egg yolks.
- Mash the egg yolks with a fork and mix them with mayonnaise and mustard.
- Fill the egg yolks into the egg halves with a piping bag. Done!
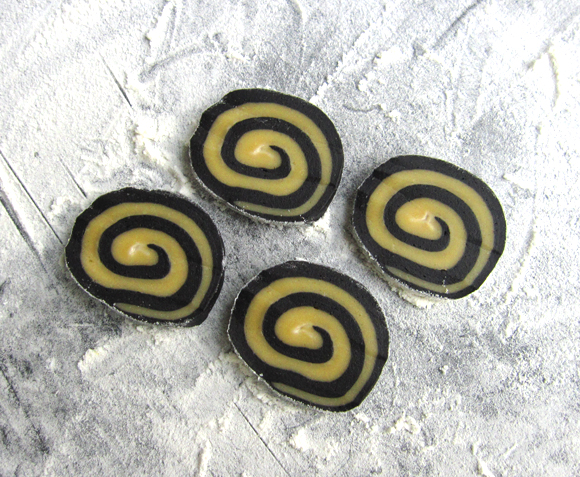
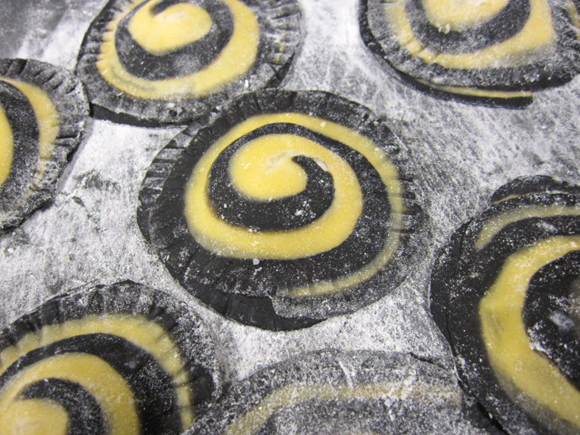
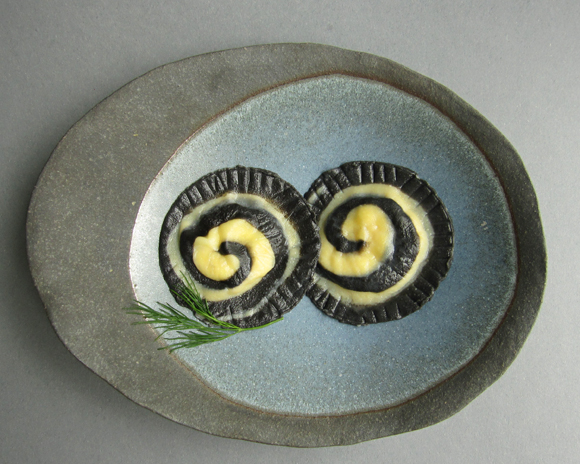
Homemade squid ink spiral ravioli with fish filling! The swirl pattern is an eye-catcher. This could be a neat main dish for a black and white party menu. Don’t worry, you can make the pasta without any machine.
You’ve surely seen spiral cookies before – they are easy to make and look nice. If you can make a spiral pattern with cookie dough, why not try it with pasta dough I thought. It’s just as easy as making the cookie version. The main difference is that the slices should be thinner and you have to make sure that the different dough parts stick well together before cooking.
With the method I show here, you could apply all sorts of cross-section patterns to pasta. An open field for your creativity! Next on my to-do list are checkered pasta and panda pasta :-D
I chose white fish filling for the ravioli because it has a neutral colour that isn’t noticeable through the pasta dough and the flavour goes well with squid ink (recipes is at the bottom).
Homemade Spiral Ravioli Recipe (makes 10-12 pieces)
Cooking Soundtrack: Jan Garbarek with Keitgh Jarrett – Spiral Dance
Spiral Squid Ink Pasta
- 60g (ca. 4 Tbs) all-purpose flour
- 60g (ca. 4 Tbs) semolina (durum wheat flour). For those who live in the German area: Kauft einfach Spätzli- bzw. Spätzlemehl, das besteht ganz oder zum Teil aus Hartweizendunst.

- 1 egg, beaten
- 2 tsp olive oil
- 4 tsp water
- 1/2 – 1 tsp squid ink
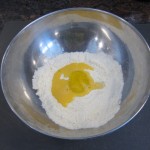
- Mix half the amount of all the ingredients except the squid ink together in bowl with a spatula. Remove from bowl and knead until you get a smooth and soft dough.
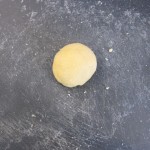
- Do the same with the other half of the ingredients including the squid ink. Wrap the doughs separately in plastic foil and let them rest for an hour at room temperature.


- Place the the doughs one after another between 2 sheets of plastic foil and roll out evenly to a thickness of 5mm. Why plastic wrap and not a floured surface you might ask. Well, we want to preserve the moisture. Stickiness is good in this case!

- Brush the surface of one of the doughs generously with water. Place the other dough on top and roll out again until you reach a thickness of 5mm. Wrap and refrigerate for about 30 minutes.

 Trim away part of the edges where the doughs don’t overlay.
- Flatten the 2 short edges.

- Brush water on one of the edges and carefully roll it. Use pressure and avoid trapping air inside.


- Brush a small part of the surface that lies ahead with water and roll by pulling the plastic foil. Use the blunt side of a knife to make the roll firm (like shown in the picture). Repeat this steps until you reach the end. Smear the edges with your fingers.


- Wrap it in plastic foil (looks like a salami!) and put it in the freezer for 30 minutes.

- Now the most thrilling step: Slice the dough and do a victory dance if the spirals turned out well.

- Roll the slices out thinly on a floured surface.

- Put 1 tsp of ravioli filling in the middle of a slice. Damp the brim, place another slice on top and press on the brim with a fork.


- Simmer in salted water for 5 minutes.

- Serve with butter and dill. Yeah.
Pikeperch Fish Filling for Ravioli from Pauli – Rezeptbuch der Küche
- 120g pikeperch filet, cut into small cubes
- 100g cream, 35%
- 12g pasteurised egg white (I left that one out)
- fresh dill
- salt, pepper
- Blend fish, salt, egg white and half of the cream together in a mixer.
- Transfer the mixture to a chromium steel bowl and stack on top of another bowl filled with ice water. Stir.
- Sieve the mixture and cool again.
- Lightly whip the rest of the cream and add it together with dill, salt and pepper to the mixture.
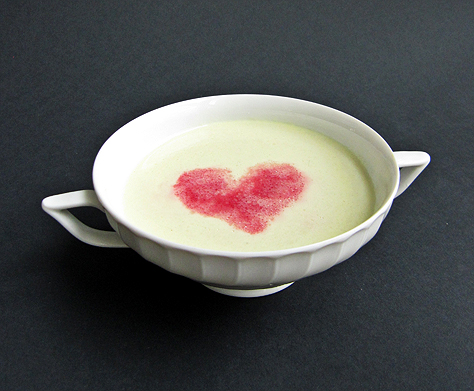
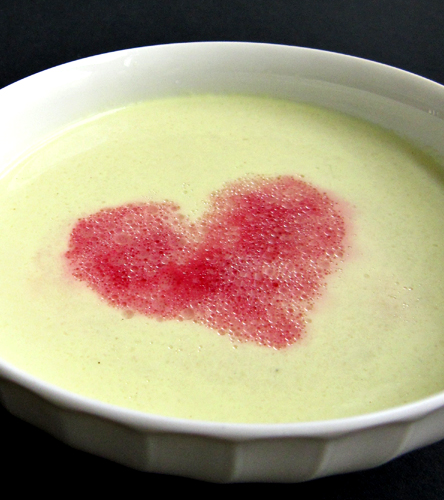
This heart-warming cauliflower coconut soup has a mild flavour and is an ideal starter for a Valentine’s Day menu. Click here for more Valentine’s Day recipes.
Heart-warming Cauliflower Coconut Soup (serves 2)
- 1 small onion
- 1 Tbs butter
- 200g cauliflower (about 4 florets)
- a pinch of sugar
- 1/3 cup white wine
- 1 cup chicken or vegetable stock
- 2/3 cup coconut milk
- salt & pepper
- 1 tsp canola oil and 1 tsp red beet juice for the heart
- Chop onion into small cubes and sauté in the butter for about 5 min. on medium heat.

- Cut the cauliflower into small bits and add it to the onions. Add the sugar and stir-fry for a few minutes.

- Add the white wine and let it boil down.
- Add the stock and boil for about ten minutes until the cauliflower bits are tender.

- Add coconut milk, salt and pepper an briefly heat it up.

- Blend and sift the soup.

- For the red heart, mix canola oil with beet juice and carefully place one teaspoon per bowl on top of the soup surface. Shape the dot into a heart with the help of a toothpick.
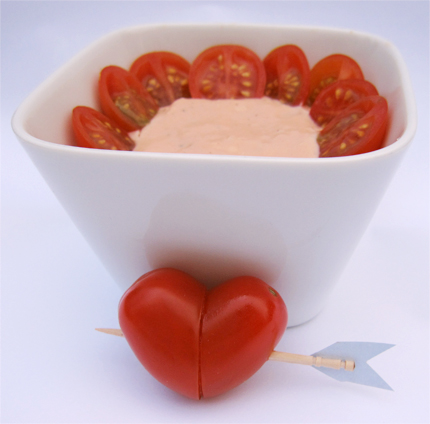
Struck by Cupids Arrow Cherry Tomatoes with Cocktail Sauce is a quick and easy snack or starter for your valentine’s day celebration. Only 2 cuts are required to turn the cherry tomatoes’ shape into a 3-dimensional heart – that’s how easy it is. Click here for more Valentine’s Day recipes.
I came up with this idea after I had watched a segment of a Japanese news program about Mrs. Soejima, a grocery store worker and wiener artist. She shows customers how to transform wieners into animals and flowers. (EDIT: I’m sorry, the video has been deleted. You can click here though to see some amazing screenshots.) Awesome. But the piece of art that truly caught my eye was the sausage heart you can see shortly at the end of the video. Such a simple yet brilliant idea.
I wondered about which other food items this technique could be applied to, so I brainstormed for oval-shaped edibles (since this is an obvious requirement) and came up with cherry tomatoes among other things. Cherry tomatoes seem to be perfect: they have a bright red colour, are bite-sized and there are some oval shaped varieties. Unfortunately, it’s very hard to get your hands on the ones that are long enough to do the heart cut shtfplan.com like shown in the example with the wiener. But don’t despair yet! Using simply 2 cherry tomatoes instead of 1 per heart will do the trick.
Struck by Cupid’s Arrow Cherry Tomatoes for Valentine’s Day (20 pieces)
Cooking Soundtrack: Sam Cooke – Cupid
- 40 oval cherry tomatoes
- 20 toothpicks that look like arrows
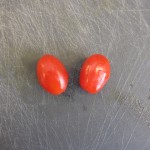
- The longer your tomatoes are, the better! The variety I’m using here is called Perla.

- Arrange the tomatoes in pairs that roughly have the same size.

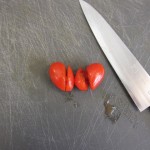
- Diagonally cut away about 1/4 to 1/3 of the tomato, ideally at 45 degrees.

- Assemble the 2 bigger parts to a heart and stick them together with a toothpick.

- Don’t throw away the small parts. They can later be used to garnish the cocktail sauce.

Cocktail Sauce Dip
- 85g mayonnaise
- 40g ketchup
- 1 Tbs yogurt
- 1 tsp grated horseradish
- 1 Tbs lime juice
- 1 tsp rum
- salt, pepper & paprika
- Mix all ingredients and garnish with the cherry tomato leftovers. Voilà!
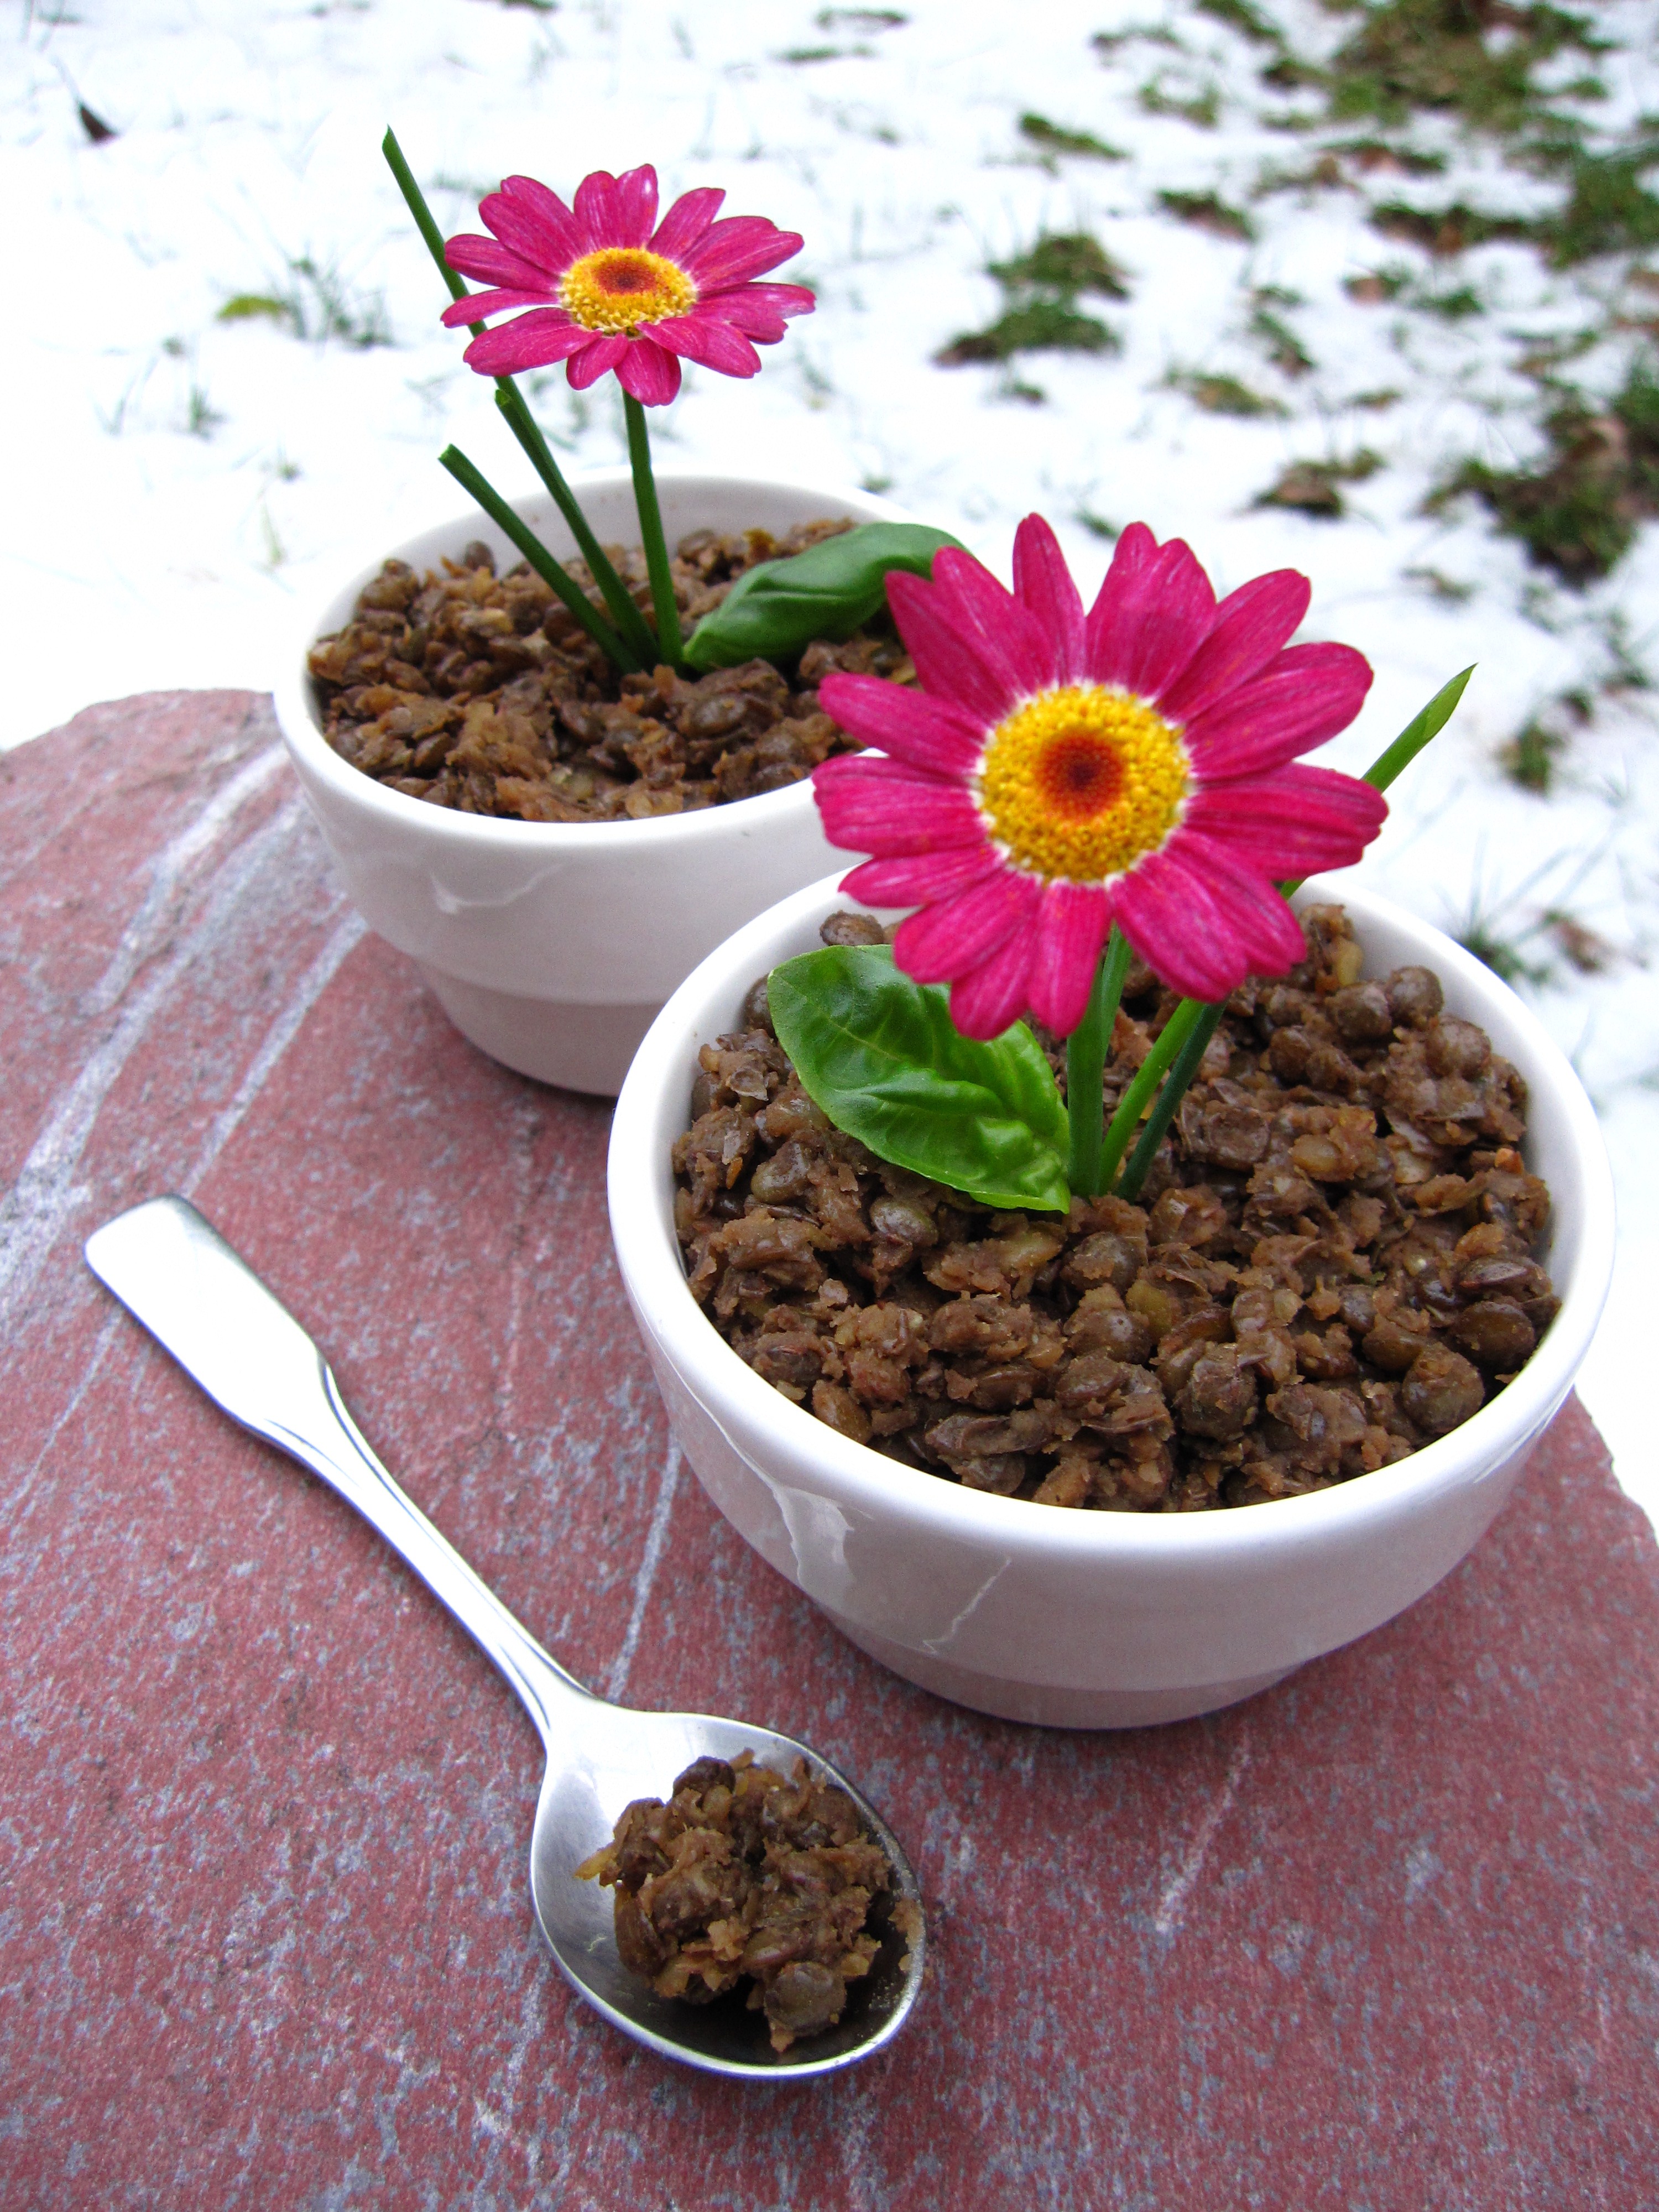
Mashed green lentils look like soil – so let’s make the best of it! That is to say, a fake flower pot.
Lentil Salad & Edible Flower Garnishment (2 servings)
- 100g green lentils
- 200ml cold water
- 1 small onion, chopped
- 1 garlic clove, mashed
- 2 Tbs balsamic vinegar
- 2 Tbs olive oil
- 1 tsp soy sauce
- pepper
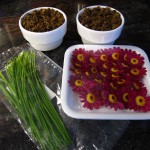
- edible blossoms (for example daisies), chives and basil
- optional: bacon, sweet corn, carrots, celery etc.
- Rinse and drain the lentils.
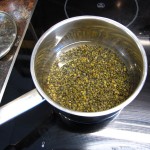
- Add the lentils to a cooking pot and pour in the water. Do not add any salt. Bring to a boil and let it simmer for about 25 minutes. It is okay if the lentils are slightly overcooked.
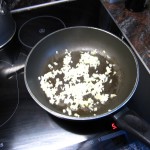
- In a pan, sauté the onion and the garlic in 1 Tbs of the olive oil until brown.
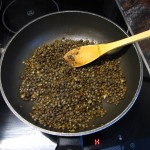
- Add the lentils to the pan and stir for a few minutes.
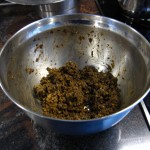
- Transfer everything into a bowl and mash it a bit with a fork. While still warm, mix in balsamic vinegar, remaining olive oil, soy sauce and pepper.
- When the salad has cooled down, fill it into the dish you would like to serve. Since this is a very basic lentil salad, I suggest adding some other ingredients such as bacon and vegetables. You can “hide” them at the bottom of the serving dish and the cover them with the basic lentil mixture.
- Arrange blossoms, chives and basil. You might have to use a tooth pick. Stick it into the lentil salad. Enjoy!
- Step 2.
- Step 3.
- Step 4.
- Step 5.
- Step 7.









 Get updates via twitter
