Archive for the ‘Party Snack’ Category
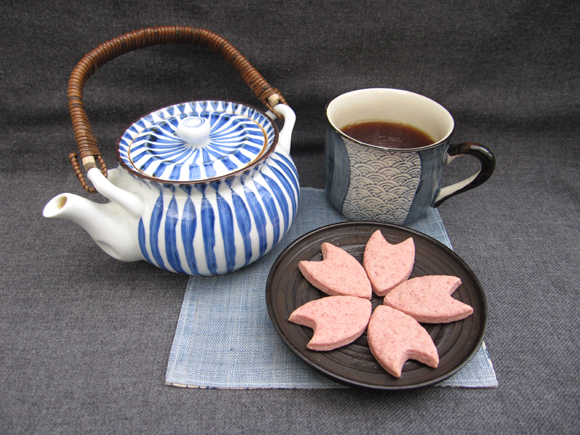
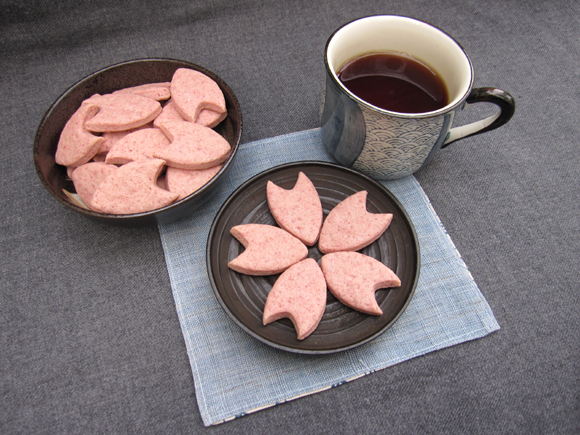
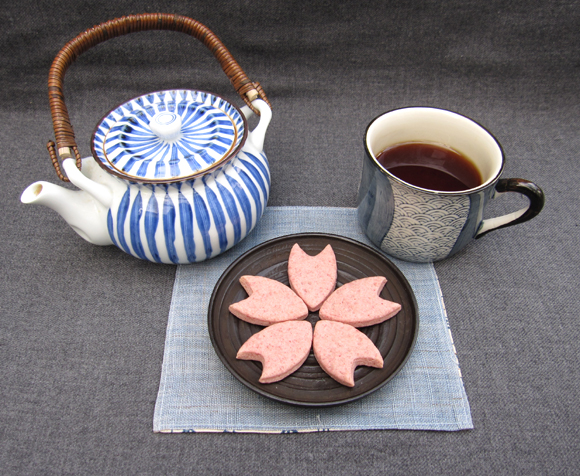
By now we have certainly reached the point where we have to bid farewell to the cherry blossom season. But even though we can’t gawk at the pretty trees blooming in pink anymore, we can still bake cherry blossom cookies! You won’t even need to buy a new cookie cutter. A regular circle one works just as fine after a little tampering.
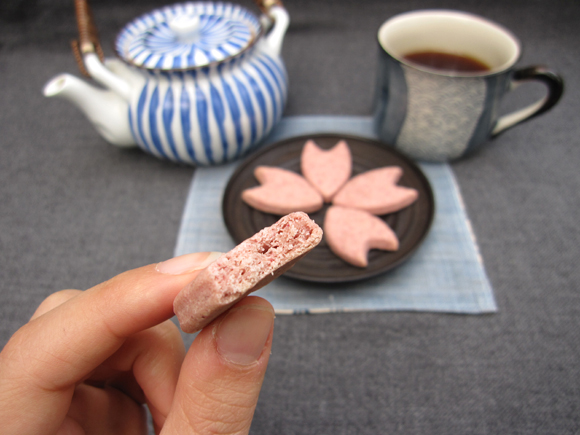
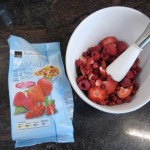
These cookies owe their bright pink colour and intense strawberry aroma to a special natural ingredient: freeze-dried red berries! You might remember my instructions for making delicious pink berry chocolate with this ingredient from this post. Your local supermarket may sell freeze-dried berries (such as Coop in Switzerland), otherwise try looking for them in specialty stores or simply buy a box of cereals that contain freeze-dried berries and pick them out by hand :-D
I suggest serving the cherry blossom cookies with a cup of hot vanilla-scented black tea, for example Twinings’ Vanilla Black Tea. Enjoy!
Recipe for Pink Cherry Blossom Cookies with Strawberry Yoghurt Flavour
(makes 2 baking trays full of cookies)
Based on this recipe for Coffe Glazed Yoghurt Cookies
- 125g butter, room temperature
- 100g sugar
- 1 egg
- 4 Tbs strawberry yoghurt
- about 30g whole freeze-dried berries or 20g freeze-dried berry powder (I used a mixture of strawberry, raspberry and red currant sold at Coop)
- 300g all-purpose flour
- 25g cornstarch
- 1/4 tsp baking powder
- 1/2 tsp salt
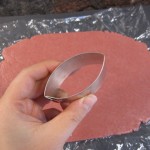
- a round cookie cutter squished to an almond shape
- Preheat oven to 150°C.
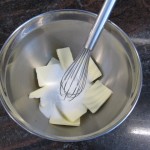
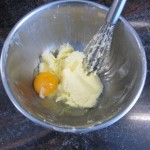
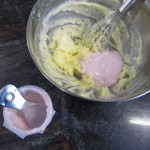
- First, beat butter and sugar. Then add the egg and yoghurt and beat well.
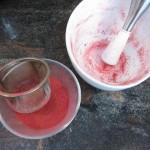
- If you are using whole freeze-dried berries, grind them and sieve the powder to remove the seeds.
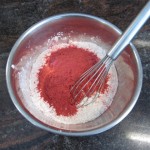
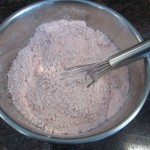
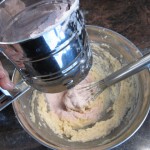
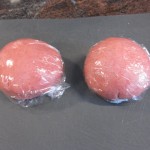
- Combine freeze-dried berry powder, flour, cornstarch, baking powder and salt and sift everything into the butter mixture. Knead well. At this point you’re supposed to notice a fruity fragrance. Divide the dough in tw0 and refrigerate for about an hour.
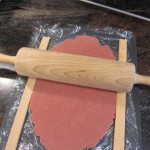
- Roll the dough to a thickness of 0.5cm.
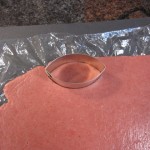
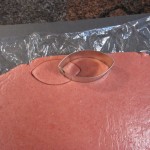
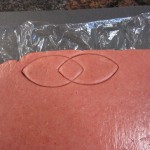
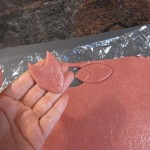
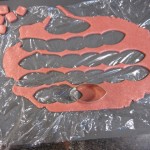
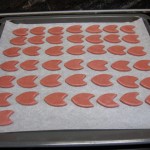
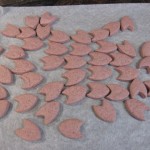
- Cut out cherry blossom petals with your cookie cutter by overlapping the pattern like shown in the pictures.
- Bake for 20-25 minutes.
- Voilà, pink cherry blossom cookies! Let them cool down before serving.
Have a nice tea party.
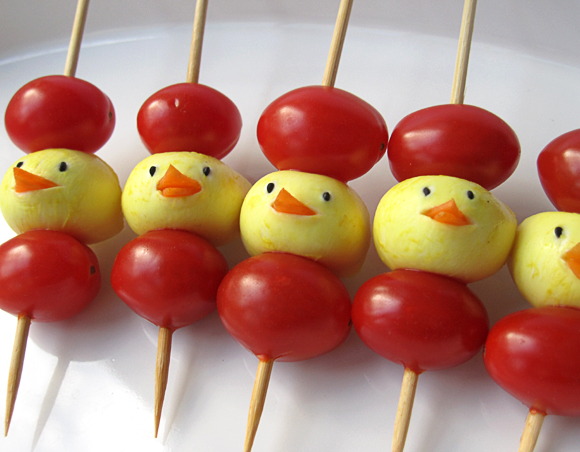
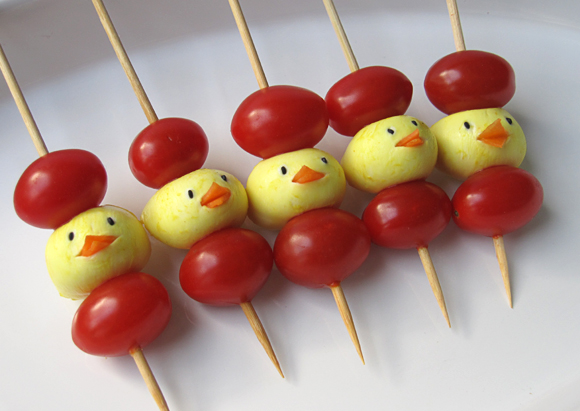
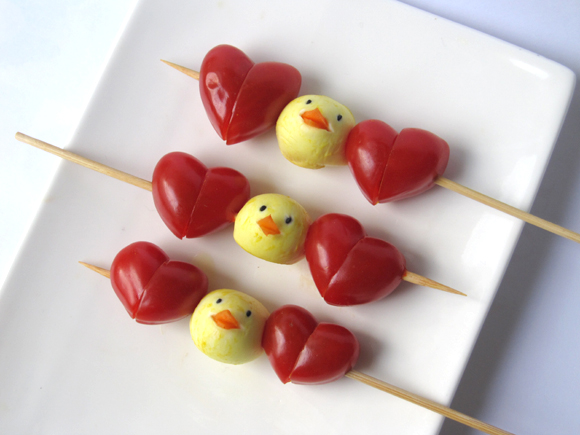
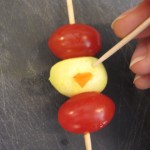
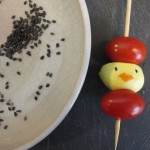
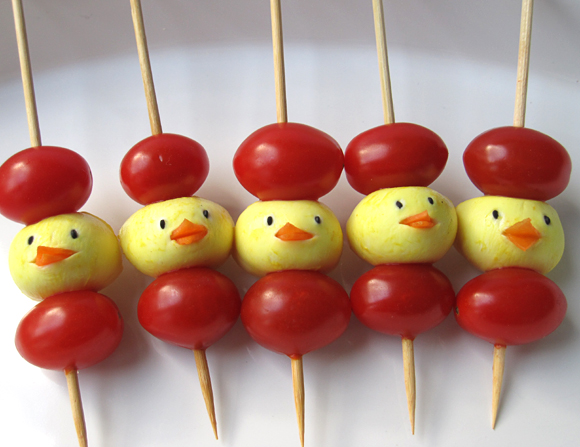
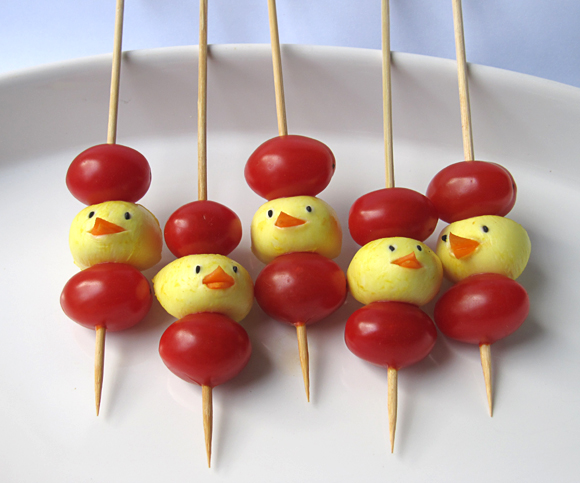
A neat snack for your spring theme party or Easter celebration: mozzarella chicks marinated in curry and cherry tomatoes on a stick. Easy to make and it will sure impress kids or grown-up lovers of cute food. You can serve these skewers as a party snack, garnish salads with it, take them to a picnic or put them in a lunchbox.
I prepared these skewers before Easter but didn’t find time to post it until now, sorry :-P
There’s this gorgeous food blog called L’exquisit where I’ve seen these neat Italian lollies made with mini-mozzarella and cherry tomatoes. I really like the presentation and wanted to make something similar. In the end, it turned out to look quite different but oh well, the ingredients are still alike.
How to make Mozzarella Chicks & Cherry Tomato Skewers
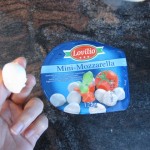
- mini-mozzarella (if you can’t get your hands on this, you can probably replace it by scooping out balls from other cheeses like gouda, etc. Cube-shaped pieces might be nice as well. Or smash and mix feta with cream cheese to form little balls.)
- curry powder
- carrot
- black sesame
- cherry tomatoes (must be oval-shaped if you want to make hearts)
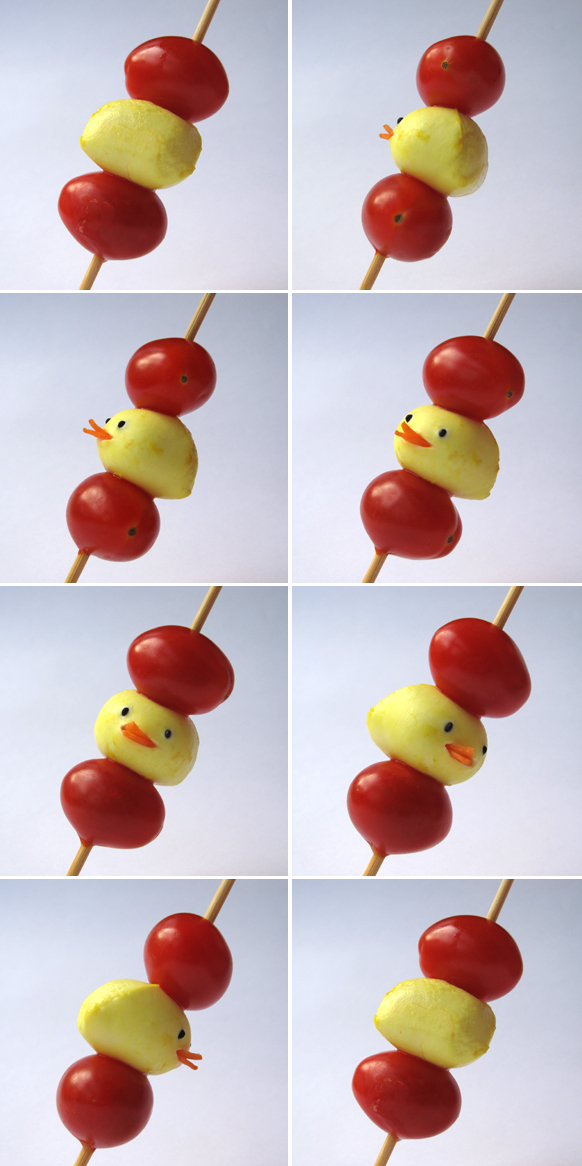
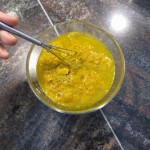
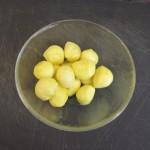
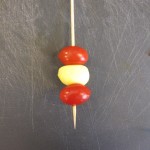
- Marinate the mozzarella in a 1:3 curry-water mixture for about an hour, then rinse gently with cold water. Pierce mozzarella and cherry tomatoes with a skewer.
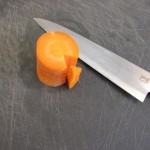
- Cut out a triangle from a carrot like shown in the picture and then slice it thinly with a knife or mandolin slicer.
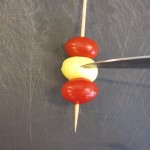
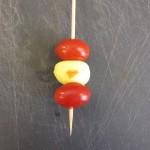
- Slit the mozzarella a little and place 2 carrot triangles inside.
- Pierce 2 holes with a toothpick and stick in 2 black sesame seed.
- For making heart-shaped cherry tomatoes, refer to this post: http://eyecandy.nanakaze.net/?p=128
I suggest serving the skewers with an olive oil-based dip. Any suggestions?
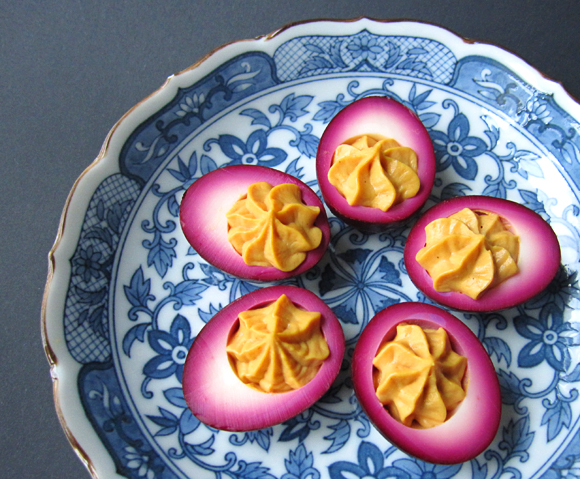
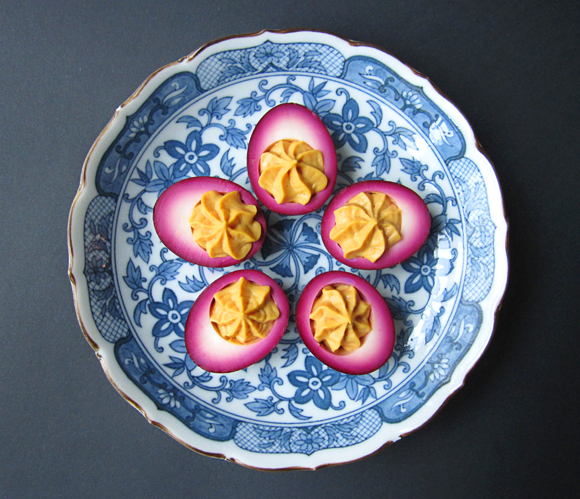
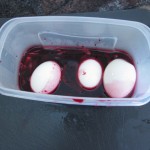
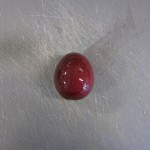
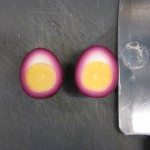
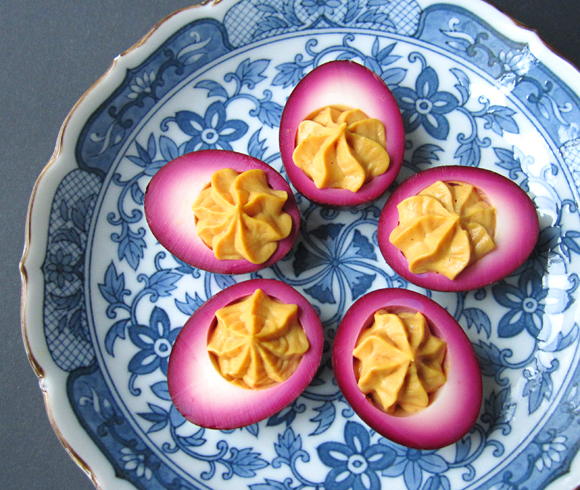
These hard-boiled eggs were pickled in a beet and white vinegar solution, then sliced in half and filled with an egg yolk-mayonnaise-mustard cream. They gain their colour from the redness of the beet and have a pungent sweet and sour aroma that goes well with the spicy cream filling.
While I’ve seen and eaten many deviled egg dishes in my life, beet-pickled eggs are new to me. Like my friend Wikipedia told me, they seem to be a classic dish popular in Pennsylvania. Dear American readers: I am sorry that for you, this post probably only evokes yawning. For me as a person from the other side of the Atlantic, where beet-pickled eggs are unheard of, the fascination still lingers :-D
Pickled & deviled beet eggs are easy to make and could be served as a pretty and delicious appetizer. Why not include them in your Easter menu?
Pickled & Deviled Beet Eggs (makes 12 pieces)
I looked at different recipes and came up with this. It’s probably not really authentic, but it tasted alright I thought. Feel free to tweak it with the addition of seasonings and such.
- 6 small eggs
- about 3 cups finely shredded red beet or its juice
- 1 cup apple cider vinegar (can be replaced with white vinegar)
- 1/2 cup sugar
- 1 onion
- 4 Tbs. mayonnaise
- 4 tsp. mustard
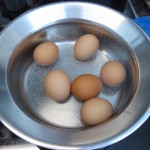
- Make hard-boiled eggs and peel them. The perfect egg boiling method from e-how for example works good for me.
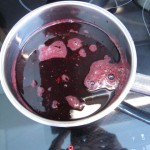
- Combine beet (juice), vinegar and sugar. Bring to a boil and stir until the sugar dissolves. Let it cool down for a bit.
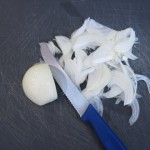
- Slice the onion thinly and add to the beet vinegar mixture.
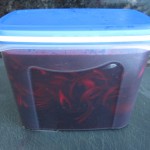
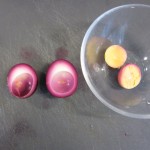
- While the liquid is still a bit warm, fill a container that’s large enough with the eggs and the liquid alternatively.
- Seal and store in the refrigerator.
- After about 2 days, the eggs will be ready. Take them out and rinse them shortly with cold water.
- Slice the eggs lengthwise and carefully remove the egg yolks.
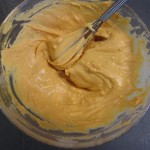
- Mash the egg yolks with a fork and mix them with mayonnaise and mustard.
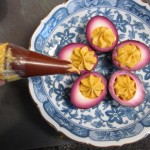
- Fill the egg yolks into the egg halves with a piping bag. Done!
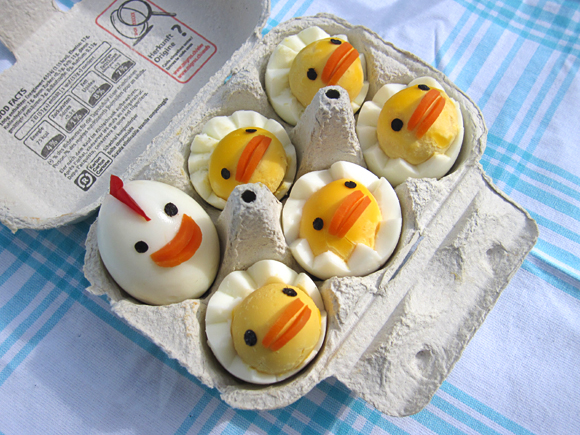
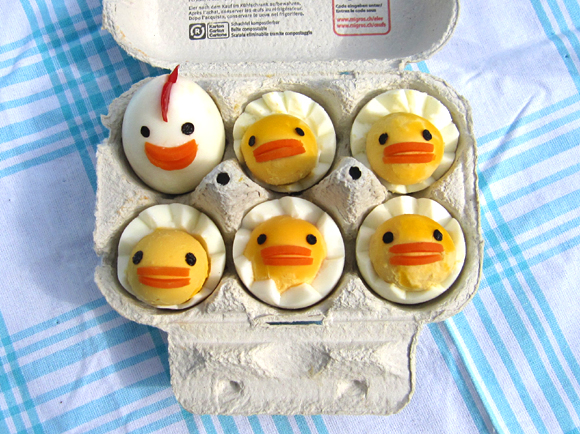
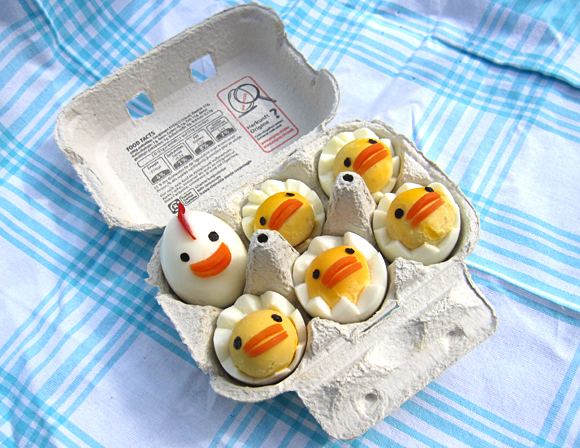
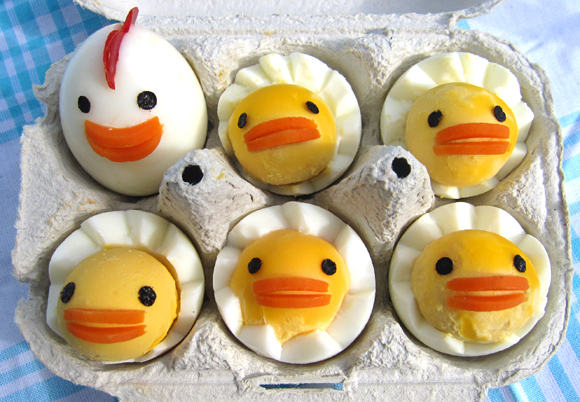
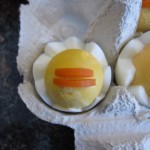
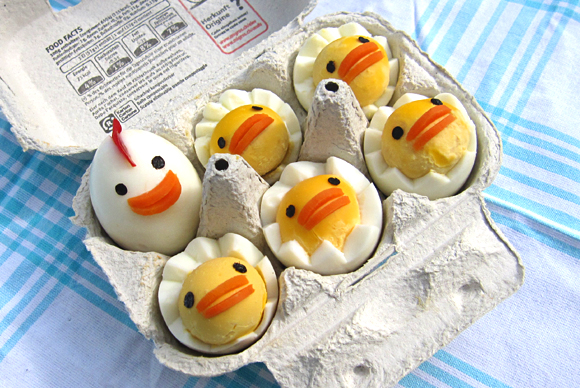
Are you looking for Easter dishes that are easy and fun to make? If yes, then these “newly hatched chicks” made from hard-boiled eggs are perfect for you (along with chicken mommy, of course). You can offer them as a snack or use them to garnish a salad. Or how about an Easter picnic? Simply pack them in the egg carton you bought them in. Safe transportation and a cute way to serve.
Easter is approaching soon so it’s about time to present some Easter recipes. I like this chick egg very much because it’s so simple. And it totally makes sense to reshape boiled eggs so they look like hatched chicks. No wait, that’s actually kind of creepy. Nevermind, they do look cute after all :-)
I’ve encountered the basic idea of this chick egg on lots of bento blogs (or here on Flickr), so its origin remains unclear. Everyone has their own way of styling the faces. I attempted to come up with a personal variation, too. And I tried to find a way to make it that is as quick and easy as possible. Have fun!
How to make a Chicken Family from Hard-Boiled Eggs
- eggs
- carrot slices
- thin red pepper slice
- black olives or nori (like the seaweed sheets you use for sushi)
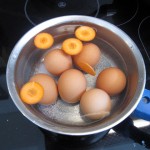
- Boil the eggs. You can use this perfect method here for example. Make sure you don’t overcook the eggs. You don’t want ugly green chicks, do you? Well maybe when it’s time for Halloween. In the last 3 minutes of boiling, add the carrot slices to the water.
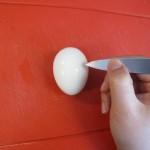
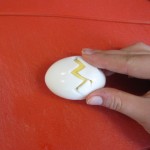
- The egg yolk is near the flat end of the egg, so the cut should be nearer to that side. The pointy end of the egg will be the bottom. You can use a regular small knife. It worked best for me when I held it near the tip, the sharp edge facing upwards. Cut a zig-zag line. You don’t have to be overly cautious not to cut the yolk. A bit cutting is okay, just don’t ram the knife through it.
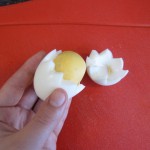
- Gently pull and stroke the small part of the egg white. If doesn’t come off easily, re-cut the zig-zag line. Maybe it’s a good idea to brush the egg yolk at this step with oil. I noticed that they turn dry and cracky after a while!
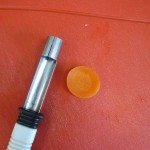
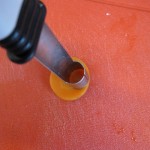
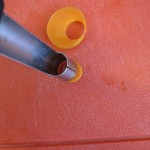
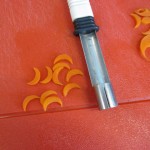
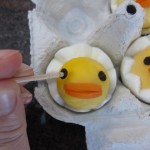
- I used an apple corer to make the chicken beaks, but you can use small round cookie cutters as well. Cut the carrot slices so they look like crescents.Or like orange clipped nails.
- Press the carrot beaks (2 crescents) into the egg yolk. For the chicken mommy, you may have to you use a little mayonnaise as an adhesive.
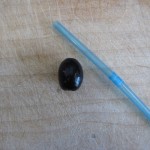
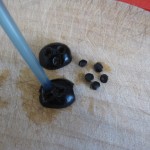
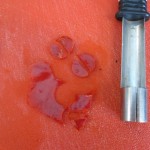
- If you use olives for the eyes, use the end of a plastic drinking straw to cut circles.
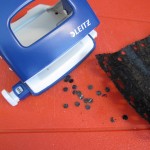
- If you use nori, go get your hole puncher at your workstation and cut out nori circles.
- Nori eyes can be placed easily with the flat end of a toothpick that has been damped.
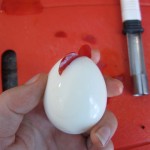
- For the mommy chicken’s comb, cut out a red pepper circle and divide it in half. Make a small cut into the egg so you can place the comb inside.
- Arrange the chicken family in an egg carton. Done!
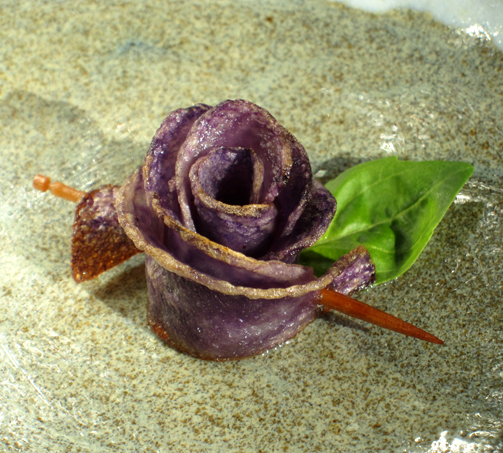
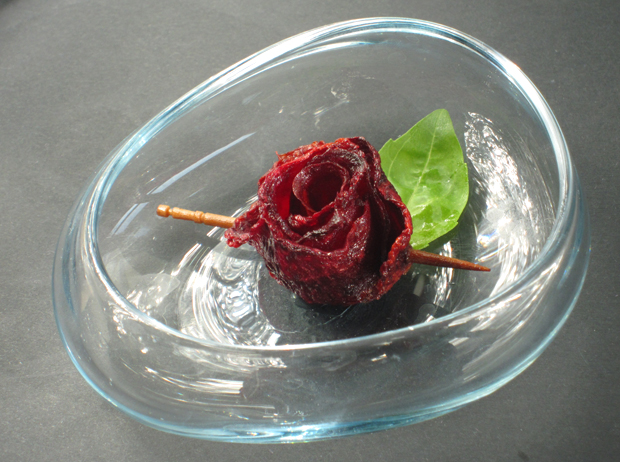
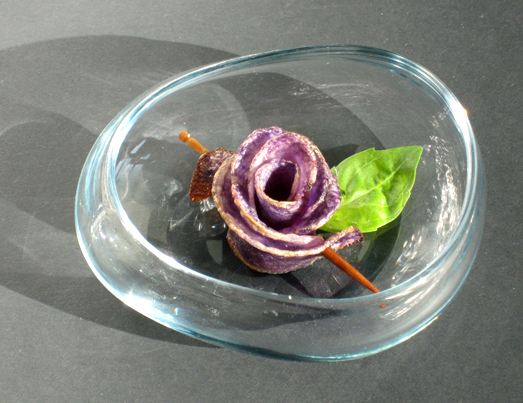
Looking for an eye-catching party snack? Try this recipe for crunchy deep-fried potato & beet chips in the shape of a rose.
Roses again today! If you’ve ever made beet chips, deep-fried or baked in the oven, you will have noticed that they look a little bit like dried roses. Consequentially, the idea of reignofgaming.net making beet rose chips isn’t far away. And since purple potatoes have such a nice colour they can’t be missed out as well. I’ve researched a bit and found out that the deep-fried rose thing has been done before using regular potatoes. They look very nice. Any suggestions for other vegetables you could use?
Deep-Fried Purple Potato & Red Beet Roses
Cooking Soundtrack: Nick Cave & Kylie Minogue – Where The Wild Roses Grow
- red beets, raw
- purple potatoes, raw
- canola oil
- salt
- Peel the beets and the potatoes.

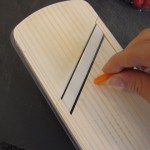
- Slice the beets and potatoes thinly using a mandolin slicer. It worked best for me when I cut the beets into 0.5 mm and the potatoes into 1.3 mm slices.

- Spread the slices on a kitchen paper and add another layer of paper on top. This will draw out the moisture of the vegetables.


- When the slices have lost enough water so you can easily bend them, arrange 5-7 pieces like shown in the picture.

- Roll it!

- Fixate with 2 toothpicks.

- Cut in the middle.

- Bend the petals a bit.

- Deep-fry in canola oil for 30-90 seconds at about 170°C (340° F).

- Add salt and you’re done.
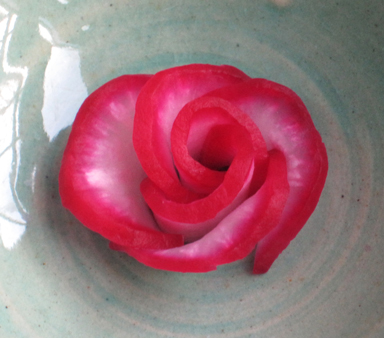
If you are looking for easy decoration ideas for your salads or bento lunches than this tutorial on how to make a radish rose might interest you.
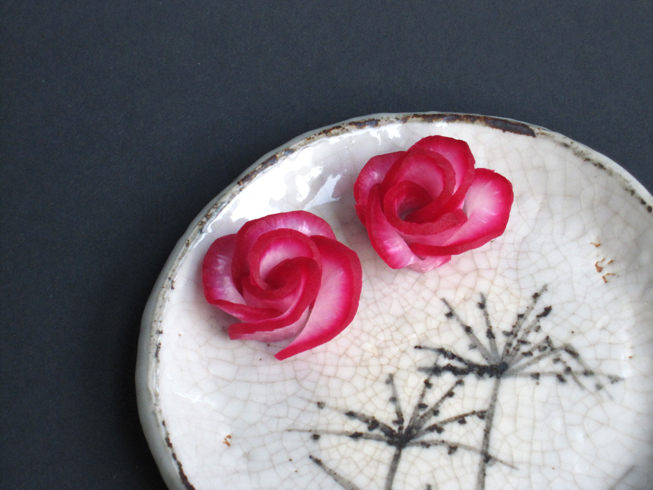
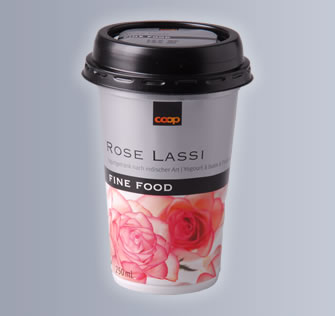
A few days ago, I bought a rose flavoured lassi (South Asian yogurt drink). It had a picture of white roses with pinkish petal edges on it. I wanted to recreate that look so I came up with with the idea of informz.net infusing white radish with red beet juice. Unfortunately, the roses Moneygram honorarios turned out to look a lot different from the roses on the lassi package! Next time, I will shorten the infusion time and cut the slices thinner.
White Radish Rose Decoration
Cooking Soundtrack: Francoise Hardy – Mon Amie La Rose
- 1 piece of raw white radish, peeled
- 1 Tbs salt
- ca. 1 cup red beet juice
- Rub all sides of the radish with the salt. Let sit for an hour to draw out the water. This will make the radish softer and it will absorb the beet juice easier (at least that’s what I’m guessing).

- Wash the salt away and place the radish in a bowl. Pour in the beet juice and let it stand for 30-60 minutes. If the beet juice doesn’t cover the whole radish, rotate it once a while.

- Take the radish out of the juice and pat it dry with a kitchen paper.

- Cut thin slices and lay 6 of them out like shown in the picture.

- Roll!

- Cut the roll in the middle.

- Now you have 2 roses.

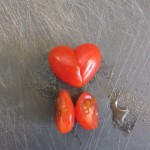
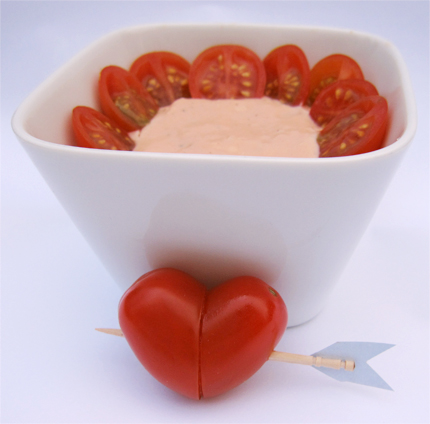
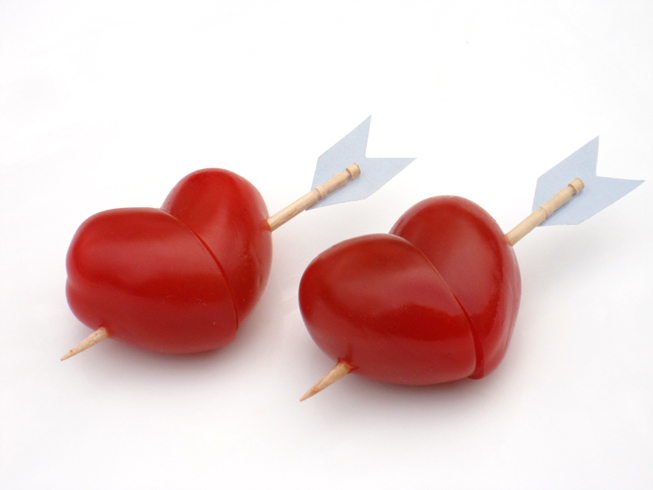
Struck by Cupids Arrow Cherry Tomatoes with Cocktail Sauce is a quick and easy snack or starter for your valentine’s day celebration. Only 2 cuts are required to turn the cherry tomatoes’ shape into a 3-dimensional heart – that’s how easy it is. Click here for more Valentine’s Day recipes.
I came up with this idea after I had watched a segment of a Japanese news program about Mrs. Soejima, a grocery store worker and wiener artist. She shows customers how to transform wieners into animals and flowers. (EDIT: I’m sorry, the video has been deleted. You can click here though to see some amazing screenshots.) Awesome. But the piece of art that truly caught my eye was the sausage heart you can see shortly at the end of the video. Such a simple yet brilliant idea.
I wondered about which other food items this technique could be applied to, so I brainstormed for oval-shaped edibles (since this is an obvious requirement) and came up with cherry tomatoes among other things. Cherry tomatoes seem to be perfect: they have a bright red colour, are bite-sized and there are some oval shaped varieties. Unfortunately, it’s very hard to get your hands on the ones that are long enough to do the heart cut shtfplan.com like shown in the example with the wiener. But don’t despair yet! Using simply 2 cherry tomatoes instead of 1 per heart will do the trick.
Struck by Cupid’s Arrow Cherry Tomatoes for Valentine’s Day (20 pieces)
Cooking Soundtrack: Sam Cooke – Cupid
- 40 oval cherry tomatoes
- 20 toothpicks that look like arrows
- The longer your tomatoes are, the better! The variety I’m using here is called Perla.

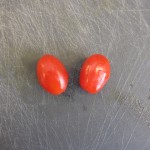
- Arrange the tomatoes in pairs that roughly have the same size.

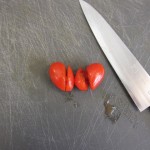
- Diagonally cut away about 1/4 to 1/3 of the tomato, ideally at 45 degrees.

- Assemble the 2 bigger parts to a heart and stick them together with a toothpick.

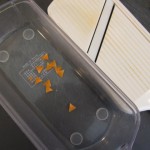
- Don’t throw away the small parts. They can later be used to garnish the cocktail sauce.

Cocktail Sauce Dip
- 85g mayonnaise
- 40g ketchup
- 1 Tbs yogurt
- 1 tsp grated horseradish
- 1 Tbs lime juice
- 1 tsp rum
- salt, pepper & paprika
- Mix all ingredients and garnish with the cherry tomato leftovers. Voilà!
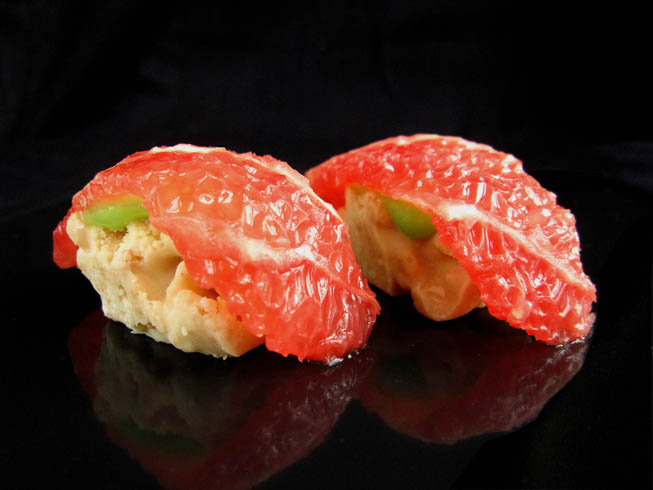
If you think these are real sushi, look closer. They are actually made up of grapefruit slices, white chocolate, Kellogg’s Rice Krispies and green vanilla cream. Crispy-chocolatey at the bottom, creamy in the middle and fresh’n’ juicy on top.
You may already know that there are countless variations of fruit and candy sushi – google them and you will be overwhelmed. If you want to make realistic looking fake fruit sushi in an effortless way, citrus fruits are one of the best options. If you cut them in a certain manner, their flesh bears a striking resemblance to the texture of fish used for nigiri sushi. Most fruit sushi recipes I’ve encountered so far call for sushi rice or sticky mochi rice, but grapefruit on top of cooked rice just feels kind of wrong so I decided to go with toasted rice cereal.
Fake Fruit Sushi (makes about 30 pieces)
Cooking Soundtrack: Yoshida Brothers – Madrugada
- 200g white chocolate
- 40g Kellogg’s Rice Krispies (you can substitute the Rice Krispies with puffed rice, but it won’t turn out as, well, crispy.)
- about 6 red or pink grapefruits and blood or half-blood oranges
- 1/2 package of instant vanilla cream powder
- half the amount of milk/water the instant cream calls for
- optional: green food colouring or matcha green tea powder
- Step 2.
- Step 3.
- Step 4.
- Step 5.
- Step 6.
- Step 6.
- Step 8.
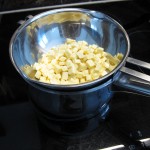
- Chop the chocolate coarsely .
- Melt the chocolate slowly over a hot water bath.
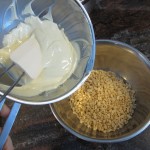
- Transfer the melted chocolate to a separate bowl and mix it with the Rice Krispies using a rubber spatula.
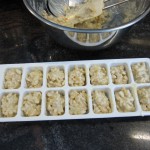
- Fill the mixture into an ice cube tray. Be careful not to oversize the pieces. You should be able to fill about 30 ice cube holes halfway. Let the fake rice base cool down.
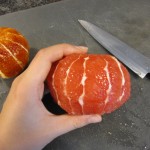
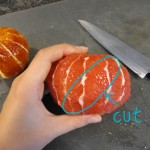
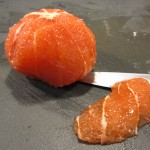
- Cut away the grapefruit and orange peel with a sharp knife. While you do this, keep 2 things in mind: Avoid cutting sharp edges into the fruit and leave some of the white part on it. The white pattern looks like fish fat and accentuates the texture.
- If you are right-handed, hold the fruit in your left hand and cut diagonally starting from the top right going down to the left. The white stripes should not be parallel or perpendicular to the cut edge. Rotate the fruit and repeat. You should get about 4-10 pieces per fruit.
- Prepare the the instant vanilla cream following the instructions on the package, but use only half the amount of liquid it calls for in order to get a thick cream. For example, I added 125ml instead of 250ml milk. If you want to, you can add food colouring or matcha green tea powder to get the fake wasabi look.
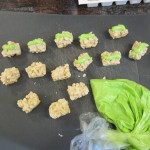
- Press the fake wasabi cream though a piping bag onto the fake rice base. Picture note: If this was real sushi, the amount of wasabi would be ridiculous!
- Lay the fruit slices quickly on a piece of kitchen paper so they won’t be too watery. Place them on top of the fake rice base. The fake wasabi acts as an adhesive.
- Serve chilled and, for easier deception, under dim light conditions.




 Get updates via twitter
