Archive for the ‘Easter’ Category
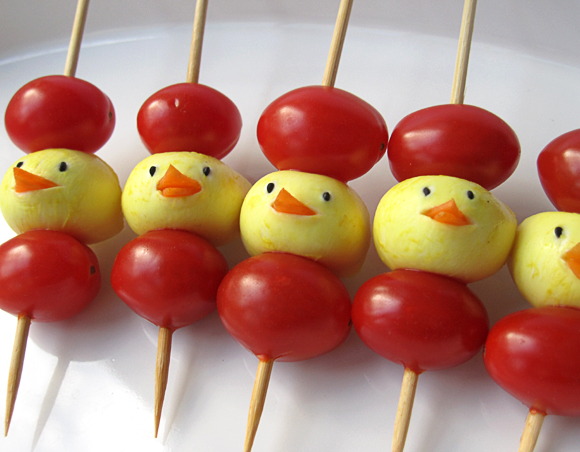
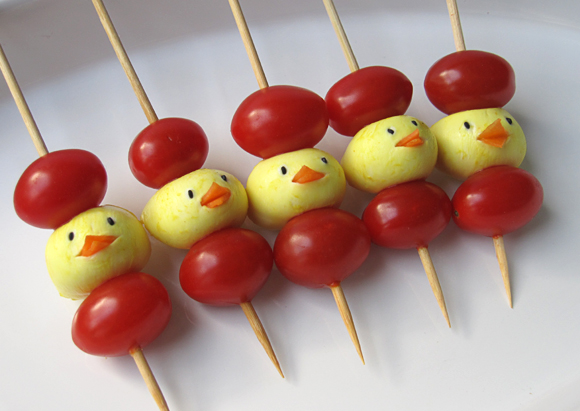
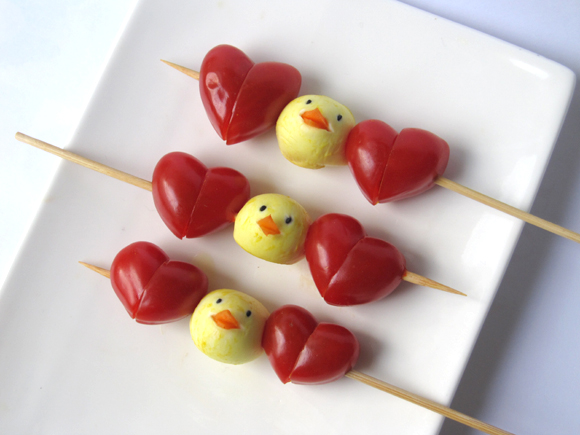
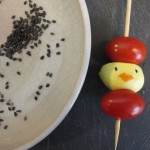
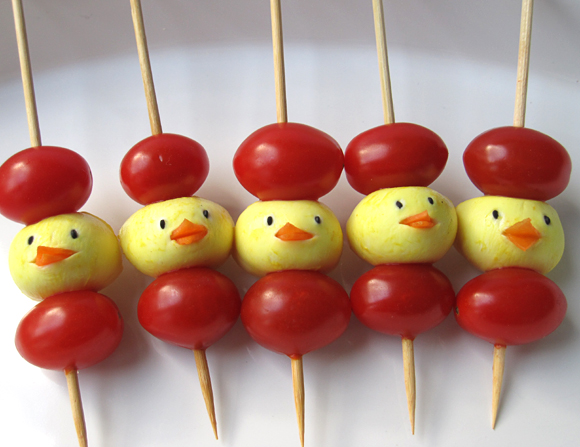
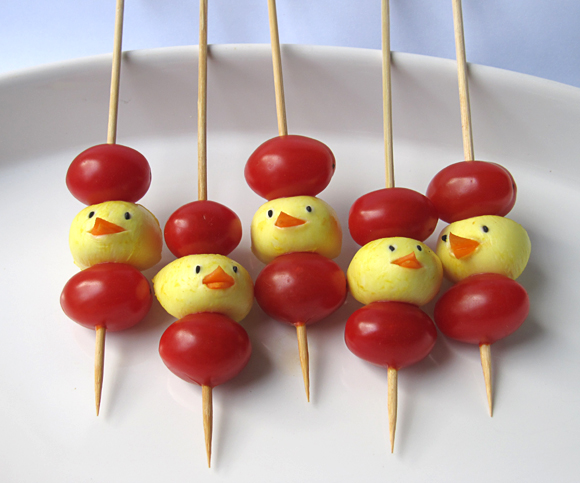
A neat snack for your spring theme party or Easter celebration: mozzarella chicks marinated in curry and cherry tomatoes on a stick. Easy to make and it will sure impress kids or grown-up lovers of cute food. You can serve these skewers as a party snack, garnish salads with it, take them to a picnic or put them in a lunchbox.
I prepared these skewers before Easter but didn’t find time to post it until now, sorry :-P
There’s this gorgeous food blog called L’exquisit where I’ve seen these neat Italian lollies made with mini-mozzarella and cherry tomatoes. I really like the presentation and wanted to make something similar. In the end, it turned out to look quite different but oh well, the ingredients are still alike.
How to make Mozzarella Chicks & Cherry Tomato Skewers
- mini-mozzarella (if you can’t get your hands on this, you can probably replace it by scooping out balls from other cheeses like gouda, etc. Cube-shaped pieces might be nice as well. Or smash and mix feta with cream cheese to form little balls.)
- curry powder
- carrot
- black sesame
- cherry tomatoes (must be oval-shaped if you want to make hearts)
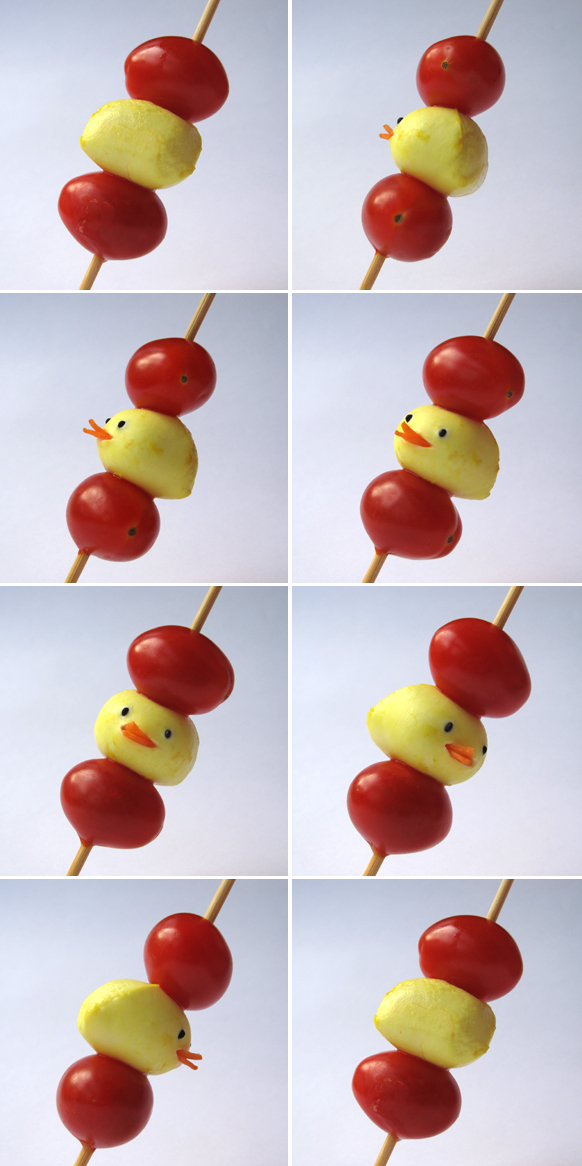
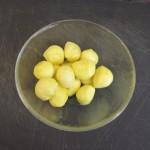
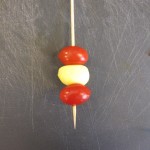
- Marinate the mozzarella in a 1:3 curry-water mixture for about an hour, then rinse gently with cold water. Pierce mozzarella and cherry tomatoes with a skewer.
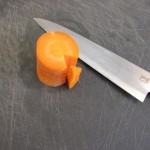
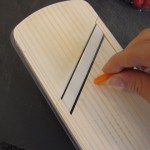
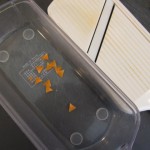
- Cut out a triangle from a carrot like shown in the picture and then slice it thinly with a knife or mandolin slicer.
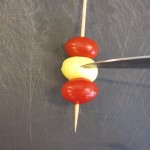
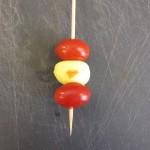
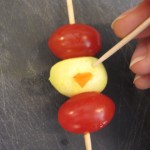
- Slit the mozzarella a little and place 2 carrot triangles inside.
- Pierce 2 holes with a toothpick and stick in 2 black sesame seed.
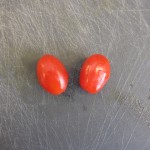
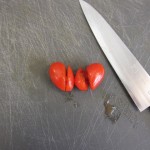
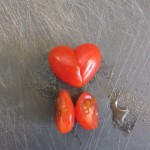
- For making heart-shaped cherry tomatoes, refer to this post: http://eyecandy.nanakaze.net/?p=128
I suggest serving the skewers with an olive oil-based dip. Any suggestions?
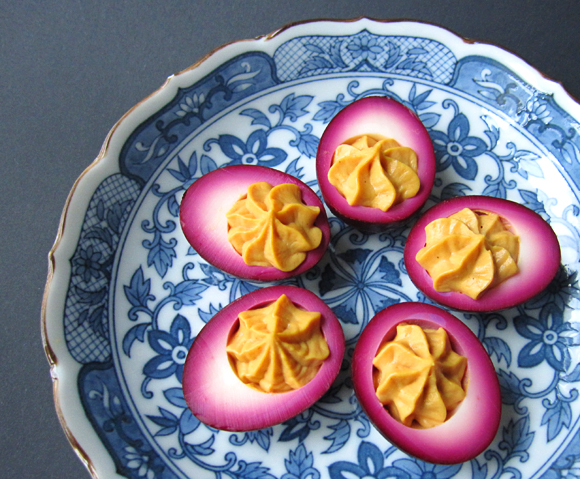
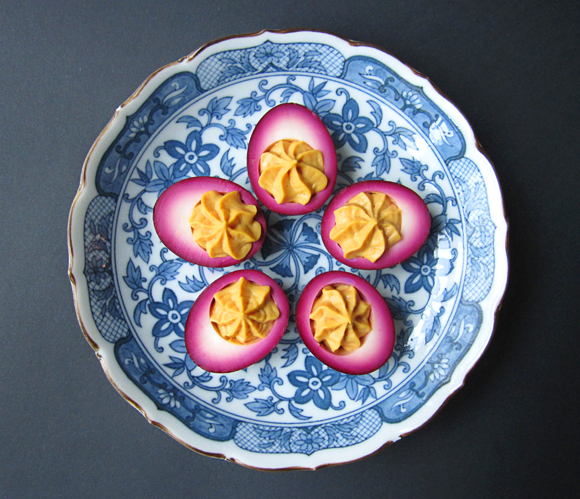
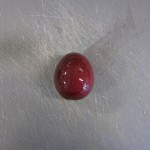
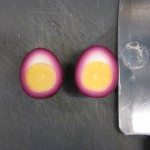
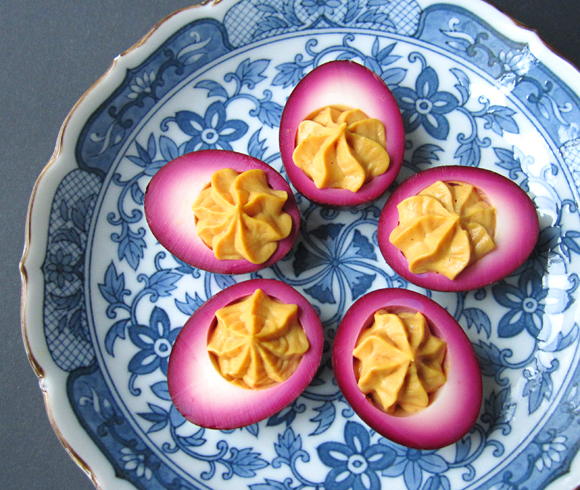
These hard-boiled eggs were pickled in a beet and white vinegar solution, then sliced in half and filled with an egg yolk-mayonnaise-mustard cream. They gain their colour from the redness of the beet and have a pungent sweet and sour aroma that goes well with the spicy cream filling.
While I’ve seen and eaten many deviled egg dishes in my life, beet-pickled eggs are new to me. Like my friend Wikipedia told me, they seem to be a classic dish popular in Pennsylvania. Dear American readers: I am sorry that for you, this post probably only evokes yawning. For me as a person from the other side of the Atlantic, where beet-pickled eggs are unheard of, the fascination still lingers :-D
Pickled & deviled beet eggs are easy to make and could be served as a pretty and delicious appetizer. Why not include them in your Easter menu?
Pickled & Deviled Beet Eggs (makes 12 pieces)
I looked at different recipes and came up with this. It’s probably not really authentic, but it tasted alright I thought. Feel free to tweak it with the addition of seasonings and such.
- 6 small eggs
- about 3 cups finely shredded red beet or its juice
- 1 cup apple cider vinegar (can be replaced with white vinegar)
- 1/2 cup sugar
- 1 onion
- 4 Tbs. mayonnaise
- 4 tsp. mustard
- Make hard-boiled eggs and peel them. The perfect egg boiling method from e-how for example works good for me.
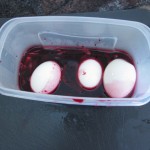
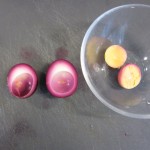
- Combine beet (juice), vinegar and sugar. Bring to a boil and stir until the sugar dissolves. Let it cool down for a bit.
- Slice the onion thinly and add to the beet vinegar mixture.
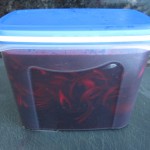
- While the liquid is still a bit warm, fill a container that’s large enough with the eggs and the liquid alternatively.
- Seal and store in the refrigerator.
- After about 2 days, the eggs will be ready. Take them out and rinse them shortly with cold water.
- Slice the eggs lengthwise and carefully remove the egg yolks.
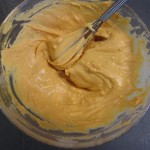
- Mash the egg yolks with a fork and mix them with mayonnaise and mustard.
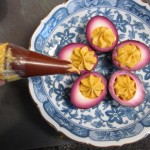
- Fill the egg yolks into the egg halves with a piping bag. Done!
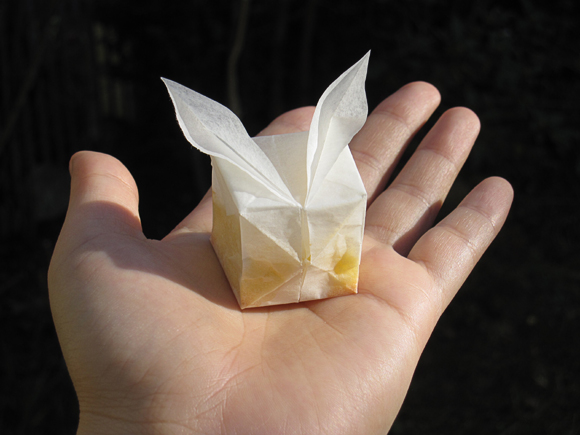
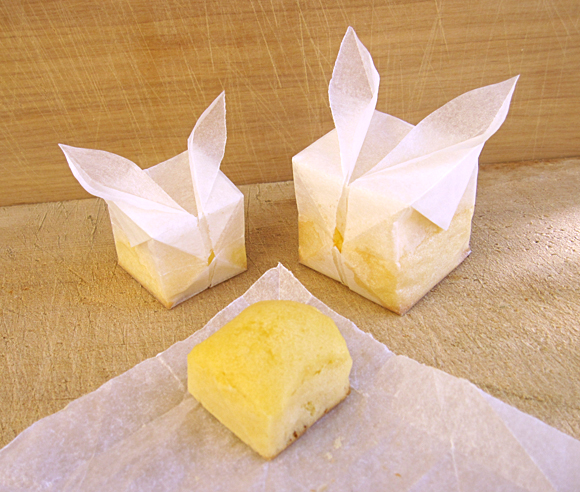
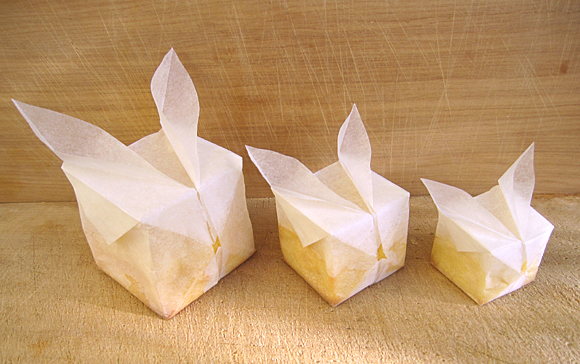
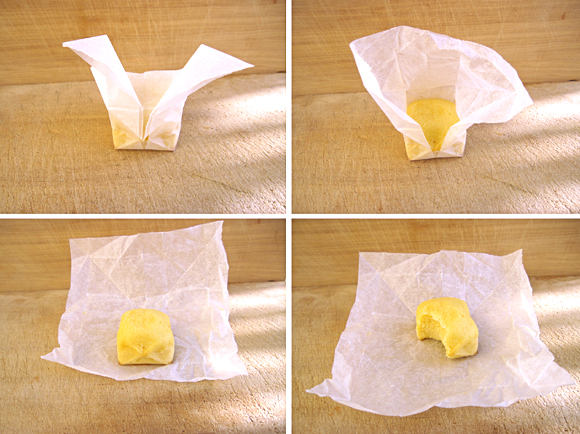
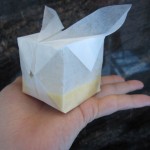
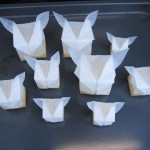
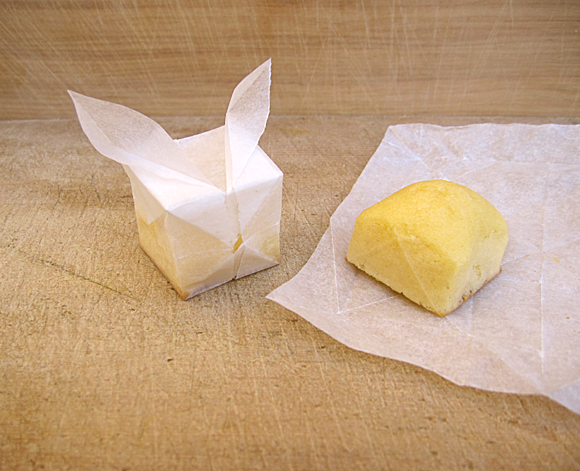
How about baking your muffins, mini cakes or other dessert creations in these parchment bunny cubes? Not only are they substituting the plain old muffin paper cup, but they also serve as a cute and convenient wrapping. You can give them away as a gift, include them in a packed lunch or hide them outside in the garden at Easter for children to find. The bunny cubes are easy to fold and inexpensive. Why not make one right now? I’m sure you have parchment paper and basic muffin ingredients at hand.
You can try the recipe for the fluffy and moist cream cheese muffins provided in this post to fill the bunnies, but I guess other muffin or cake mixtures should work fine as well, as long as they don’t expand too much. Since the parchment paper is kind of acting like a seal, you might want to lessen the amount of liquid ingredients.
Let me give you some insight on how the idea of the bunny muffin was born. Not long ago, I wanted to Coinstar fees make a square cake. I didn’t have a square cake pan and buying one was not an option after looking at some price tags. Then it came to my mind that I could simply fold a parchment paper box. It’s simple, inexpensive, and I can even adjust the size. I skimmed through my origami books (origami: traditional Japanese folk art of paper folding) in search for box folding instructions, and that was when I stumbled upon the bunny cube balloon. The idea to bake muffins in these bunny balloons hit me immediately. Since Easter is approaching, it was perfect.
Oh and by the way, I did bake a square cake in a suitable parchment paper origami box (that even included handles!) but that’s another story.
How to make the Paper Bunny Cube
You need square pieces of parchment paper. For the large bunnies, I used 21×21 cm, for medium 16×16 cm and for the small ones 12×12 cm.
I’ve found the instructions for folding the bunny in the book 親子で遊ぶかんたんおりがみ (oyako de asobu kantan origami) which is aimed at children, so don’t nag about it being too difficult :-D
I’m rather bad at explaining origami steps, but luckily I’ve found this comprehensible diagram at origami-club.com. Check out their other tutorials if you’re interested in origami, they’re very easy to understand and even accompanied by animations.
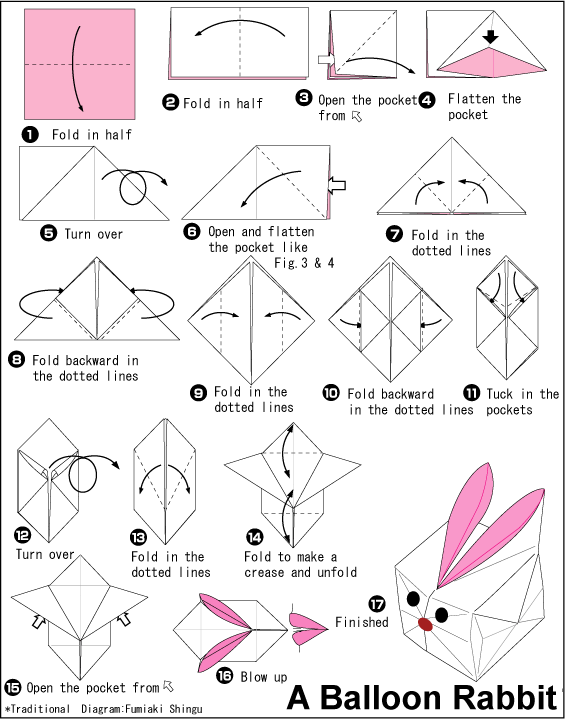
Here’s the link to the animation of the bunny balloon folding on origami-club.com. Have a look at it if the diagram alone leaves you puzzled.
Thinking that you later use the bunny to serve food in, I must admit that the part where you have to blow up the balloon by mouth might appear a bit unhygienic. Maybe you can find other measures to inflate it. Or just try to firmly believe that the oven temperature will kill off the bacteria.
How to make Cream Cheese Muffins baked in Bunny Cubes
The recipe for the cream cheese muffins is from Harumi Kurihara’s book Harumi’s Japanese Cooking. Originally, the muffins are meant to be heated in the microwave. Since I didn’t have access to a microwave, I had to adapt the recipe.
Makes 3 L, 3 M and 3 S size bunnies
- 40g cream cheese
- 1/2 Tbs white wine
- 1 Tbs cream
- 1 Tbs vegetable oil
- vanilla essence
- 2 medium sized eggs
- 50g sugar
- 50g flour
- 1/2 tsp baking powder
- Whisk cream cheese and white wine together until creamy in a bowl that you placed into another bowl filled with hot tap water.
- Mix in cream, oil and vanilla essence.
- Beat the eggs in a separate bowl and whisk together with the sugar until the mixture thickens.
- Mix in flour and baking powder, then add the cream cheese white wine mixture.
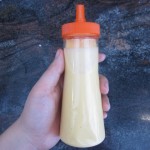
- I then filled the mixture into an empty condiment container. You can also use a piping bag or an empty plastic ketchup bottle – anything that’s squeezable and has a tip should work.
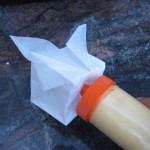
- Squeeze the mixture into the bunny cubes until they’re a bit less than half full. It’s like bottle-feeding the bunny :-). Be careful not to make a mess. Stains on the parchment paper will later become dark and clearly visible.
- Bake in the preheated oven at 160°C. Approximately, the small bunnies will take 15, the medium bunnies 20 and the large bunnies 25 minutes.
The cream cheese muffins were fluffy, moist and delicious. Mmmh.
Click here for more Easter food ideas.
Do you know of any other (origami) parchment paper folding techniques that can be used for baking?
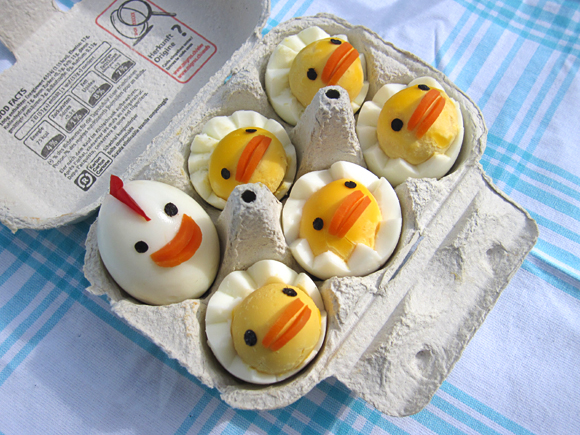
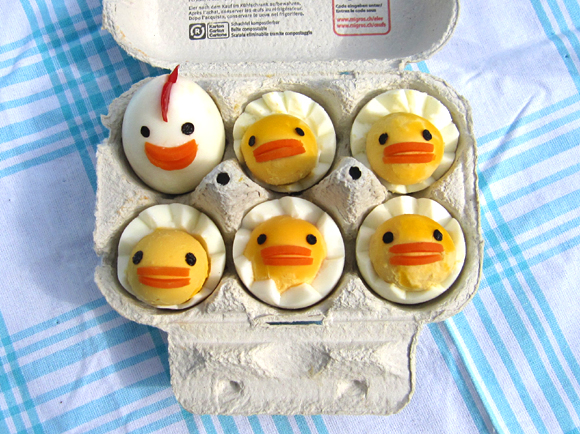
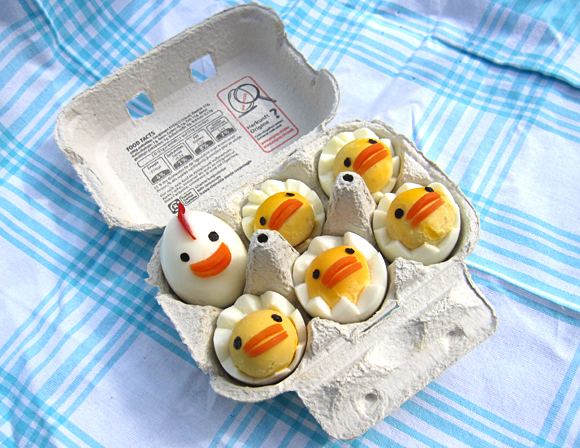
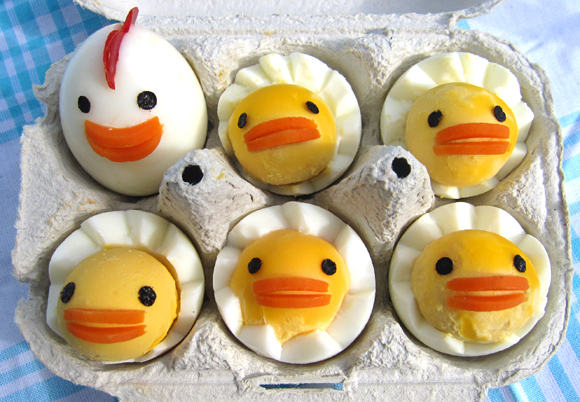
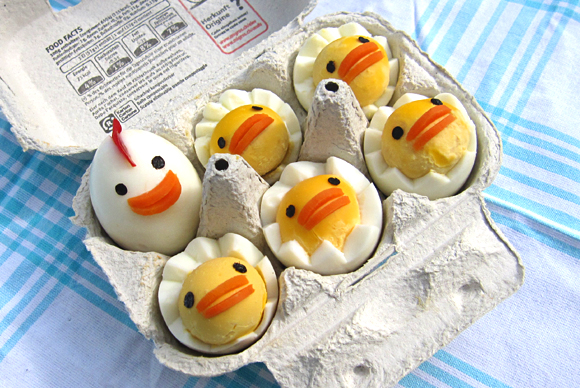
Are you looking for Easter dishes that are easy and fun to make? If yes, then these “newly hatched chicks” made from hard-boiled eggs are perfect for you (along with chicken mommy, of course). You can offer them as a snack or use them to garnish a salad. Or how about an Easter picnic? Simply pack them in the egg carton you bought them in. Safe transportation and a cute way to serve.
Easter is approaching soon so it’s about time to present some Easter recipes. I like this chick egg very much because it’s so simple. And it totally makes sense to reshape boiled eggs so they look like hatched chicks. No wait, that’s actually kind of creepy. Nevermind, they do look cute after all :-)
I’ve encountered the basic idea of this chick egg on lots of bento blogs (or here on Flickr), so its origin remains unclear. Everyone has their own way of styling the faces. I attempted to come up with a personal variation, too. And I tried to find a way to make it that is as quick and easy as possible. Have fun!
How to make a Chicken Family from Hard-Boiled Eggs
- eggs
- carrot slices
- thin red pepper slice
- black olives or nori (like the seaweed sheets you use for sushi)
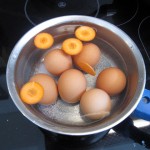
- Boil the eggs. You can use this perfect method here for example. Make sure you don’t overcook the eggs. You don’t want ugly green chicks, do you? Well maybe when it’s time for Halloween. In the last 3 minutes of boiling, add the carrot slices to the water.
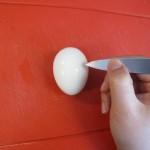
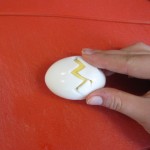
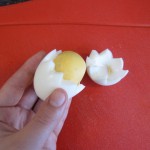
- The egg yolk is near the flat end of the egg, so the cut should be nearer to that side. The pointy end of the egg will be the bottom. You can use a regular small knife. It worked best for me when I held it near the tip, the sharp edge facing upwards. Cut a zig-zag line. You don’t have to be overly cautious not to cut the yolk. A bit cutting is okay, just don’t ram the knife through it.
- Gently pull and stroke the small part of the egg white. If doesn’t come off easily, re-cut the zig-zag line. Maybe it’s a good idea to brush the egg yolk at this step with oil. I noticed that they turn dry and cracky after a while!
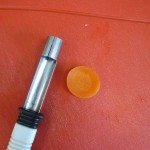
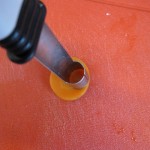
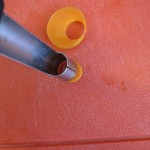
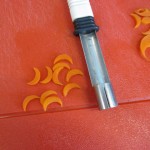
- I used an apple corer to make the chicken beaks, but you can use small round cookie cutters as well. Cut the carrot slices so they look like crescents.Or like orange clipped nails.
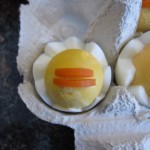
- Press the carrot beaks (2 crescents) into the egg yolk. For the chicken mommy, you may have to you use a little mayonnaise as an adhesive.
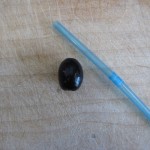
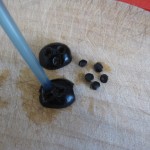
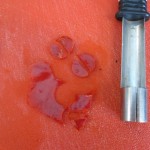
- If you use olives for the eyes, use the end of a plastic drinking straw to cut circles.
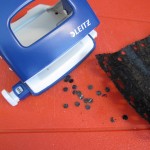
- If you use nori, go get your hole puncher at your workstation and cut out nori circles.
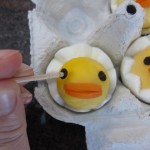
- Nori eyes can be placed easily with the flat end of a toothpick that has been damped.
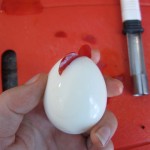
- For the mommy chicken’s comb, cut out a red pepper circle and divide it in half. Make a small cut into the egg so you can place the comb inside.
- Arrange the chicken family in an egg carton. Done!

 Get updates via twitter
