Archive for February, 2010
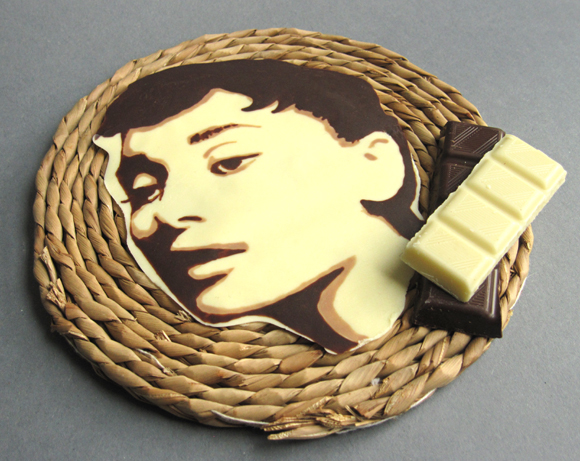
Today’s post will introduce you to a simple chocolate painting technique that yields amazing results. Don’t worry, it doesn’t require special equipment or outstanding drawing skills. You can choose any motif you want, be it pictures of friends and family, handwriting, your kid’s favourite cartoon character, an elegant pattern, a company logo or the movie star you have a crush on – almost anything can be turned into an accurate chocolate picture with this easy method. You can use it as a neat cake decoration, or serve it on a plate together with dessert.
I was thrilled when I discovered this technique on Yurin’s Obentou Blog (*3兄妹ママのお弁当ブログ*). It’s a Japanese blog that centers around kyaraben. Go have a look at it! It doesn’t matter if you can’t understand Japanese, because looking at the pictures is satisfying enough.
Basically, I will be explaining Yurin’s method here, but since I’m not using the the same material and I’ve chosen a different kind of motif I adjusted the method plus I added some personal tips.
How to make a Chocolate Painting
You will need:
- a picture subject.
- dark and white chocolate. I used regular block chocolate, the dark one had 72% cocoa content. Note that Yurin is using so called sign choco. Apparently, that’s chocolate sold in Japan for decoration purposes. It has quick drying properties, comes in a pen-shaped tube and there are different colours available. But really, regular chocolate works fine too.
- optional: food colouring. I tried regular liquid food colouring once and it resulted in a rather bad chocolate texture. I guess it’s better if you work with liposoluble food colouring or powder alternatives. I mixed white chocolate with matcha green tea powder once and it turned out well. Please tell me if you know of any other methods to colour white chocolate naturally.
- a piece or cardboard or a tray
- parchment paper
- small plastic bags
- a bamboo skewer or a toothpick
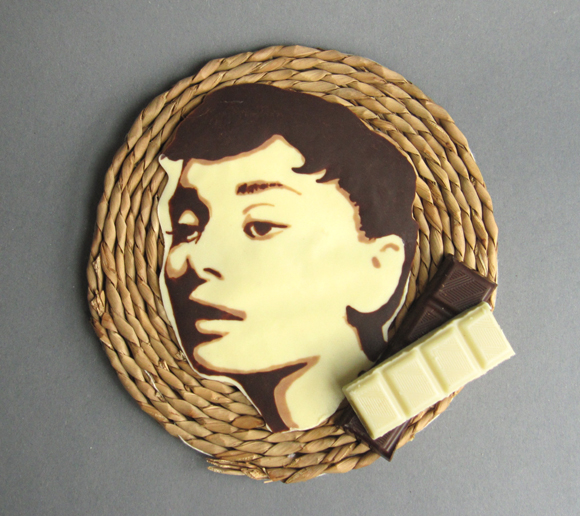
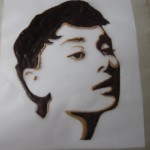
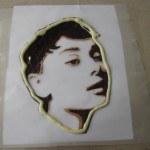
- First, think about which motif you would like to use. It’s easiest to use stylized images. Here are a few suggestions for suitable art styles: cartoon/comic, line art, stencil art, print art, art nouveau, pop art, pictograms, silhouettes and so on. You can look for stylized images through a search engine by using the named keywords, or you could trace a picture from a book or magazine directly on the parchment paper. Or even draw your original artwork on the parchment paper. Or stylize a photograph by yourself with photoshop, like I did. I took an Audrey Hepburn picture (original source) and turned it into a 3-layer stencil art following this easy youtube tutorial.
As you can see, I mirrored the image. This step wasn’t really necessary in my case, but it is especially important if you have writing on your picture. I also did some corrections with the pencil tool, like eliminating the highlight in the hair.
- If you use a picture printout, tape it to the cardboard. Then cover with a piece of parchment paper and tape that onto the cardboard as well. If you drew directly on the parchment paper, make sure the surface with your pencil marks is facing the cardboard.
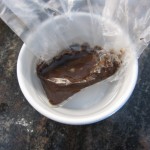
- It’s best to start painting with the darkest shade, especially when you have an image with outlines. Chop the dark chocolate finely and fill it into the corner of a small plastic bag. Fill a bowl with hot tap water, dip in the plastic bag corner and melt the chocolate, kneading it from time to time to make sure there aren’t any clumps. The temperature of the water shouldn’t exceed 50°C.
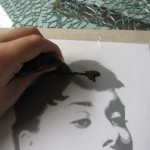
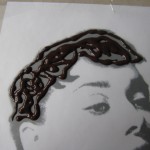
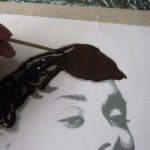
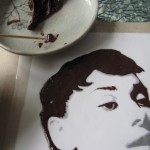
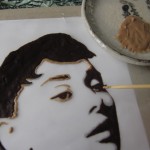
- When the chocolate is melted, cut away the tip of the bag corner and you can start drawing the dark layer. On large surfaces, you can apply the chocolate directly from the bag. For fine details, use the bamboo skewer. You can also pipe a bit of chocolate on a plate, dip the skewer in it and draw. The bag keeps the chocolate from cooling too quickly so only pipe out a little a time. When your done, let the painting cool down in the refrigerator.
- Now it’s time to apply the midtones. I mixed Moneygram fees dark and white chocolate together to get the colour I wanted. When drawing, it’s okay to overlap the dark chocolate areas since it won’t shine through later. Refrigerate again when you’re done.
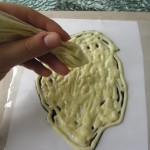
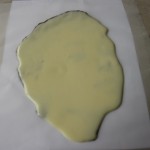
- At last, apply the white chocolate background. This is the easiest drawing step because you can just splash and disperse it. Make this layer thick enough to give the chocolate stability. Be careful not to use overheated chocolate or your previous work will melt away! Shake the picture a bit so prevent air bubbles. Refrigerate for one last time.
- Carefully turn the chocolate over when it’s firm. Don’t touch it with your bare hands – use gloves or a napkin. You’re done!
A few last words: The chocolate has a rather soft texture when at room temperature and melts as soon as you touch it. That can be a desirable state if you’re using the chocolate picture as a cake frosting for example. If you’re aiming for a chocolate picture with a very shiny surface that snaps, you have to put in some extra effort when heating the chocolate. Research chocolate tempering if you’re interested.
Have fun with this cool technique! And please let me know if you have additional tips! :-D
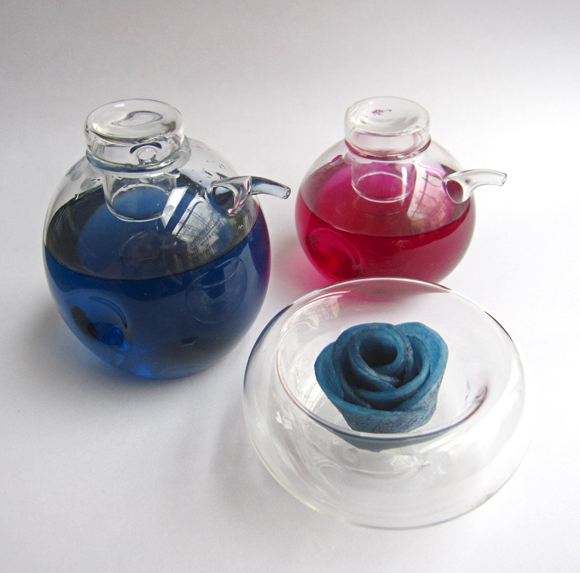
In this tutorial, you can learn how to make natural blue and purple food colouring that can be used to dye savoury dishes. It’s quite simple – all the ingredients you need are red cabbage, vinegar and baking soda. Red cabbage is a vegetable with an interesting property: it serves as an ph indicator. Wikipedia quote: “Red Cabbage juice is pink in acidic solutions, purple in solutions of ~pH7, and turns blue in basic solutions, and green in very basic solutions.” Amazing, isn’t it? We can obviously use that to our advantage.
Oh and you can learn how to make use of the homemade colouring. There are instructions for making a blue radish rose at the bottom.
Homemade Blue & Purple Food Colouring
Cooking Soundtrack: Elvis Presley – Blue Suede Shoes
- red cabbage
- acidic ingredient, for example regular vinegar
- alkaline ingredient, for example baking soda
- Wash the cabbage and cut out the stem.
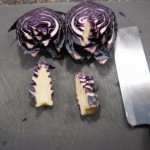
- Chop into small pieces.
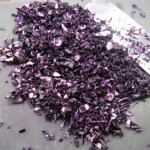
- Put it into a cooking pot and add water until the cabbage is covered.
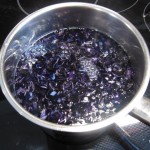
- Simmer for 10 minutes, then drain.
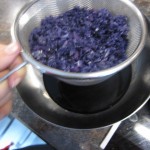
- You now have a purple solution that still has cabbage aroma to it. Add vinegar for a more pinkish purple and baking soda for blue. Start with small amounts and gradually increase until you reach the desired colour. Keep in mind that vinegar and baking soda affect the taste of the food colouring, so don’t overdose it. Plus I guess eating too much baking soda may bear a health risk.
- You can substitute vinegar with other acidic solutions, for example white wine or lemon juice. Baking soda can be substituted with spinach juice, green tea and other alkaline food.
- You can dye a variety of food with this colouring. White food items are most prone to absorb the colour. Examples: cauliflower, couscous, pasta, egg whites, mashed potatoes, steamed bread, white radish etc.
- Be aware of pH values when mixing your food colouring with other ingredients. It’s impossible to dye a vinegar based salad dressing blue for example. Making blue yogurt probably requires an extra pinch of baking soda, and so on.
- The colour of red cabbage juice in itself isn’t susceptible to heating but telling from my experience that isn’t the case when you add baking soda. Heating the food colouring AFTER you’ve added baking soda turns the mixture greenish. So I suggest you either add the baking soda after the cooking process of the dish has finished, or, if that’s not possible, like in the case of steamed bread, you simply reduce the amount added and experiment a bit.
How to make a Blue Radish Rose
- white radish
- salt
- blue food colouring
- sugar
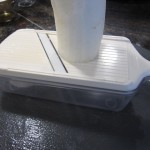
- Peel and slice the radish with a mandoline. I made 1mm slices.
- Sprinkle a bit of salt on the bottom of a container, then place the slices inside and sprinkle with salt again. Let it stand for 15 minutes.
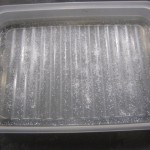
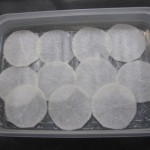
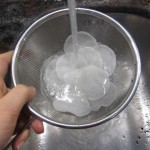
- Wash the salt away and add food colouring mixed with a tsp of sugar to the container so the slices are covered well. Let the radish absorb the colour for a few hours.
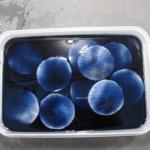
- When the desired nuance is obtained, layer 6 slices like shown in the picture.
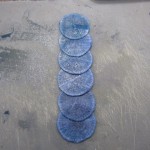
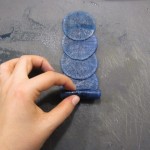
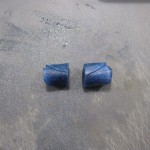
- Roll them. Cut the roll in the middle and pull the “petals” of the roses apart. If that’s hard to do, cut a bit of the bottom part away.
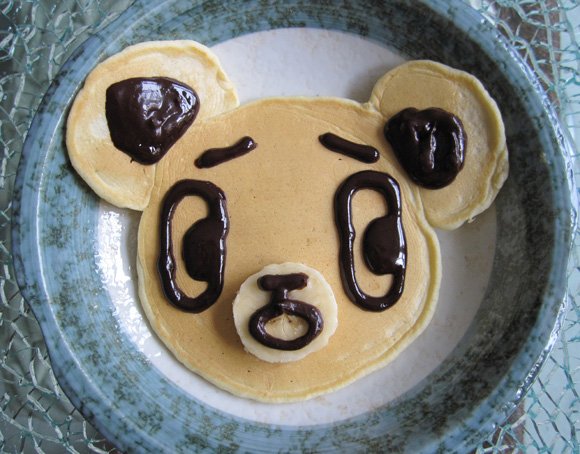
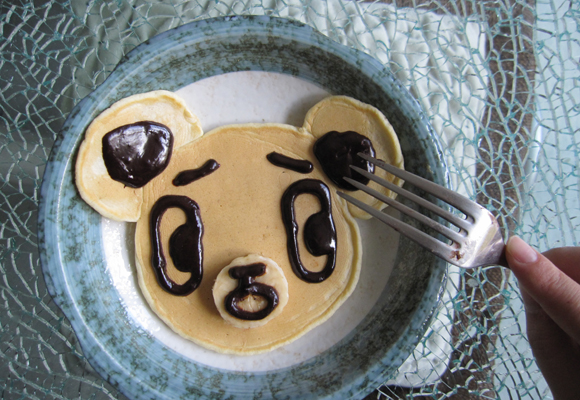
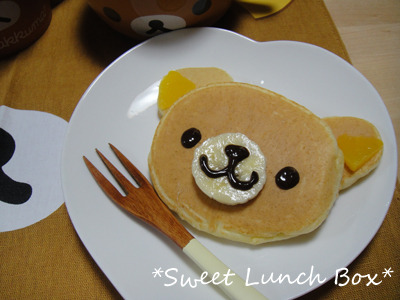
Serve someone this cute pancake bear breakfast for a happy start in the day! It’s hardly more time-consuming than a regular pancake. All you have to do is prepare your batter according to your favourite pancake recipe. When pouring the batter into the frying pan, start with a circle for the head and then immediately pour 2 small circles overlapping the first circle a bit for the ears. Decorate it with chocolate syrup and a banana slice after you have cooked both sides. If you don’t have chocolate syrup, simply mix cocoa powder with a little milk or water and fill it into a piping bag.
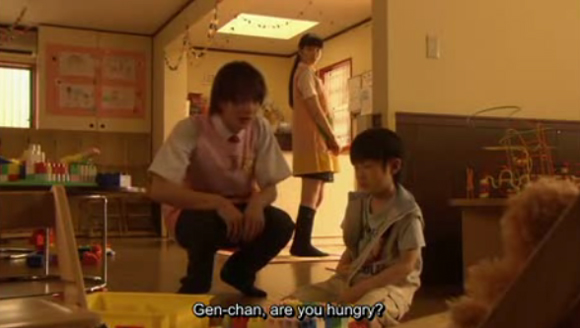
I got the bear-shaped pancake idea from a Japanese drama series called Otomen. It’s about a high school boy that seems very manly on the outside but he has girly hobbies like cooking and sewing that he tries to keep secret. The series itself didn’t impress me much but I was at least fascinated by the appearance of the pancake bear in episode 2. In the scene, the main character Asuka makes the pancake to cheer up a lonely half-orphan at an all-day care centre. The boy gets overly happy of course.
Using a banana slice as a snout is an idea I got from this phenomenal picture that I found here in the sweets section of キャラ弁倶楽部 (Kyaraben Club). Ah, so cute.
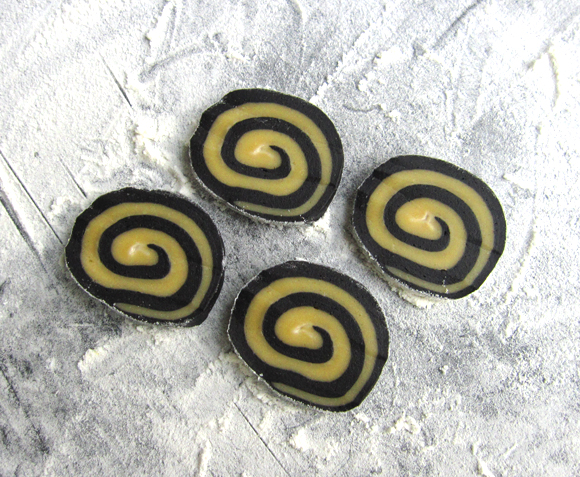
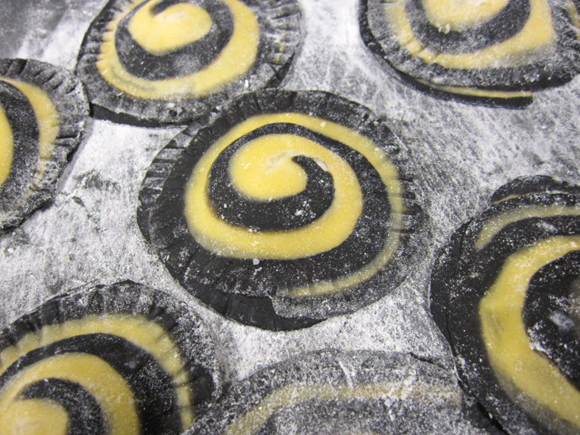
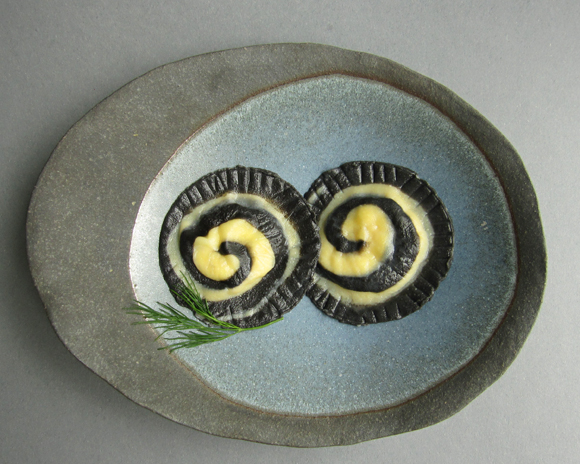
Homemade squid ink spiral ravioli with fish filling! The swirl pattern is an eye-catcher. This could be a neat main dish for a black and white party menu. Don’t worry, you can make the pasta without any machine.
You’ve surely seen spiral cookies before – they are easy to make and look nice. If you can make a spiral pattern with cookie dough, why not try it with pasta dough I thought. It’s just as easy as making the cookie version. The main difference is that the slices should be thinner and you have to make sure that the different dough parts stick well together before cooking.
With the method I show here, you could apply all sorts of cross-section patterns to pasta. An open field for your creativity! Next on my to-do list are checkered pasta and panda pasta :-D
I chose white fish filling for the ravioli because it has a neutral colour that isn’t noticeable through the pasta dough and the flavour goes well with squid ink (recipes is at the bottom).
Homemade Spiral Ravioli Recipe (makes 10-12 pieces)
Cooking Soundtrack: Jan Garbarek with Keitgh Jarrett – Spiral Dance
Spiral Squid Ink Pasta
- 60g (ca. 4 Tbs) all-purpose flour
- 60g (ca. 4 Tbs) semolina (durum wheat flour). For those who live in the German area: Kauft einfach Spätzli- bzw. Spätzlemehl, das besteht ganz oder zum Teil aus Hartweizendunst.

- 1 egg, beaten
- 2 tsp olive oil
- 4 tsp water
- 1/2 – 1 tsp squid ink
- Mix half the amount of all the ingredients except the squid ink together in bowl with a spatula. Remove from bowl and knead until you get a smooth and soft dough.
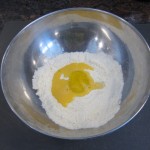
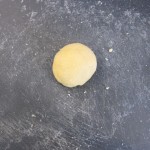
- Do the same with the other half of the ingredients including the squid ink. Wrap the doughs separately in plastic foil and let them rest for an hour at room temperature.


- Place the the doughs one after another between 2 sheets of plastic foil and roll out evenly to a thickness of 5mm. Why plastic wrap and not a floured surface you might ask. Well, we want to preserve the moisture. Stickiness is good in this case!

- Brush the surface of one of the doughs generously with water. Place the other dough on top and roll out again until you reach a thickness of 5mm. Wrap and refrigerate for about 30 minutes.

 Trim away part of the edges where the doughs don’t overlay.
- Flatten the 2 short edges.

- Brush water on one of the edges and carefully roll it. Use pressure and avoid trapping air inside.


- Brush a small part of the surface that lies ahead with water and roll by pulling the plastic foil. Use the blunt side of a knife to make the roll firm (like shown in the picture). Repeat this steps until you reach the end. Smear the edges with your fingers.


- Wrap it in plastic foil (looks like a salami!) and put it in the freezer for 30 minutes.

- Now the most thrilling step: Slice the dough and do a victory dance if the spirals turned out well.

- Roll the slices out thinly on a floured surface.

- Put 1 tsp of ravioli filling in the middle of a slice. Damp the brim, place another slice on top and press on the brim with a fork.


- Simmer in salted water for 5 minutes.

- Serve with butter and dill. Yeah.
Pikeperch Fish Filling for Ravioli from Pauli – Rezeptbuch der Küche
- 120g pikeperch filet, cut into small cubes
- 100g cream, 35%
- 12g pasteurised egg white (I left that one out)
- fresh dill
- salt, pepper
- Blend fish, salt, egg white and half of the cream together in a mixer.
- Transfer the mixture to a chromium steel bowl and stack on top of another bowl filled with ice water. Stir.
- Sieve the mixture and cool again.
- Lightly whip the rest of the cream and add it together with dill, salt and pepper to the mixture.
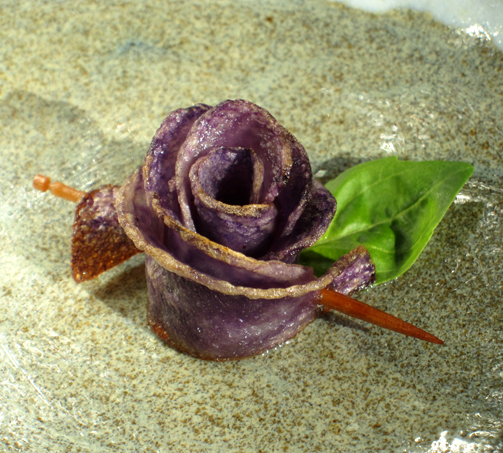
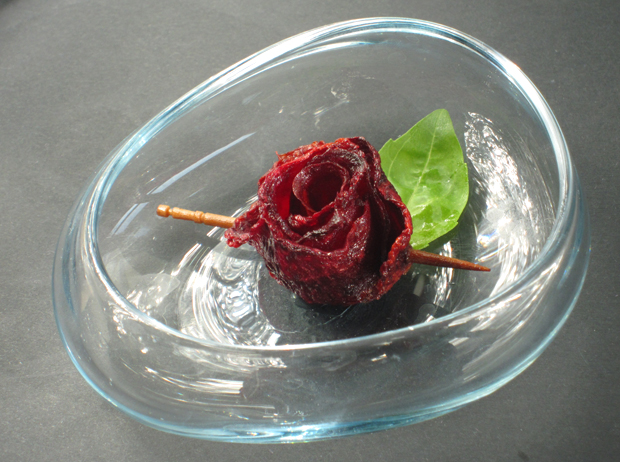
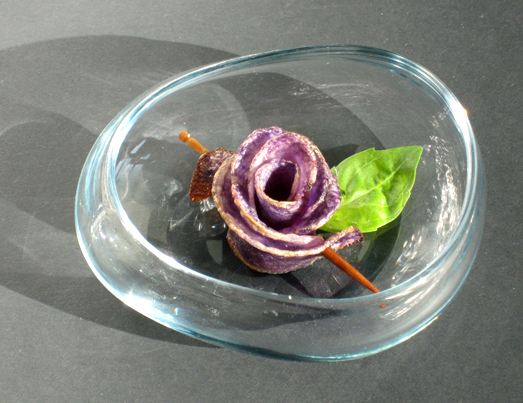
Looking for an eye-catching party snack? Try this recipe for crunchy deep-fried potato & beet chips in the shape of a rose.
Roses again today! If you’ve ever made beet chips, deep-fried or baked in the oven, you will have noticed that they look a little bit like dried roses. Consequentially, the idea of reignofgaming.net making beet rose chips isn’t far away. And since purple potatoes have such a nice colour they can’t be missed out as well. I’ve researched a bit and found out that the deep-fried rose thing has been done before using regular potatoes. They look very nice. Any suggestions for other vegetables you could use?
Deep-Fried Purple Potato & Red Beet Roses
Cooking Soundtrack: Nick Cave & Kylie Minogue – Where The Wild Roses Grow
- red beets, raw
- purple potatoes, raw
- canola oil
- salt
- Peel the beets and the potatoes.

- Slice the beets and potatoes thinly using a mandolin slicer. It worked best for me when I cut the beets into 0.5 mm and the potatoes into 1.3 mm slices.

- Spread the slices on a kitchen paper and add another layer of paper on top. This will draw out the moisture of the vegetables.


- When the slices have lost enough water so you can easily bend them, arrange 5-7 pieces like shown in the picture.

- Roll it!

- Fixate with 2 toothpicks.

- Cut in the middle.

- Bend the petals a bit.

- Deep-fry in canola oil for 30-90 seconds at about 170°C (340° F).

- Add salt and you’re done.
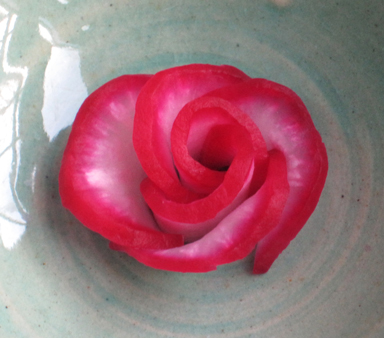
If you are looking for easy decoration ideas for your salads or bento lunches than this tutorial on how to make a radish rose might interest you.
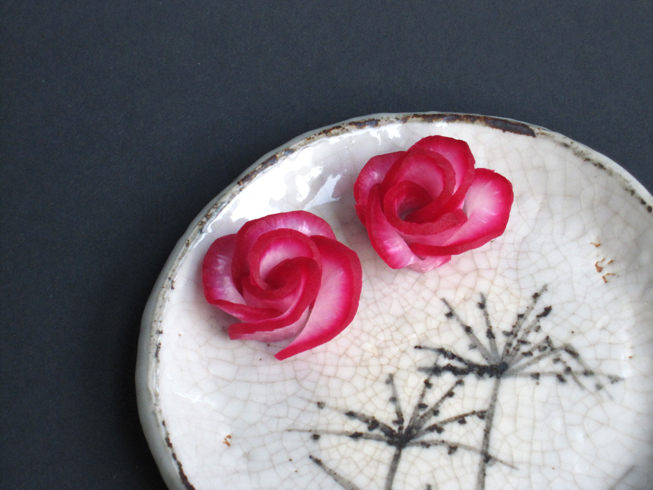
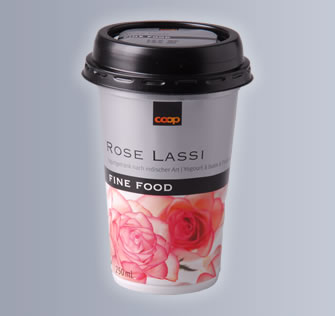
A few days ago, I bought a rose flavoured lassi (South Asian yogurt drink). It had a picture of white roses with pinkish petal edges on it. I wanted to recreate that look so I came up with with the idea of informz.net infusing white radish with red beet juice. Unfortunately, the roses Moneygram honorarios turned out to look a lot different from the roses on the lassi package! Next time, I will shorten the infusion time and cut the slices thinner.
White Radish Rose Decoration
Cooking Soundtrack: Francoise Hardy – Mon Amie La Rose
- 1 piece of raw white radish, peeled
- 1 Tbs salt
- ca. 1 cup red beet juice
- Rub all sides of the radish with the salt. Let sit for an hour to draw out the water. This will make the radish softer and it will absorb the beet juice easier (at least that’s what I’m guessing).

- Wash the salt away and place the radish in a bowl. Pour in the beet juice and let it stand for 30-60 minutes. If the beet juice doesn’t cover the whole radish, rotate it once a while.

- Take the radish out of the juice and pat it dry with a kitchen paper.

- Cut thin slices and lay 6 of them out like shown in the picture.

- Roll!

- Cut the roll in the middle.

- Now you have 2 roses.

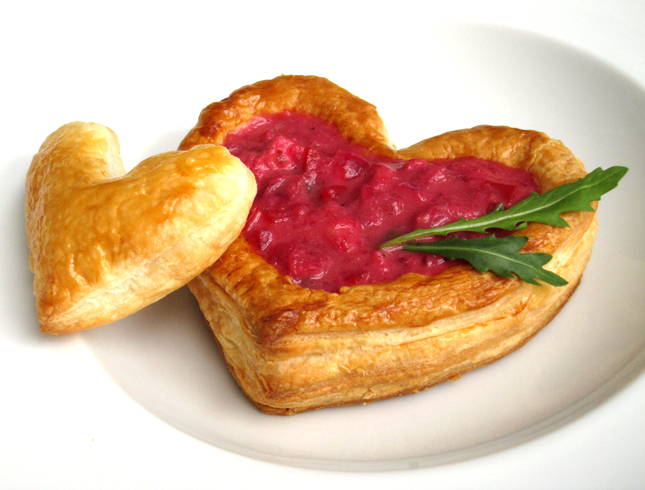
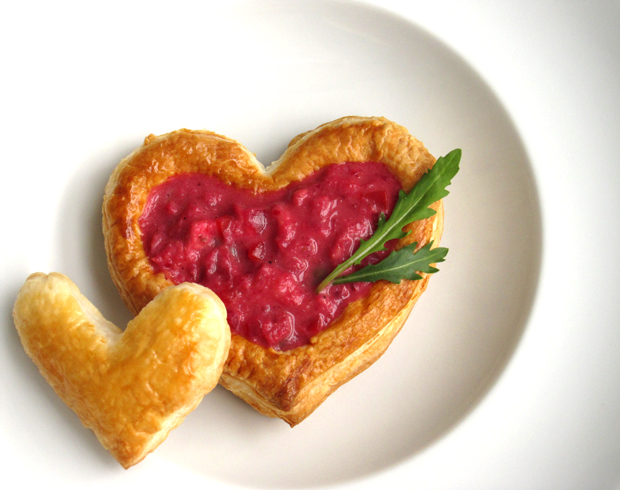
A crunchy heart-shaped puff pastry shell filled with a savoury chicken & beet stew that catches your eye through its vibrant colour – Your loved ones’ heart will surely skip a beet when you serve them this flashy main dish on Valentine’s Day. Click here for more Valentine’s Day recipes.
Cooking Soundtrack: Dan Le Sac vs. Scroobius Pip – The Beat That My Heart Skipped
Heart-shaped vols-au-vent (makes 4 hearts)
- chilled puff pastry dough, ca. 30×40cm rectangle, 3mm thick (I used store-bought puff pastry, but if you are truly in love I suggest making it by yourself)
- 1 egg, beaten
- Preheat oven to 200°C. Print and cut out this heart outline if you don’t have suitable cookie cutters.

- Lay the heart outline on the dough and cut along the template. You’ll need 4 big hearts for the bottom, 8 heart rings for the sides and 4 small hearts for the caps.
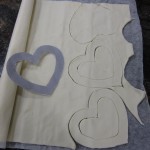
- Put the bottom hearts on a baking tray lined out with parchment. Prick them with a fork and brush with the beaten egg.
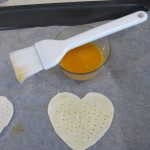
- Place one heart ring on the bottom heart, brush with egg, then place another ring on top and brush again with egg. Brush the heart caps as well.

- Bake the vols-au-vent for 15 minutes. The heart caps should be taken out 5 minutes earlier.
Chicken & Beet Stew (serves 4)
Note: One portion is more than what is depicted in the pictures.
- 1 garlic clove
- 1 small onion
- 1/2 carrot
- 1 chicken breast
- salt & pepper
- 1Tbs flour
- 2 Tbs white wine
- 1 cup chicken stock
- 1/3 cups frozen sweet peas
- 1/3-2/3 cup cream
- a pinch of tarragon
- 1 tsp cornstarch dissolved in water
- 1 tsp lemon juice
- 3 Tbs grated beet
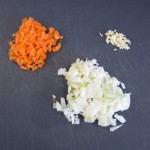
- Chop garlic, onion and carrot into small bits.
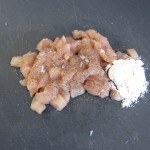
- Cut the chicken into small cubes. Mix with salt, pepper and flour.
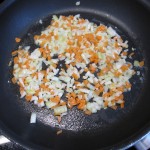
- Heat the butter in a pan and sauté garlic, onion and carrot for one minute.
- Add chicken and cook until it’s done.

- Add wine and let it evaporate a bit.
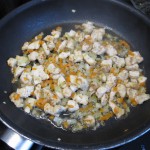
- Pour in the chicken stock and the sweet peas and let it simmer for a while.
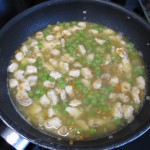
- Add cream,tarragon and cornstarch.

- At the very last, mix in the grated beets and the lemon juice. What a colour boost.
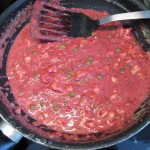
- Fill the stew into the vols-au-vent. Enjoy.
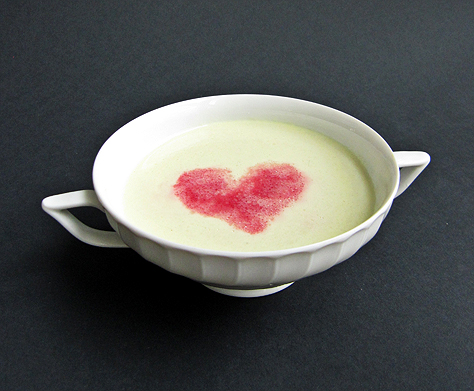
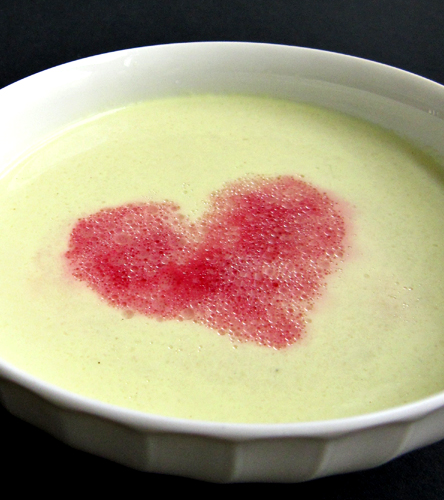
This heart-warming cauliflower coconut soup has a mild flavour and is an ideal starter for a Valentine’s Day menu. Click here for more Valentine’s Day recipes.
Heart-warming Cauliflower Coconut Soup (serves 2)
- 1 small onion
- 1 Tbs butter
- 200g cauliflower (about 4 florets)
- a pinch of sugar
- 1/3 cup white wine
- 1 cup chicken or vegetable stock
- 2/3 cup coconut milk
- salt & pepper
- 1 tsp canola oil and 1 tsp red beet juice for the heart
- Chop onion into small cubes and sauté in the butter for about 5 min. on medium heat.

- Cut the cauliflower into small bits and add it to the onions. Add the sugar and stir-fry for a few minutes.

- Add the white wine and let it boil down.
- Add the stock and boil for about ten minutes until the cauliflower bits are tender.

- Add coconut milk, salt and pepper an briefly heat it up.

- Blend and sift the soup.

- For the red heart, mix canola oil with beet juice and carefully place one teaspoon per bowl on top of the soup surface. Shape the dot into a heart with the help of a toothpick.
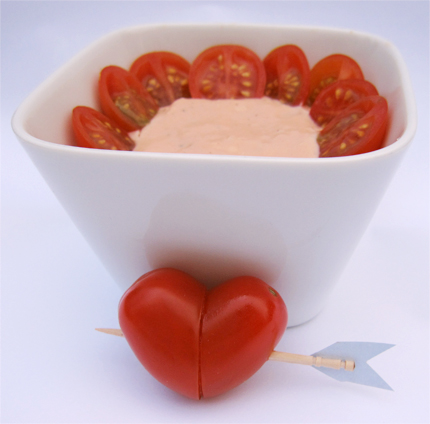
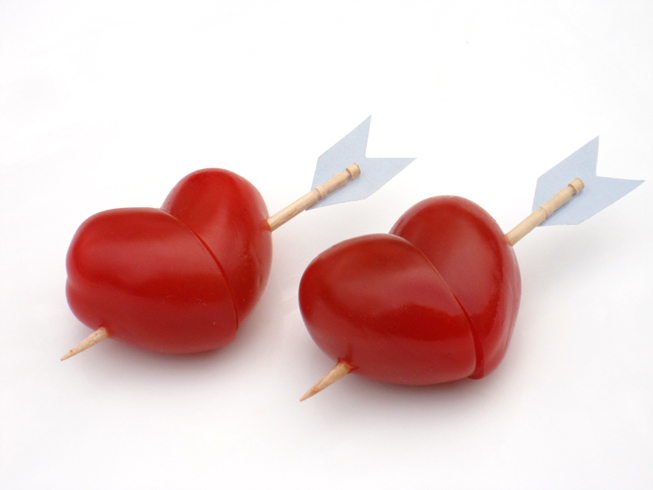
Struck by Cupids Arrow Cherry Tomatoes with Cocktail Sauce is a quick and easy snack or starter for your valentine’s day celebration. Only 2 cuts are required to turn the cherry tomatoes’ shape into a 3-dimensional heart – that’s how easy it is. Click here for more Valentine’s Day recipes.
I came up with this idea after I had watched a segment of a Japanese news program about Mrs. Soejima, a grocery store worker and wiener artist. She shows customers how to transform wieners into animals and flowers. (EDIT: I’m sorry, the video has been deleted. You can click here though to see some amazing screenshots.) Awesome. But the piece of art that truly caught my eye was the sausage heart you can see shortly at the end of the video. Such a simple yet brilliant idea.
I wondered about which other food items this technique could be applied to, so I brainstormed for oval-shaped edibles (since this is an obvious requirement) and came up with cherry tomatoes among other things. Cherry tomatoes seem to be perfect: they have a bright red colour, are bite-sized and there are some oval shaped varieties. Unfortunately, it’s very hard to get your hands on the ones that are long enough to do the heart cut shtfplan.com like shown in the example with the wiener. But don’t despair yet! Using simply 2 cherry tomatoes instead of 1 per heart will do the trick.
Struck by Cupid’s Arrow Cherry Tomatoes for Valentine’s Day (20 pieces)
Cooking Soundtrack: Sam Cooke – Cupid
- 40 oval cherry tomatoes
- 20 toothpicks that look like arrows
- The longer your tomatoes are, the better! The variety I’m using here is called Perla.

- Arrange the tomatoes in pairs that roughly have the same size.

- Diagonally cut away about 1/4 to 1/3 of the tomato, ideally at 45 degrees.

- Assemble the 2 bigger parts to a heart and stick them together with a toothpick.

- Don’t throw away the small parts. They can later be used to garnish the cocktail sauce.

Cocktail Sauce Dip
- 85g mayonnaise
- 40g ketchup
- 1 Tbs yogurt
- 1 tsp grated horseradish
- 1 Tbs lime juice
- 1 tsp rum
- salt, pepper & paprika
- Mix all ingredients and garnish with the cherry tomato leftovers. Voilà!
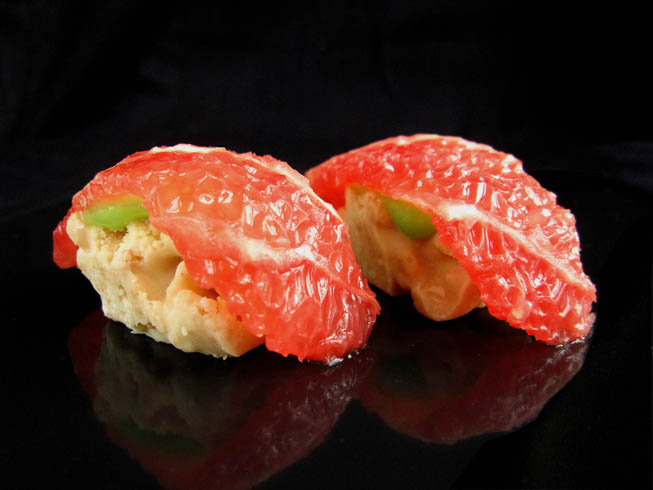
If you think these are real sushi, look closer. They are actually made up of grapefruit slices, white chocolate, Kellogg’s Rice Krispies and green vanilla cream. Crispy-chocolatey at the bottom, creamy in the middle and fresh’n’ juicy on top.
You may already know that there are countless variations of fruit and candy sushi – google them and you will be overwhelmed. If you want to make realistic looking fake fruit sushi in an effortless way, citrus fruits are one of the best options. If you cut them in a certain manner, their flesh bears a striking resemblance to the texture of fish used for nigiri sushi. Most fruit sushi recipes I’ve encountered so far call for sushi rice or sticky mochi rice, but grapefruit on top of cooked rice just feels kind of wrong so I decided to go with toasted rice cereal.
Fake Fruit Sushi (makes about 30 pieces)
Cooking Soundtrack: Yoshida Brothers – Madrugada
- 200g white chocolate
- 40g Kellogg’s Rice Krispies (you can substitute the Rice Krispies with puffed rice, but it won’t turn out as, well, crispy.)
- about 6 red or pink grapefruits and blood or half-blood oranges
- 1/2 package of instant vanilla cream powder
- half the amount of milk/water the instant cream calls for
- optional: green food colouring or matcha green tea powder
- Step 2.
- Step 3.
- Step 4.
- Step 5.
- Step 6.
- Step 6.
- Step 8.
- Chop the chocolate coarsely .
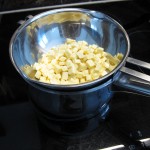
- Melt the chocolate slowly over a hot water bath.
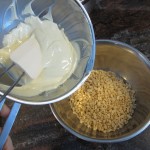
- Transfer the melted chocolate to a separate bowl and mix it with the Rice Krispies using a rubber spatula.
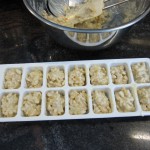
- Fill the mixture into an ice cube tray. Be careful not to oversize the pieces. You should be able to fill about 30 ice cube holes halfway. Let the fake rice base cool down.
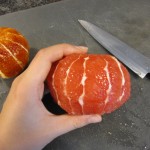
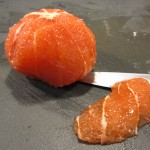
- Cut away the grapefruit and orange peel with a sharp knife. While you do this, keep 2 things in mind: Avoid cutting sharp edges into the fruit and leave some of the white part on it. The white pattern looks like fish fat and accentuates the texture.
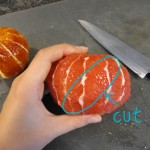
- If you are right-handed, hold the fruit in your left hand and cut diagonally starting from the top right going down to the left. The white stripes should not be parallel or perpendicular to the cut edge. Rotate the fruit and repeat. You should get about 4-10 pieces per fruit.
- Prepare the the instant vanilla cream following the instructions on the package, but use only half the amount of liquid it calls for in order to get a thick cream. For example, I added 125ml instead of 250ml milk. If you want to, you can add food colouring or matcha green tea powder to get the fake wasabi look.
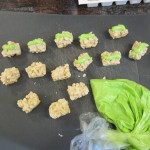
- Press the fake wasabi cream though a piping bag onto the fake rice base. Picture note: If this was real sushi, the amount of wasabi would be ridiculous!
- Lay the fruit slices quickly on a piece of kitchen paper so they won’t be too watery. Place them on top of the fake rice base. The fake wasabi acts as an adhesive.
- Serve chilled and, for easier deception, under dim light conditions.








 Get updates via twitter
